I’ve distilled 13 practical small-bathroom organization ideas into a fast, proven plan that helps you declutter quickly, maximize vertical and hidden storage, and clearly label zones for daily use, cleaning, and linens. Start with a quick audit, measure critical dimensions, and declutter. Emphasize wall storage, slim organizers, and over-the-door solutions. Create dedicated Daily, Cleaning, and Linen zones, use modular caddies, and pull-out shelves. Stay tuned for more tips that sharpen every step.
Solve the Tiny-Bathroom Dilemma: Quick Start Guide
If your tiny bathroom feels cramped, start with a quick triage: declutter, measure, and plan vertical space.
I’ll walk you through a fast sequence: remove unused items, note critical dimensions, and prioritize wall-mounted storage.
Choose slim organizers, install an over-the-door rack, and leverage corners.
This quick start reduces overload, increases accessibility, and creates breathing room for daily routines.
Incorporating clever storage solutions can significantly optimize your available space and enhance organization.
Auditing Your Space: What to Measure and Prioritize
Auditing your space starts with a precise map of what you actually use and what you ignore.
I measure flow, reach, and daily rituals, then rank items by frequency and utility.
Prioritize items that save time, reduce clutter, or improve cleaning.
Eliminate duplicates, oversized containers, and seldom-used products.
Reallocate freed space to essentials, labeling zones for easy access and ongoing maintenance.
Incorporating clever tiny bathroom storage solutions can maximize every inch of your limited space efficiently.
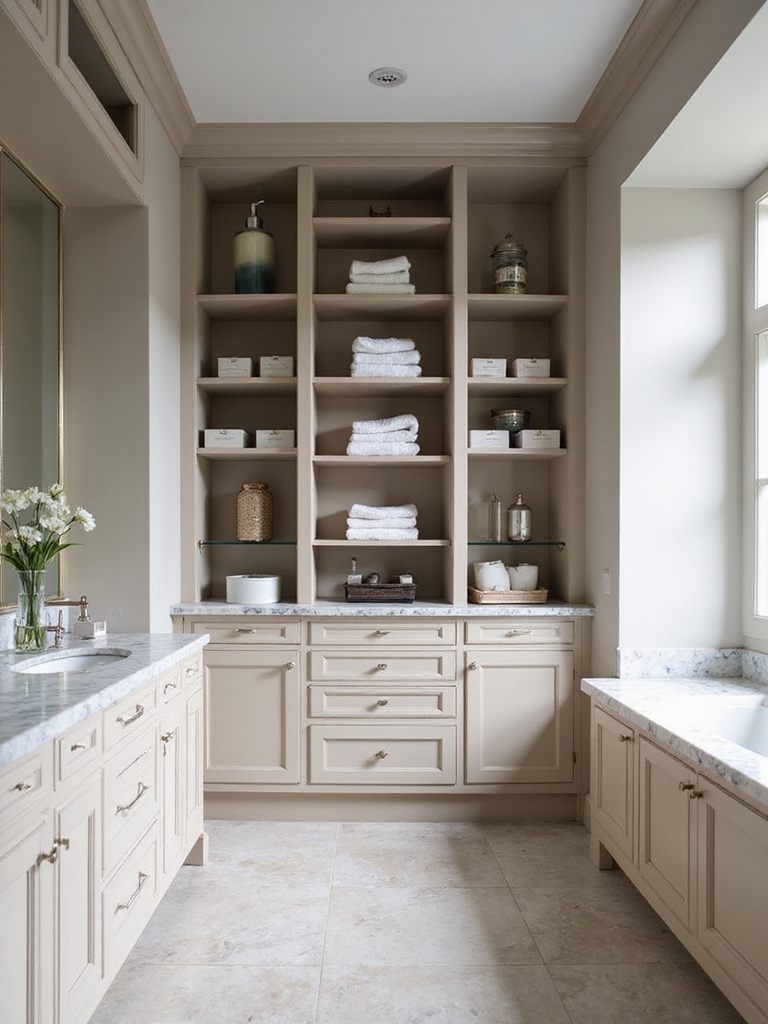
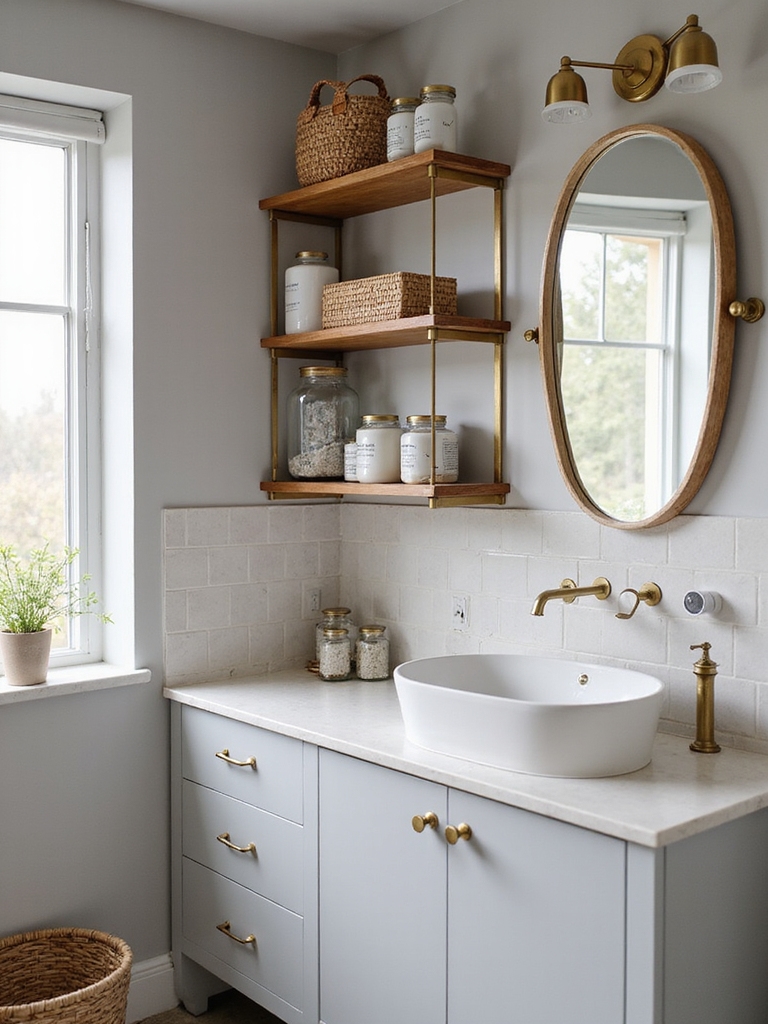
Vertical Wall Storage That Actually Works
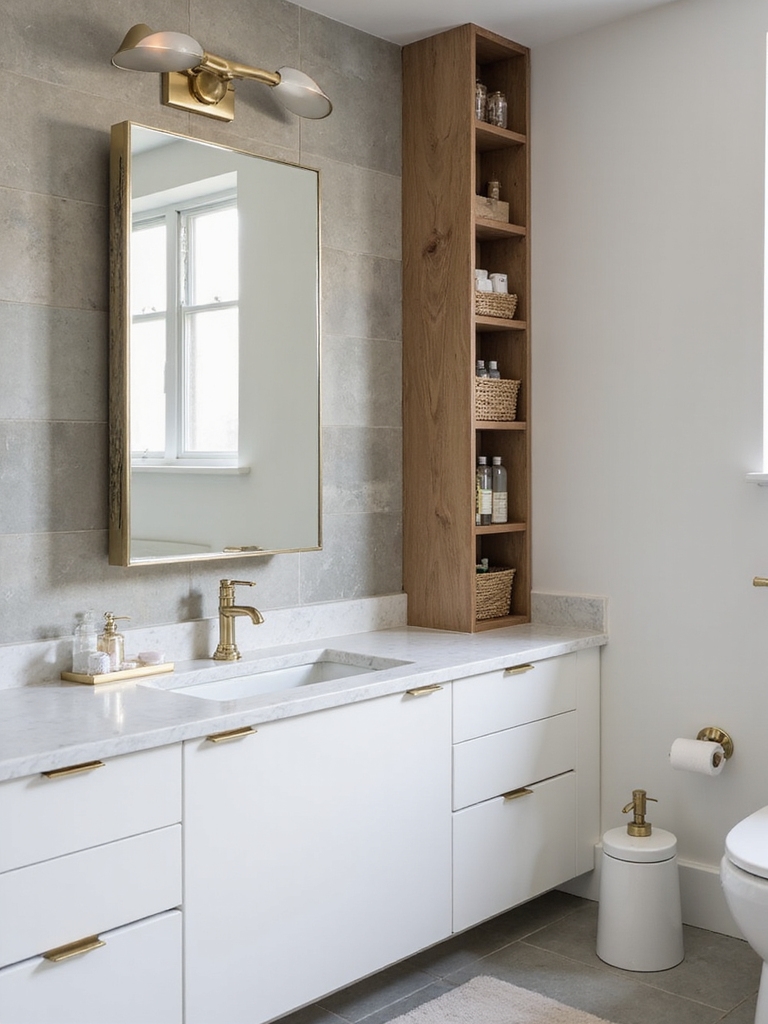
Vertical wall storage can transform a tight bathroom by freeing counter space without sacrificing accessibility.
I choose slim, sturdy shelves and modular hooks that hold daily items within reach. Install at eye level, keep a single basket for small odds and ends, and label categories for quick grabs.
Stick to durable materials, so spaces stay neat and functional, not cluttered. Utilizing clever storage solutions tailored for every bathroom size ensures you maximize your available space efficiently.
Over-the-Door Organizers for Everyday Essentials
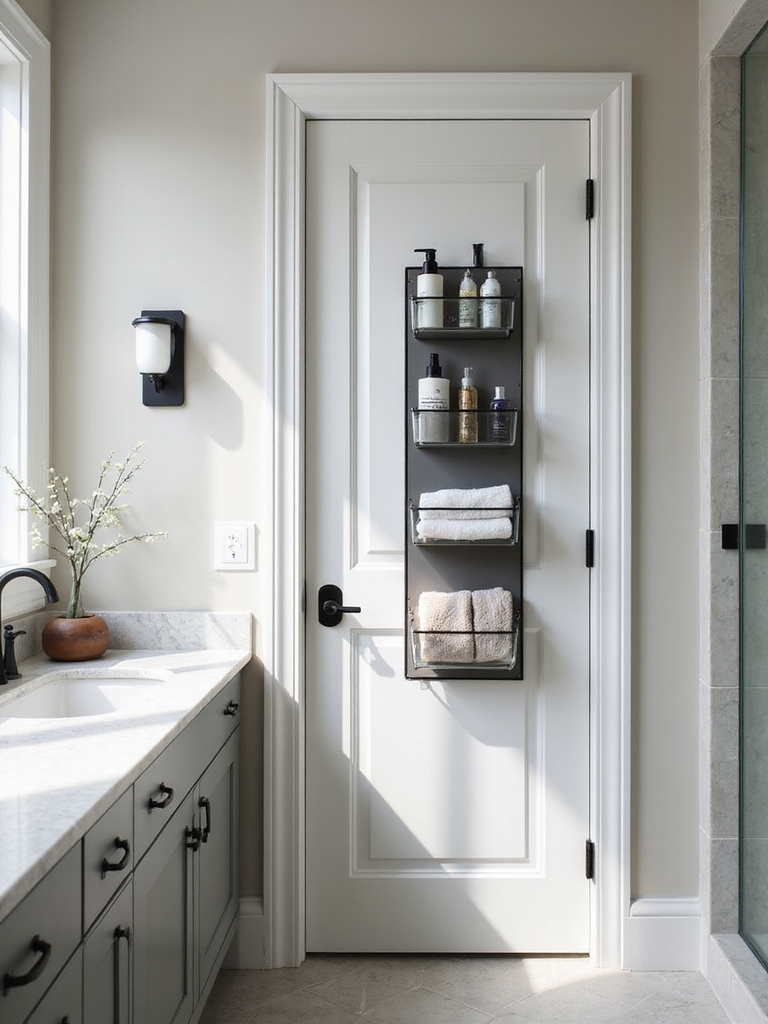
Over-the-door organizers are a simple way to reclaim cabinet and counter space, keeping everyday essentials within easy reach.
I point to sturdy options that install quickly and don’t mar doors. Use clear-pocket designs for visibility and flexible hooks for bottles or tools.
This keeps items organized, minimizes clutter, and frees drawer space for routine tasks you actually perform daily.
For optimal use, consider smart strategies that maximize your bathroom’s storage potential without overcrowding the space.
Create Zones: Daily, Cleaning, and Linen Areas
I’ll show you how to set up a Daily Zone, a Cleaning Area, and a Linen Storage System so everything has a home.
We’ll place frequently used items in the Daily Zone, tidy cleaning supplies in a dedicated spot, and organize linens for easy access.
If you share your current basics, I’ll tailor the zones to fit your space and routine.
To maximize space, consider incorporating creative storage solutions that can be implemented easily and cost-effectively.
Daily Zone Setup
I label shelves, assign trays, and keep daily items within arm’s reach. I refresh layouts weekly, rotate stock, and prune unnecessary items.
Clear zones reduce clutter, speed routines, and preserve calm, functional space for daily use.
Cleaning Area Placement
To place the Cleaning Area effectively, I separate it from Daily and Linen zones and keep cleaning supplies in a dedicated cabinet or cart within easy reach.
- Choose a compact cart or shelf near you for quick access.
- Group tools by task: disinfectant, glass, floor care.
- Label bins to avoid cross-contamination.
- Reserve a spill-proof tray for liquids.
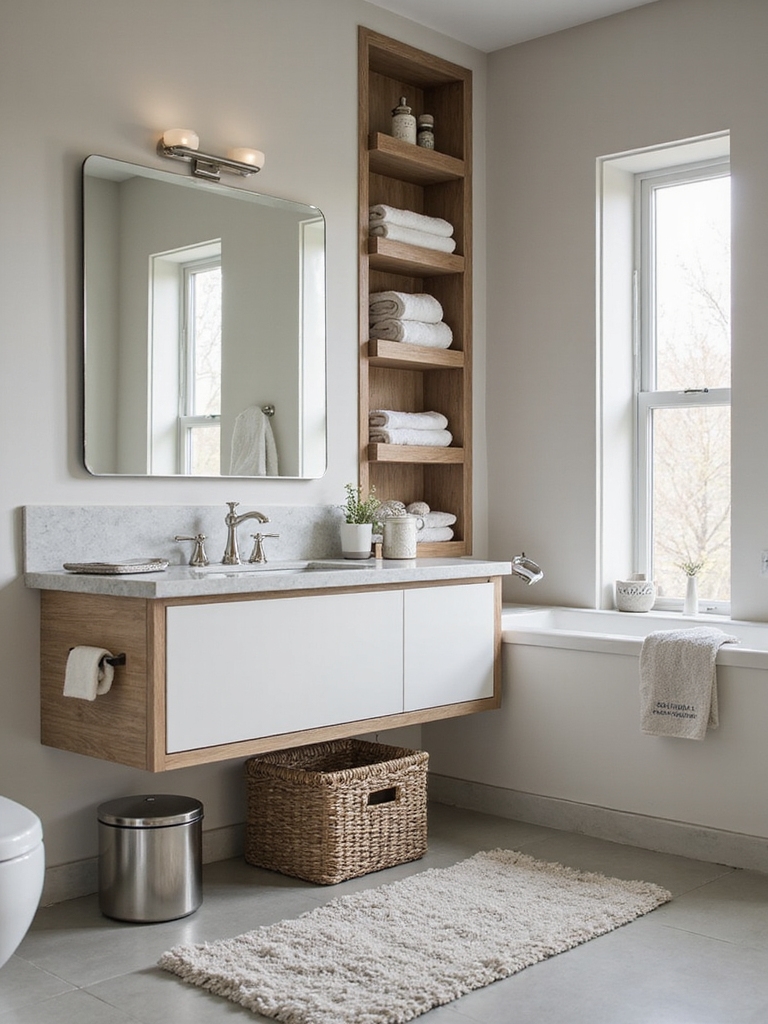
Linen Storage System
After organizing the Cleaning Area, I’ll set up a Linen Storage System that aligns with the Daily, Cleaning, and Linen zones.
I separate towels, sheets, and backups, labeling shelves for quick grabs. Daily essentials stay at reach, cleaning rags and backup supplies parked apart, and seasonal items tucked higher.
Clear bins, minimal digging, and consistent rotation keep everything neat and accessible.
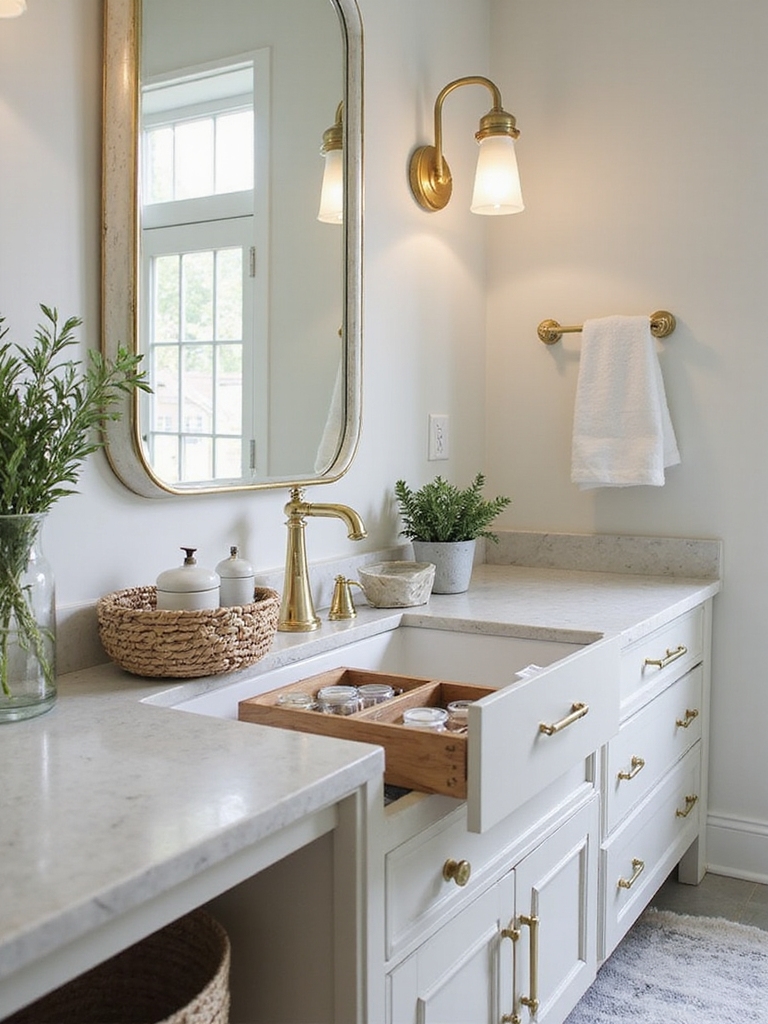
Drawer Architecture: Clear Bins and Dividers for Quick Access
I’ll start with clear bin accessibility, so you can see what you have at a glance and grab what you need fast.
I’ll use dividers to create order, keeping items grouped and easy to return to their place.
For quick-access storage, I’ll suggest smart arrangements that let you reach the right item in seconds.
Using smart storage solutions specifically designed for small bathrooms can maximize every inch of available space efficiently.
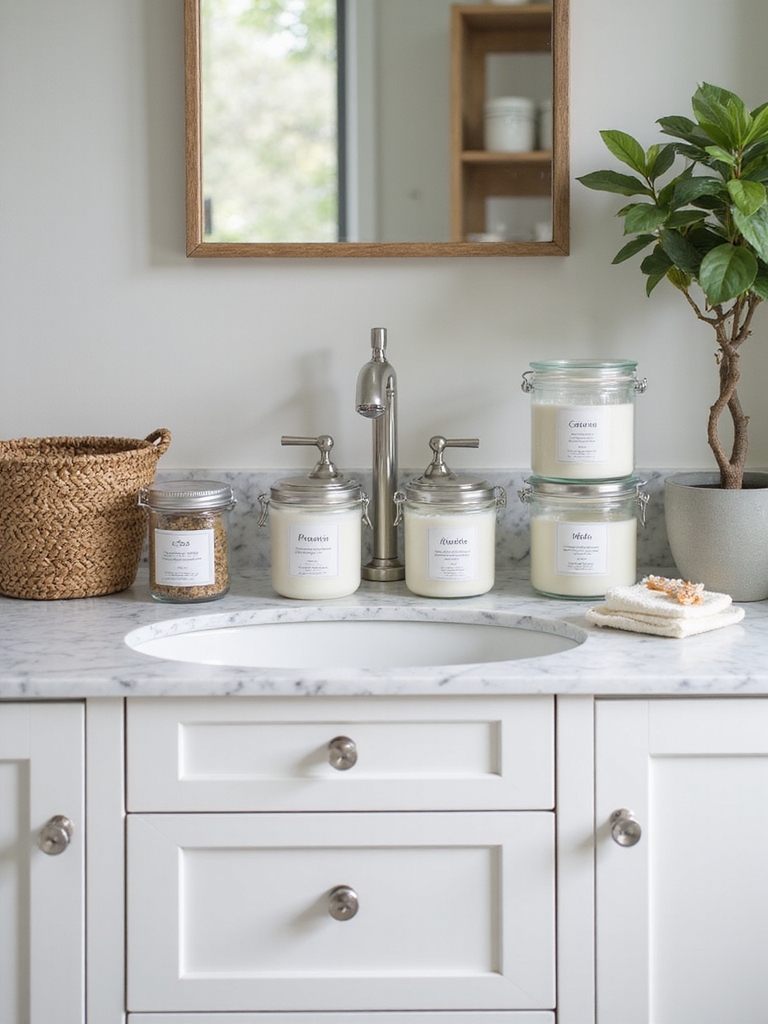
Clear Bin Accessibility
Clear bins and dividers make drawers instantly navigable: with transparent containers, you see what’s inside at a glance and can grab what you need without rifling through stacks.
I implement practical choices that save time and keep essentials visible.
1) Label fronts for quick recognition
2) Group similar items together
3) Use shallow bins for easy reach
4) Keep a backup stash nearby
Dividers For Order
Dividers transform clear bins into instant access zones, turning drawer chaos into a precise system.
I use slim, adjustable dividers to separate daily-care items, brushes, and tools, so each item lands in its own slot. This approach reduces search time, prevents spills, and keeps surfaces neat.
With consistent spacing, I maintain order and quickly locate essentials every morning.
Quick-Access Storage Solutions
Quick-access storage in my bathroom means thinking regarding drawer architecture: clear bins paired with adjustable dividers to create fast, directed access.
I keep essentials visible, labels precise, and items grouped by use.
- Use clear bins for quick visibility
- Install adjustable dividers for flexibility
- Group items by routine
- Label fronts for instant retrieval
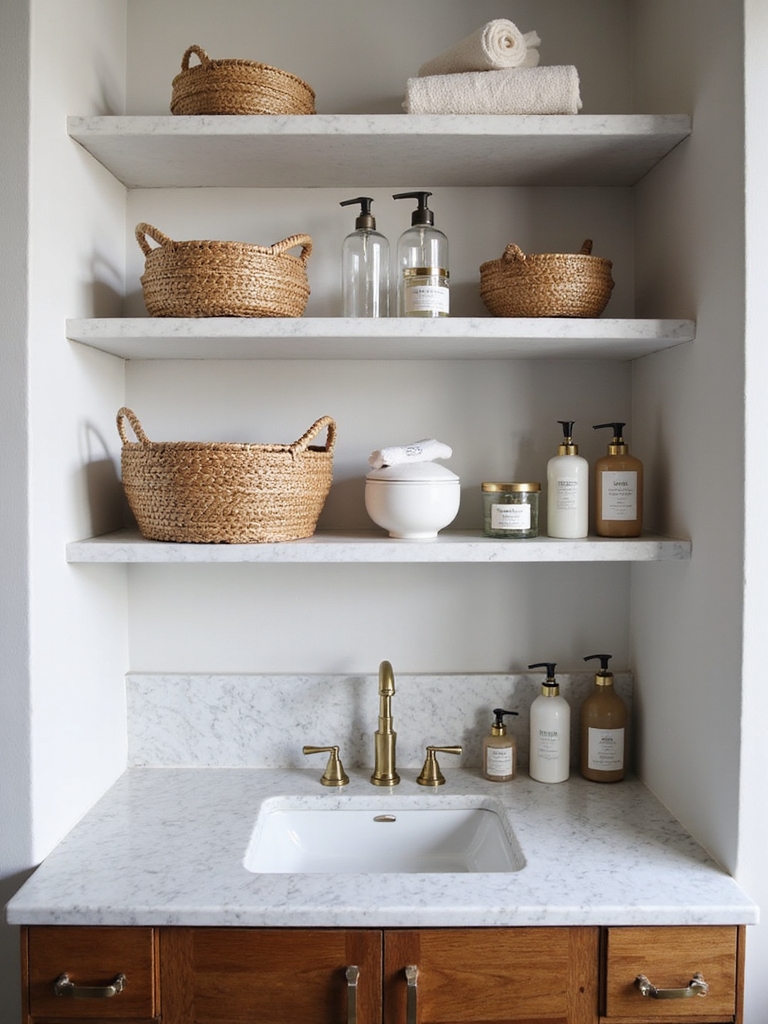
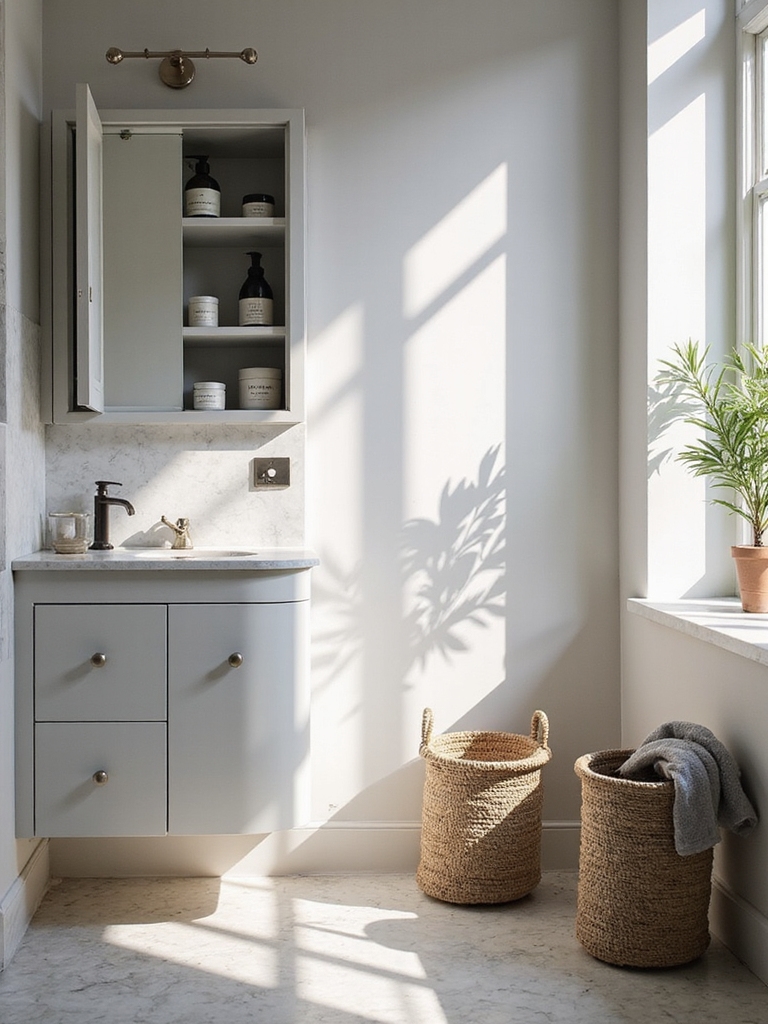
Hidden Recessed Shelves: Behind-the-Wall Storage Ideas
Hidden recessed shelves turn wall space into usable storage without adding bulk to the room.
I reveal slim niches behind the mirror or under the counter, keeping essentials tidy and reachable.
Installations should be precise, with moisture-resistant materials and clean edges.
I suggest labeling zones for toiletries and backups, plus a shallow lip to prevent items from tipping.
Quiet, functional, expandable as needs evolve.
These innovative storage solutions are often overlooked but can dramatically improve bathroom organization by maximizing unused space with creative bathroom storage ideas.
Modular Caddies That Adapt as Your Routine Grows
I’m excited to talk through adaptable storage that grows with you, starting with modular caddies that reconfigure as your routine changes.
Think grow-driven modules you can add, remove, or swap, keeping essentials within arm’s reach while you scale up or down.
Let’s explore practical setups that stay tidy, flexible, and future-proof.
These clever DIY storage solutions can be customized to maximize space efficiency in even the smallest bathrooms, making organization a breeze with modular design principles.
Adaptable Storage Solutions
Modular caddies grow with your routine, letting you add or reconfigure compartments as your needs change.
I share quick, practical tweaks that keep essentials accessible without clutter.
- Choose adjustable dividers to customize widths and heights.
- Mount flexible rails for toothbrushes, razors, and floss.
- Use stackable trays to separate skincare and medications.
- Label sections for faster, daily routines.
Grow-Driven Caddy Modules
I design mine to grip towels, brushes, and daily essentials with adjustable dividers and sliding trays.
When needs change, I reorganize rather than replace. This modular approach keeps a tidy, efficient counter, saves space, and stays adaptable as habits shift over time.
Under-Sink Stowage That Keeps Pipes Happy
Under the sink, smart stowage keeps pipes happy by preventing leaks and making space feel workable.
I share practical tweaks that stay tight and tidy, avoiding fluff and mess.
- Install a shallow tray to catch drips and corral small items.
- Use stackable bins for cleaners, tools, and spare fittings.
- Label cords and hoses for quick access.
- Mount a slim organizer on the door for frequently used supplies.
Consider incorporating drawer organizers to transform your bathroom drawers for even better smart organization.
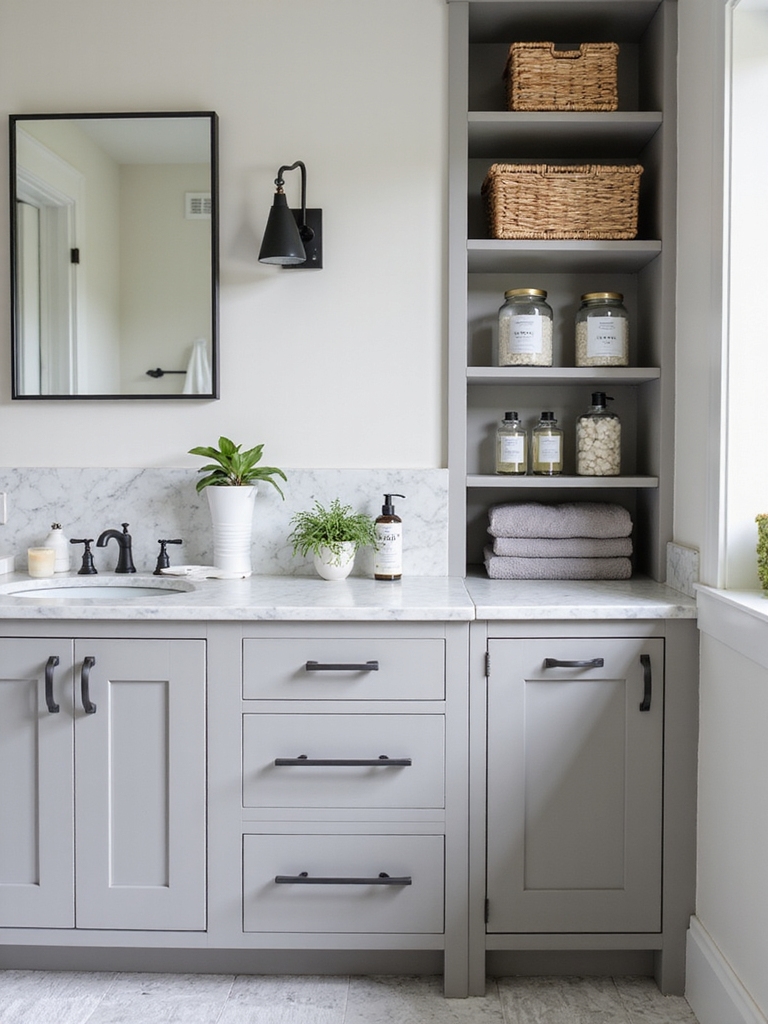
Slim Cabinet Solutions for Tight Corners
Slim corners in a cabinet aren’t an excuse to skip storage. I optimize tight spaces with pull-out shelves, slim organizers, and corner carousels that maximize every inch.
You’ll access toiletries without bending or digging. Use vertical dividers for tall bottles and labeled bins for quick finds.
Tight corners, big impact: practical, durable solutions that stay neat and accessible every day. Incorporating smart storage solutions can make any bathroom space feel bigger and more efficient.
Mirror + Medicine Cabinet: Double-Duty Reflections
A mirror with a built-in medicine cabinet doubles your bathroom’s reflection and organization, so you can see yourself clearly while stashing away daily essentials.
I keep essentials in easy-reach pockets, review contents weekly, and rotate rarely used items out.
- Maximize vertical space with slim shelves
- Use labeled bins for small items
- Place frequently used meds front-and-center
- Install magnetic strips for tools
Hooks, Bars, and Racks for Fast Habits
Hooks, bars, and racks sit at the heart of fast bathroom habits.
I choose simple, sturdy setups that keep daily routines smooth. Hooks handle towels and robes, bars organize long garments, and racks store toiletries within easy reach.
I favor adjustable or modular options so you customize height, spacing, and access. Efficient placement saves seconds and minimizes clutter every morning.
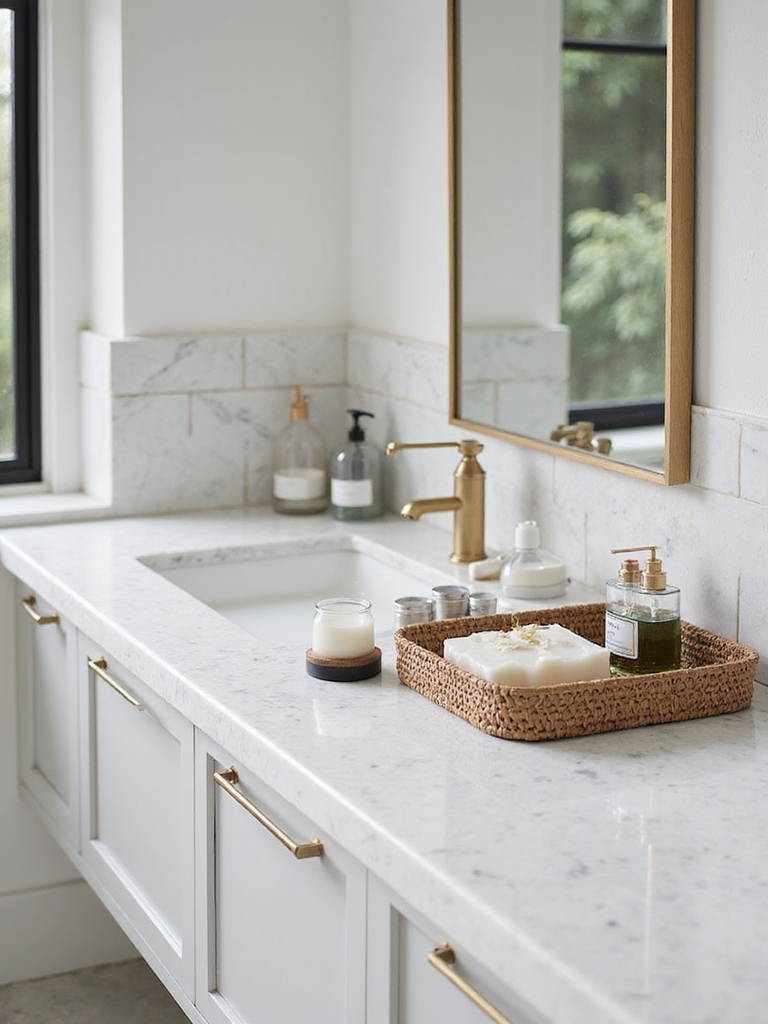
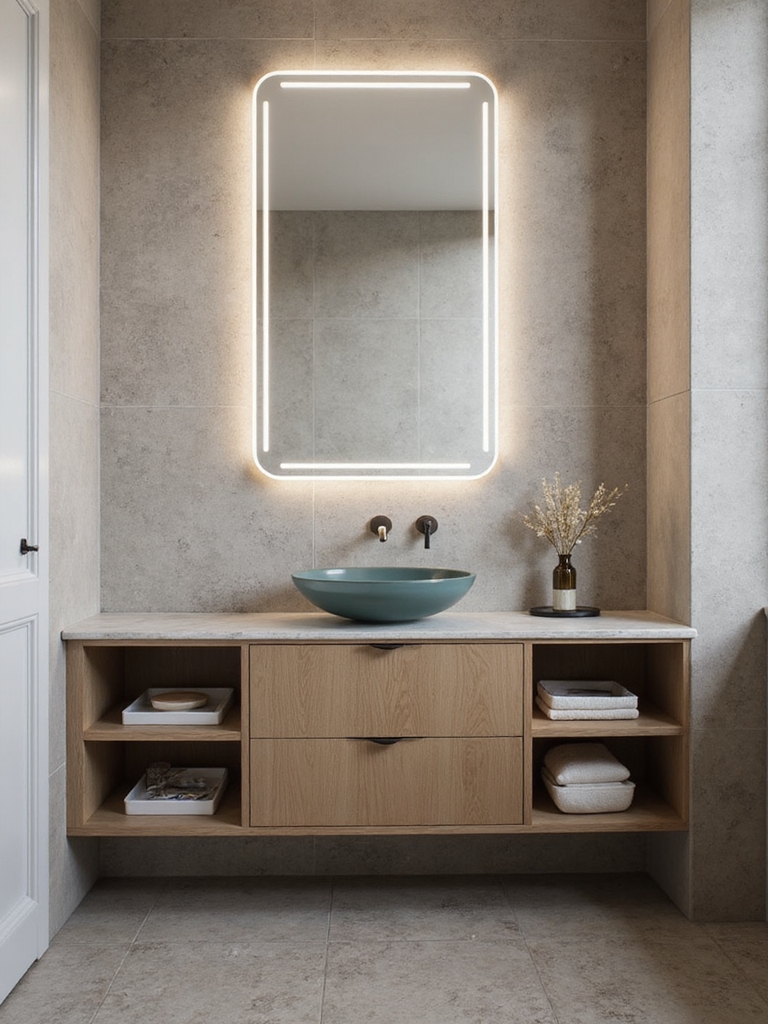
Color, Materials, and Hardware to Read as Space
Color, materials, and hardware do more than look good—they read the room’s character and scale.
I’ll show you how to read space quickly: choose color depth to expand small rooms, pair matte surfaces with reflections, and mix metals sparingly to avoid clutter.
1) Use lighter tones for walls
2) Balance textures for depth
3) Match hardware to fixtures
4) Favor compact, cohesive storage
Conclusion
You’ve got the blueprint to tame a tiny bath. Start small, measure right, and stack smart. Treat every inch like a tool, not a toy—vertical, slim, and zoned. The mirror doubles as memory: what you see is what you keep. Think of your space as a clock—every hook, shelf, and bin has a minute to shine. Ready? Let’s turn clutter into clarity, one compact idea at a time.