I’ll help you transform a cluttered bathroom into calm, efficient zones with smart storage ideas you can actually use. Start by decluttering with simple steps, then add vertical storage like floating shelves and slim drawer dividers to create clear zones. Hidden hampers and cleaning caddies keep stain-free, airy spaces, while cohesive color and materials calm the look. Budget-friendly upgrades—under-sink organizers, LED lighting, removable hooks—make a big difference. Keep habits steady, and you’ll maintain order; there’s more to discover ahead.
Declutter First: Build a Calm Bathroom Foundation
Decluttering isn’t just tidying up; it’s laying a calm, functional foundation for your bathroom.
I start by naming essentials, then removing the rest. I keep what serves daily routines, leaving space to breathe.
I’m honest about what you actually use, not what you think you should own. This clarity guides smarter placement and simpler maintenance for you.
Incorporating smart bathroom storage solutions can further enhance your space’s functionality and keep it clutter-free.
Declutter With Realistic, Doable Steps
I’ll break decluttering into small, realistic steps you can actually finish, not just dream about.
We’ll cover simple storage tips and clear, doable routines that fit real bathrooms and real days.
Let’s start with practical habits that keep you on track without overhauling your life.
Creative organization tips can transform your bathroom into a more functional and enjoyable space with clever storage solutions.
Realistic Decluttering Steps
Here are realistic decluttering steps you can actually complete: start with one small area, like a medicine cabinet, and set a 15-minute timer.
Decide what to keep, group similar items, and discard duplicates.
Return essentials neatly, label bins, and place rarely used products out of sight.
Repeat weekly, adjusting only what truly adds value, not surplus clutter.
Doable Storage Trits? (We’Ll Avoid Unclear Phrasing. Let Me Provide Clean Options.)
When you tackle bathroom storage, start with quick, repeatable steps that fit real life: I share clean, doable options so you can declutter without drama, then build habits that stick.
Focus on simple placements, label where needed, and test one change at a time for real results.
- Use clear bins for small items
- Label shelves and jars
- Prioritize daily-use items
- Schedule a monthly quick purge
Simple Habit Routines
To keep bathroom decluttering sustainable, I’m proposing simple habit routines that fit real life.
I keep a small trash bin by the sink and daily 60-second resets—wipe, sort, and return.
Weekly, I review products and donate what’s unused.
I label containers and trick myself with a “one-in, one-out” rule.
Small, consistent steps prevent buildup. You can start today.
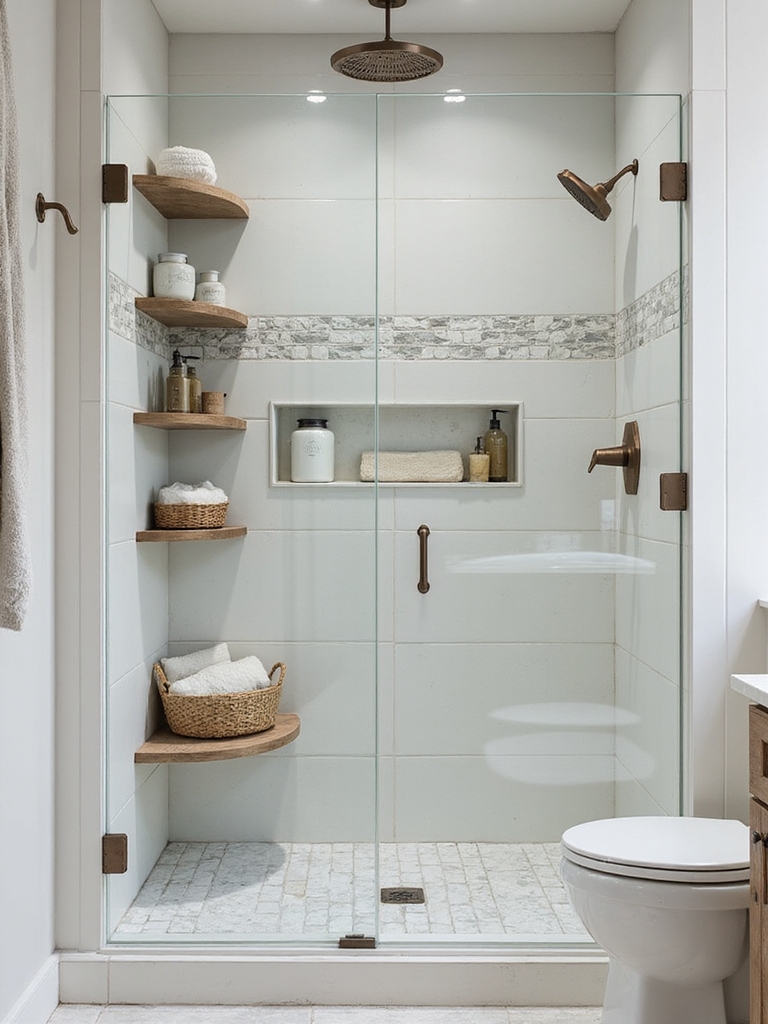
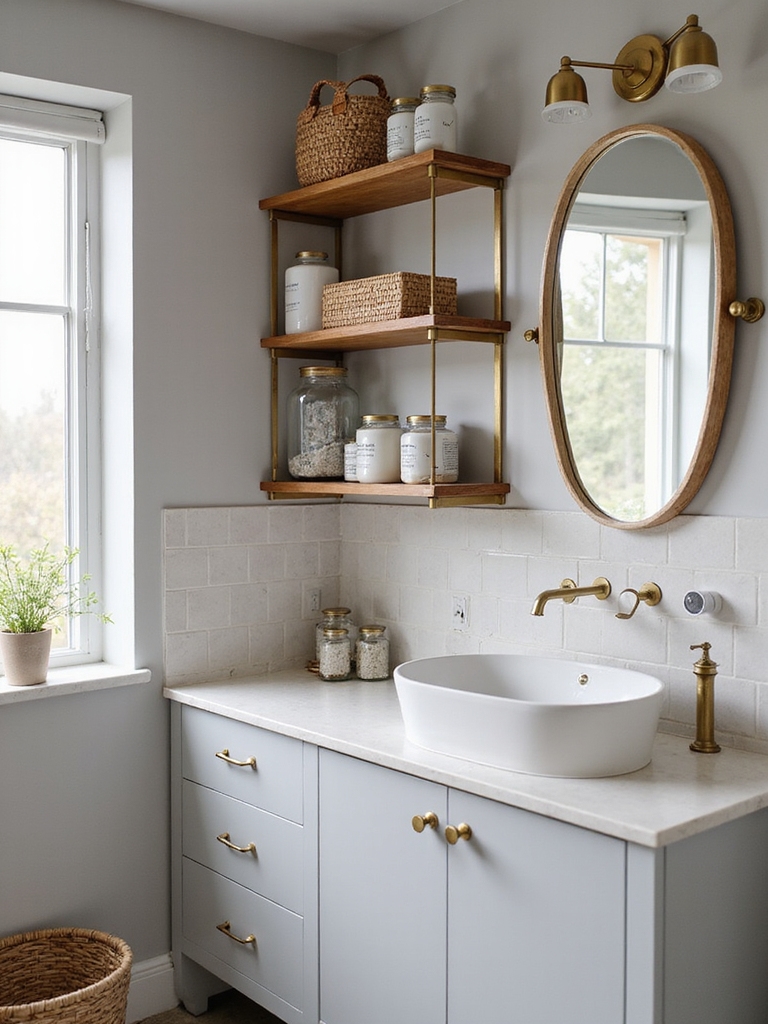
Add Floating Shelves to Maximize Vertical Space
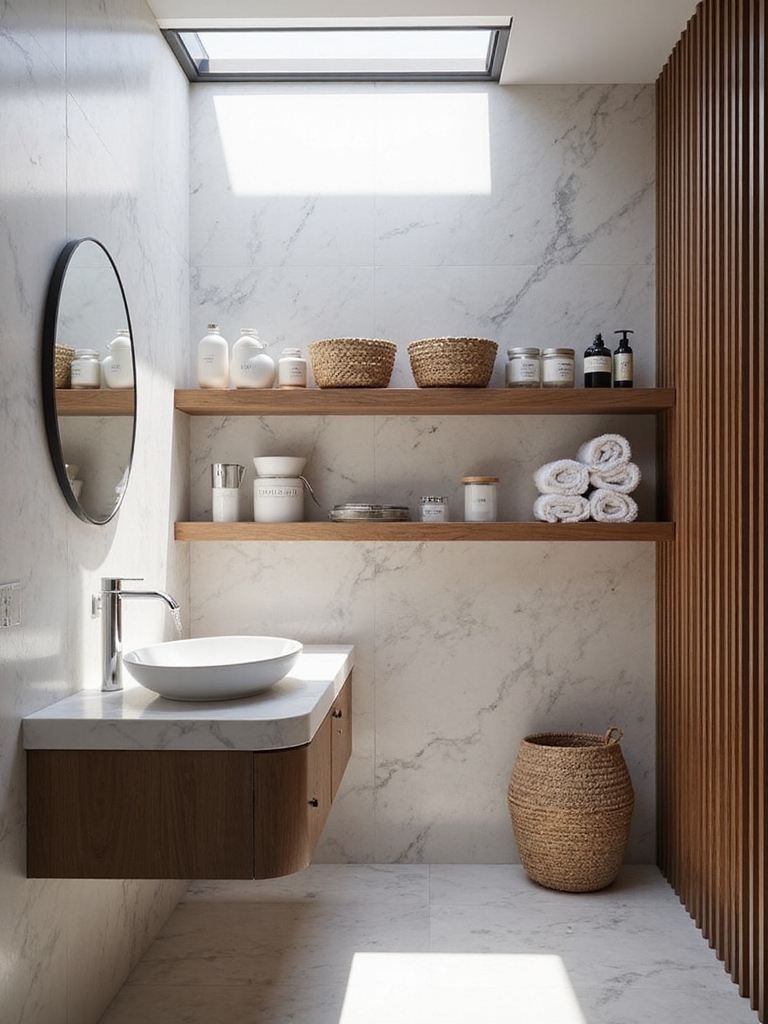
Floating shelves are my go-to for freeing up floor space while keeping essentials in easy reach.
I’ll show you how to maximize vertical space with a clean display that feels airy and organized, so every item earns its spot.
Let’s declutter with shelves and create a practical, stylish bathroom you’ll actually use.
For even more efficiency, consider innovative bathroom storage solutions you haven’t tried to enhance your organization further.
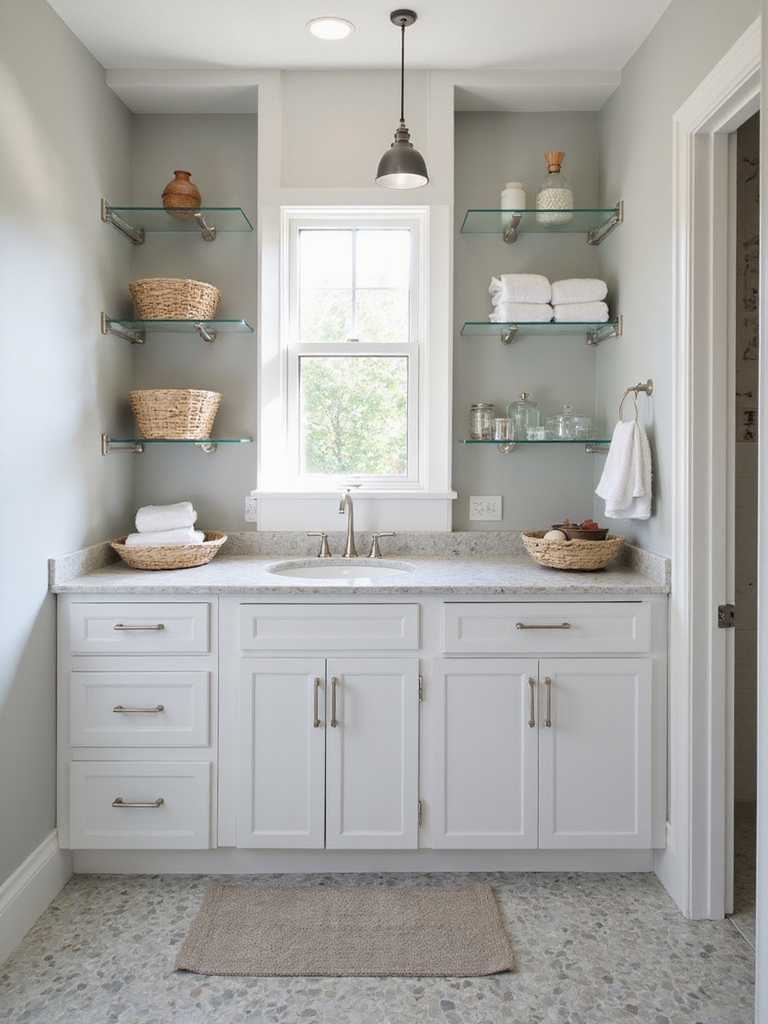
Maximize Vertical Space
Stacking storage up the wall can dramatically free up countertop and cabinet space, and floating shelves are a smart, sleek way to do it.
I’m sharing practical tips to maximize vertical space without clutter.
- Choose slim, sturdy brackets for clean lines
- Install at varying heights to hold daily essentials
- Use labeled jars for small items
- Keep a minimalist, cohesive color palette
Create Airy Display
We’ve already talked about freeing up counter space by stacking storage, so now let’s create an airy display with floating shelves that feel light and intentional.
I choose sleek, wall‑mounted units to keep surfaces clear and vibes calm.
Group items by height and function, add a few plants for softness, and use uniform storage bins for a cohesive, easy‑to‑maintain look.
Declutter With Shelves
If you’re aiming to reclaim wall space and cut clutter, adding floating shelves is a quick, effective move that keeps essentials within easy reach.
I use shelves to group daily items, free countertop real estate, and visually calm a room. They’re sturdy, affordable, and easy to install.
- Choose slim, water-resistant options
- Install at eye level for access
- Lean toward modular trays
- Label zones for organization
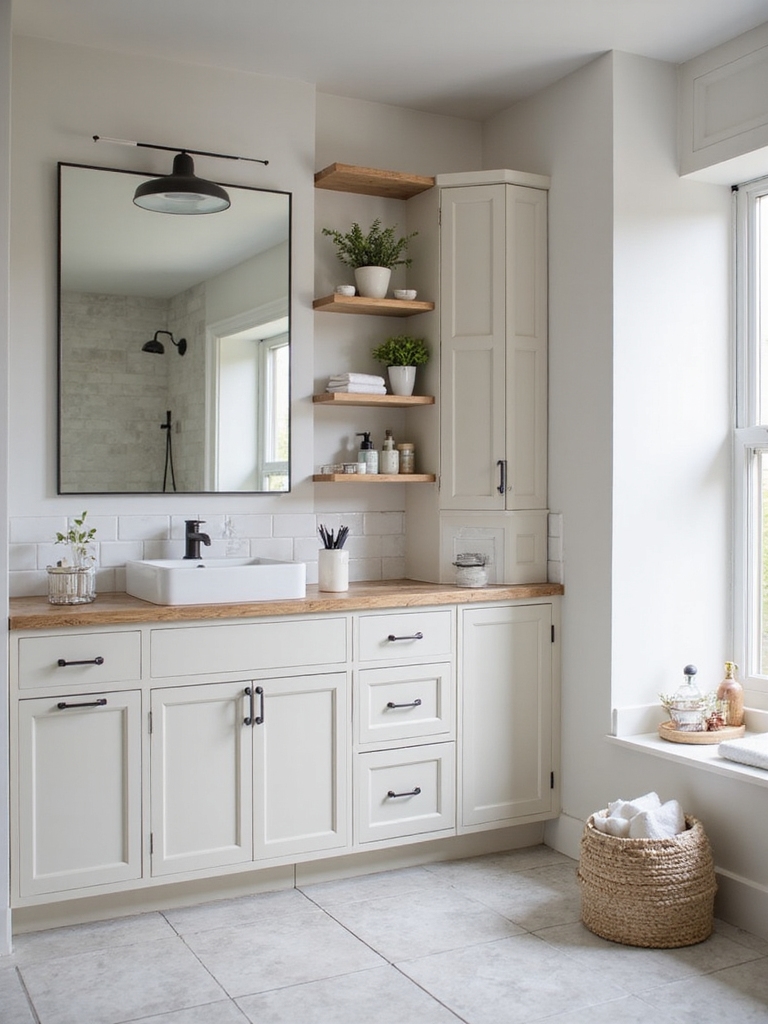
Drawer Dividers That Create Clear Zones
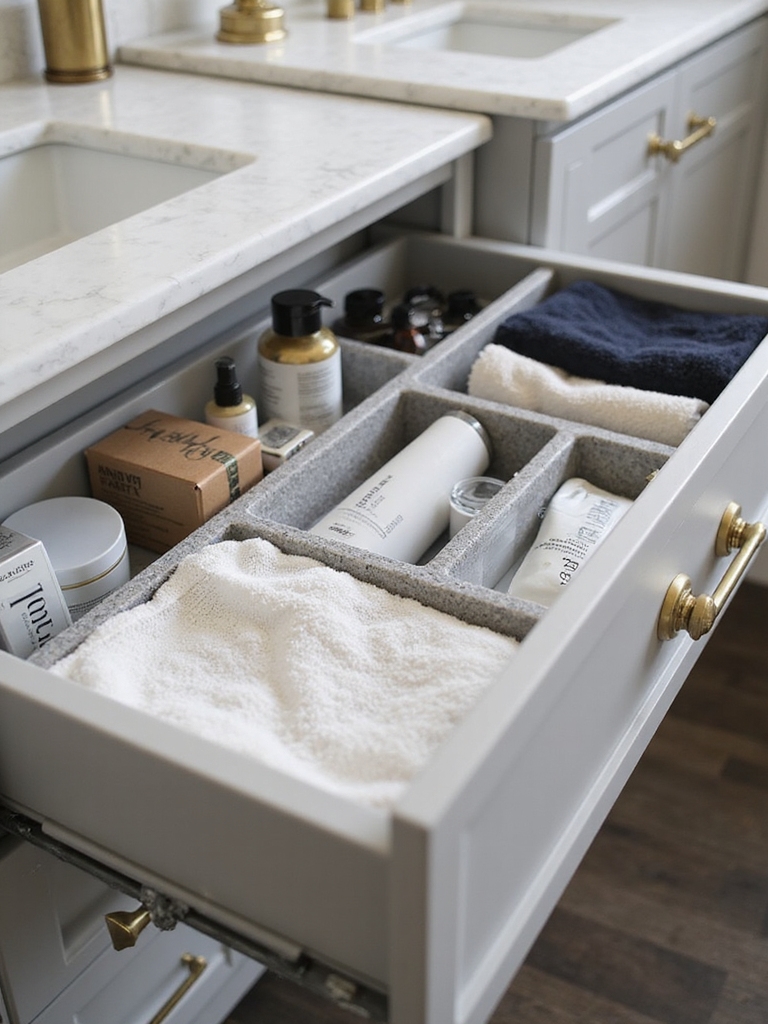
I use dividers to group toiletries by use, brushes with brushes, and extras with extras. It prevents pileups and saves time.
You’ll customize widths, snap into drawers, and label subtly. Practical organization feels calm, accessible, and durable for daily routines.
Incorporating clever bathroom cabinet organization ideas can further enhance your storage efficiency and maintain a tidy space.
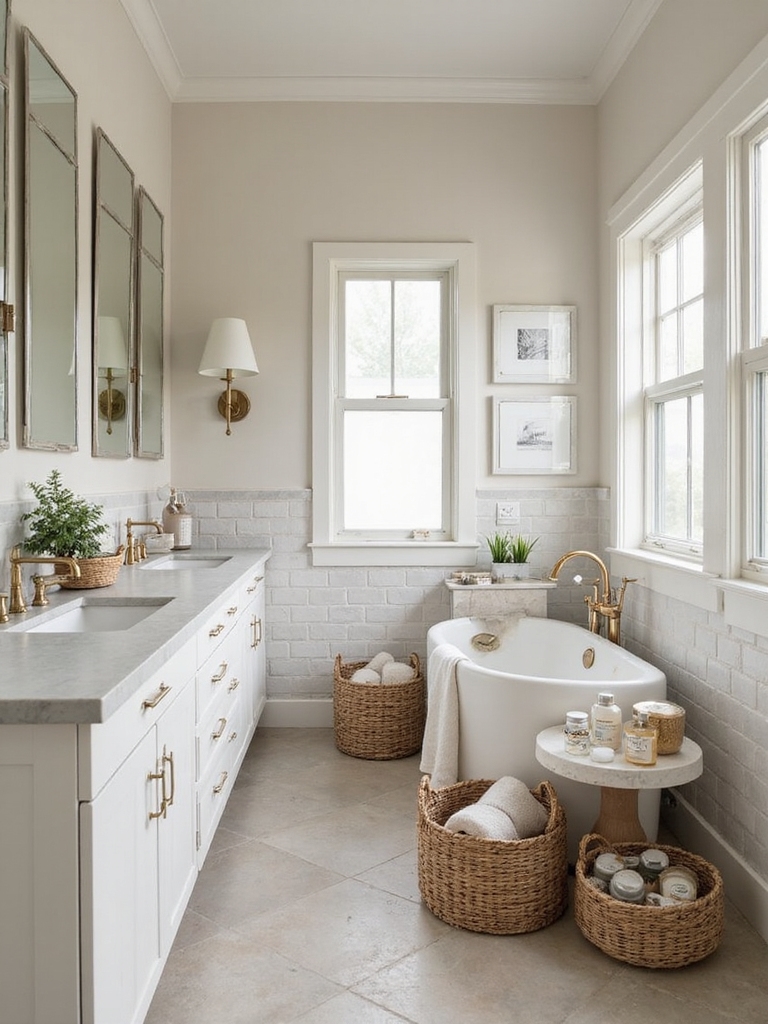
Hidden Hampers for a Clean, Airy Look
I’ll share how Hidden Hamper Placement can quietly transform your space, keeping laundry out of sight while staying totally accessible.
I’ll outline Airy Laundry Solutions that maximize airflow and minimize odor, so your bathroom feels lighter and cleaner.
We’ll walk through a Step-By-Step Setup that you can tailor to your layout, from cabinet pull-outs to under-sink organizers.
Additionally, incorporating creative bathroom storage ideas can help you optimize every inch of your space efficiently.
Hidden Hamper Placement
Hidden hampers can blend seamlessly into your bathroom, keeping laundry out of sight while preserving a clean, airy vibe.
I place them where they’re easy to access but discreet, so the space stays calm and organized.
- Behind cabinet doors for invisibility
- In a shallow shelf with a hinged lid
- Beside the vanity for quick toss-ins
- Inside a shallow pull-out drawer
Airy Laundry Solutions
I favor slim, integrated baskets that tuck beside sinks or under counters, keeping surfaces clear. You’ll notice the space feels calmer as clothes stay out of sight—yet accessible.
Choose neutral tones, soft lids, and quiet operation to maintain an open, clean aesthetic.
Step-By-Step Setup
Let’s set up hidden hampers in a few simple steps to keep your laundry area calm and clutter-free.
I’ll guide you through a practical, tidy setup that feels airy and accessible, with smart placements and easy access.
- Choose compact, vented baskets
- Locate near the laundry zone for quick drop-offs
- Use concealed lids or swing doors
- Label bins for organized sorting and maintenance
Over-the-Door Organizers for Narrow Baths
Over-the-door organizers are a smart, space-saving solution for narrow baths, letting you reclaim cabinet and shelf space without bulky replacements.
I’ve found compact caddies and slim baskets keep daily essentials reachable, from soaps to razors.
Install with sturdy hooks, avoid overloading, and label compartments for quick access.
They’re affordable, easy to adjust, and maintain a tidy, functional bathroom every day.
Using these organizers can make any space feel bigger by maximizing vertical storage and reducing clutter.
Magnetic Strips for Small Tools and Metals
I’m sharing how magnetic strips can simplify arranging small tools and metals in your bathroom setup.
I’ll highlight magnetic tool placement, smart small metal organization, and practical wall-mace storage tips you can try next.
Let’s explore clear, tidy options that keep essentials within reach.
These clever storage solutions work effectively for bathroom spaces big and small, maximizing your available area.
Magnetic Tool Placement
Magnetic strips are a simple, efficient way to organize small tools and metals within arm’s reach. I place frequently used items along the strip, so grabbing what I need is fast and instinctive. No clutter, no searching.
This setup keeps counters clear and trains clean habits.
- Neatly align screwdrivers and bits
- Group frequently used items by type
- Place a backup magnet for spare fasteners
- Install at ergonomic height for easy access
Small Metal Organization
I mount slim strips near the sink cabinet, placing scissors, nail sets, and screws within reach. I label locations and rotate frequently used items to the front.
This system minimizes rust risk, preserves drawer space, and simplifies replacement, saving time during repair tasks.
Clean, purposeful, and efficient.
Wall-Mace Storage Tips
I’ve found that wall-mounted magnetic strips streamline access to essential tools and fasteners, especially when space is tight. I use them for tiny screwdrivers, blades, and metal clips, keeping the vanity countertop clear while I work.
With a quick glance, I locate what I need, then rehang it to stay ready for the next task.
- Maximize vertical storage with labeled zones
- Place near testing areas to cut search time
- Use corrosion-resistant strips for humidity
- Combine magnets with small bins for tiny parts
Corner Carts on Castors for Flexible Storage
Corner carts on castors offer flexible storage that can move with you as you rearrange a bathroom or adjust your routine.
I appreciate how these carts free up vanity space and keep essentials visible. I keep cleaning supplies separate from towels, label baskets, and roll between zones.
Smooth wheels, sturdy frames, and a compact footprint make daily organization effortless.
These carts are a smart choice to transform your bathroom closet and maximize storage efficiency.
Tension Rod Hacks: Create Extra Racks
I’ll show you how to install tension rods to free up space without bulky inserts.
By maximizing vertical space and grouping items by type, you’ll keep frequently used items within easy reach.
Let’s start with a quick test: can you visualize a tidy rack created from a few well-placed rods?
Smart storage solutions for small bathrooms often focus on creative ways to use vertical space, making tension rods an ideal option for small bathroom storage.
Install Tension Rods
Installing tension rods is a quick, practical way to add extra storage without committing to permanent fixtures.
I’ll show you simple, intentional placements that maximize flexibility and keep countertops clear.
- Install under-sink pull-out shelves with a rod for towels
- Create a shallow shoe rack behind the door
- Hang baskets from a sturdy shower rod
- Use long rods for adjustable divider shelves
Maximize Vertical Space
Vertical space is one of the easiest ways to expand bathroom storage, and tension rods make it simple to stack racks without drilling.
I show you practical hacks: install ceiling or shower rod extensions, hang baskets at different heights, and slide hooks for towels.
This keeps essentials visible, accessible, and clutter-free, while preserving counter space and preserving a calm, organized vibe.
Organize By Item Type
- Use two-tension rods for layered towel storage
- Hang makeup brushes in a small cup under a shelf
- Suspend spray bottles on a vertical rod
- Create razor and toothbrush slots with lightweight holders
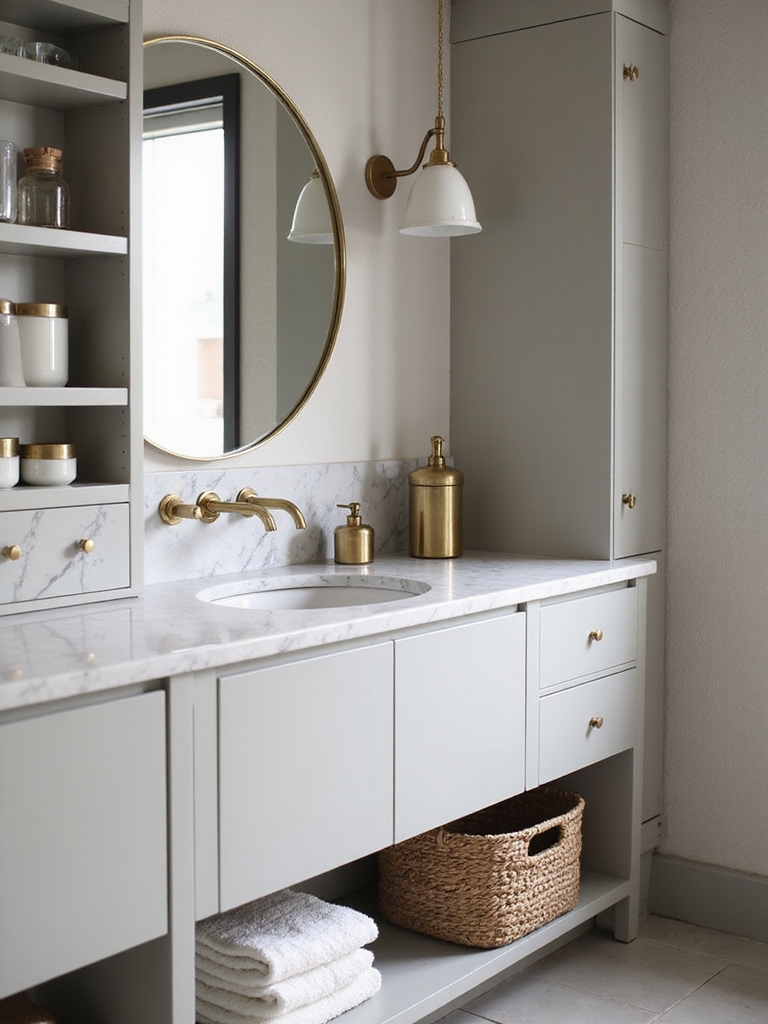
Clear Jars and Labeling for Visual Calm
Clear jars and labeling bring instant visual calm to a cluttered bathroom. I keep essentials visible yet tidy, labeling with simple words that make sense to anyone who opens the cabinet.
Use uniform jars, airtight lids, and a basic color cue for quick recognition. Swap refills into labeled containers, then wipe rims to maintain a clean, inviting space. Incorporating functional bathroom shelving can further enhance organization while maximizing space.
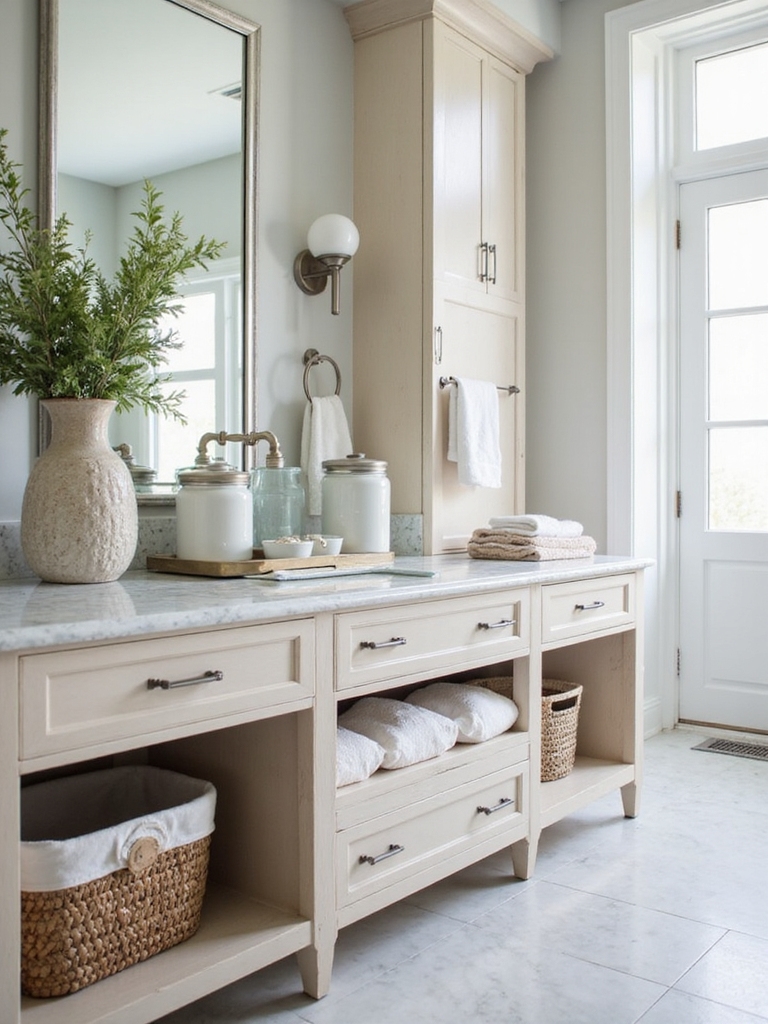
Create Layered Countertop Zones Without Crowding
To create layered countertop zones without crowding, start by designating three distinct areas: daily-use items in reach, decorative touches for texture, and a small staging spot for things you’re about to use.
- Keep essentials visible, not buried
- Layer height with a short tray and tall vase
- Introduce color accents for cohesion
- Rotate staging items weekly for freshness
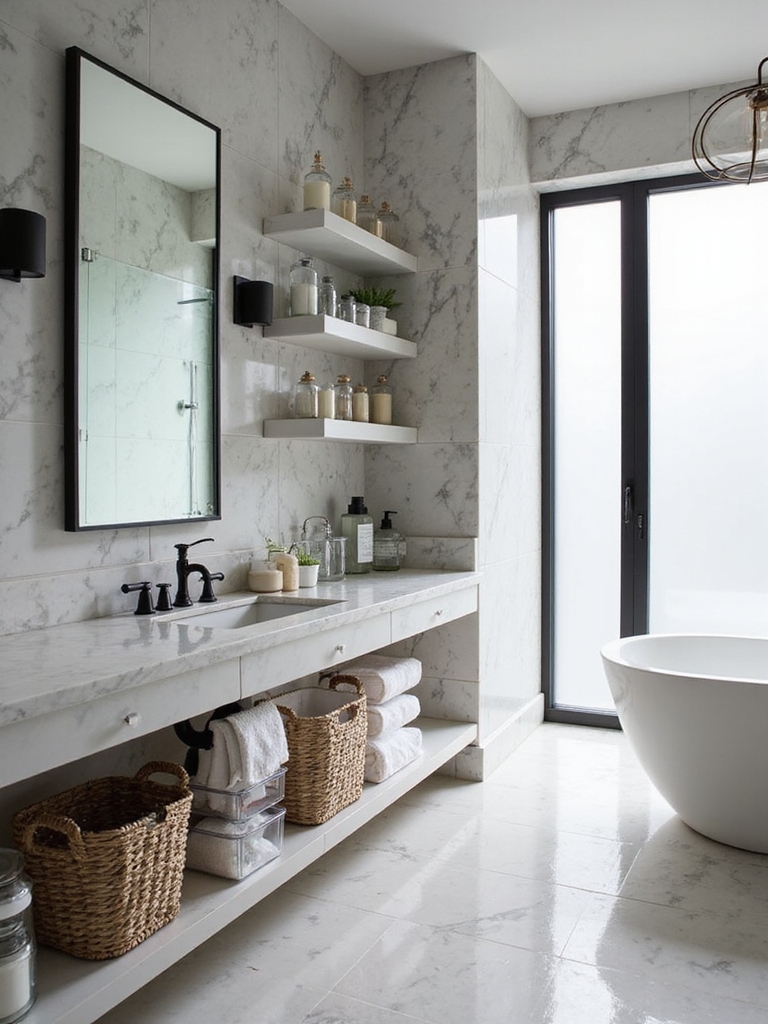
Under-Sink Organizers That Really Work
Under-sink chaos is a common snag after setting up those neat countertop zones, so I’ve rounded up organizers that actually work in tight, wet spaces.
I favor slim, stackable bins, expanding shelves, and pull-out caddies that minimize drips and leaks.
Look for rust-resistant materials, labeled sections, and easy-clean finishes.
Simple upgrades save time, reduce clutter, and keep essentials within reach.
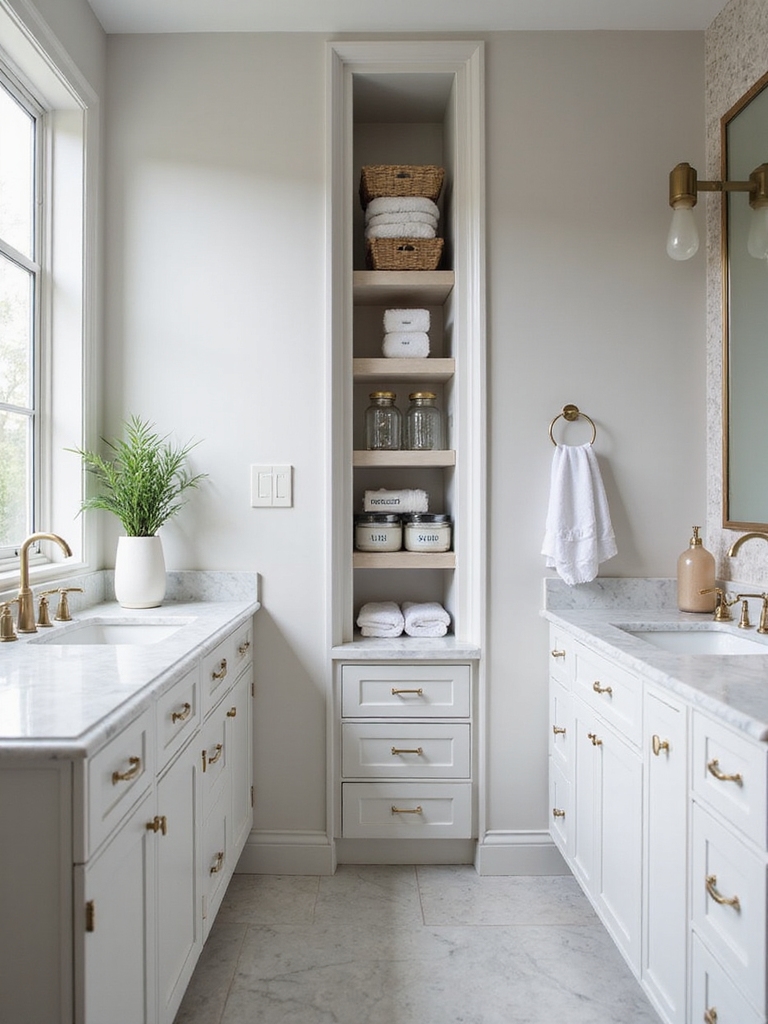
Built-In Niches and Recessed Shelves Ideas
Built-in niches and recessed shelves can dramatically free up counter space while adding a clean, streamlined look.
I guide you through smart placement and finishes that blend with your bath. You’ll gain practical storage without bulk, plus easy maintenance.
- Choose water-resistant materials and concealed hardware
- Plan heights for reachable daily items
- Add LED lighting for visibility
- Use slim profiles to maximize deep, uncluttered storage
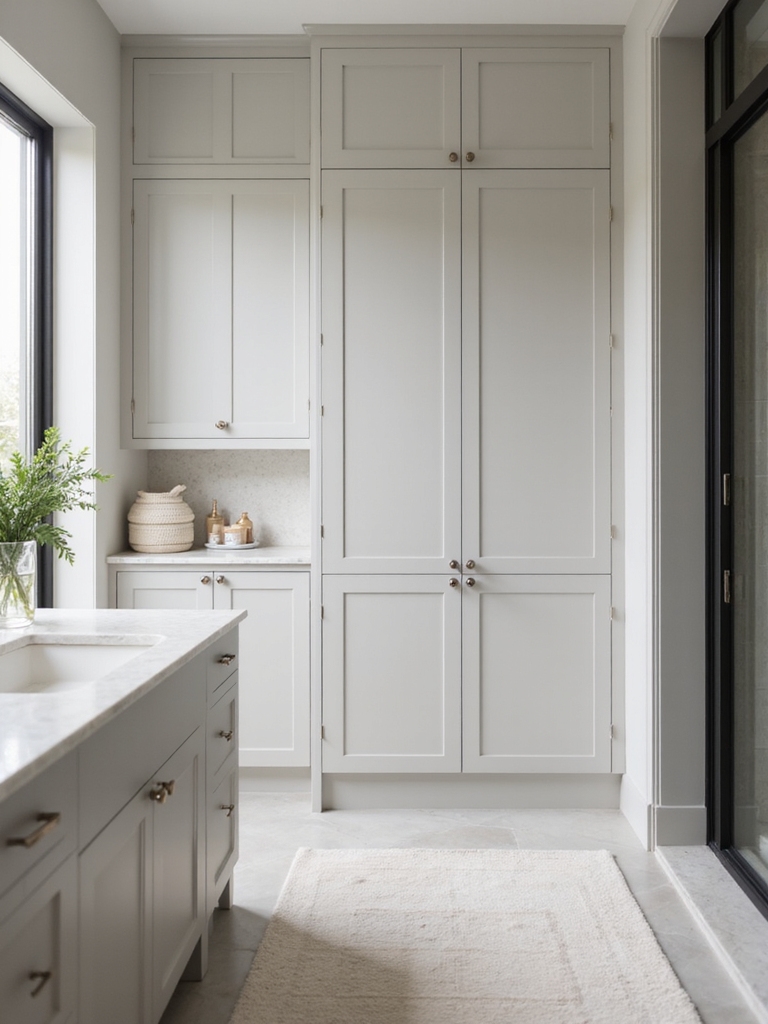
Linen and Towel Storage That Saves Space
I’ve seen how built-in niches free up counter space, and now we’ll apply that logic to linen and towel storage.
I start by grouping items by frequency, then stack towels in slim, ventilated bins.
I favor adjustable shelves and labeled, slim baskets to maximize vertical space.
Keep a compact linen closet tidy with a simple rotation plan.
Multi-Purpose Containers for Toiletries
- Clear stackable organizers
- Cylindrical pumps with uniform caps
- Small labeled jars
- Composite travel bottles
Hidden Charging Stations and Cord Management
I design discreet outlets and labeled paths that keep devices accessible yet out of sight. By routing cables along baseboards and behind mirrors, I reduce clutter and accidental unplugging.
Let’s choose compact hubs and plug adapters that blend with fixtures for a polished, practical result.
Cleaning Caddies for Stain-Free Zones
Cleaning caddies make stain-free zones a reality by keeping agents, brushes, and wipes organized in plain sight.
I’ll share a simple setup you can replicate: choose a spill-proof caddy, label compartments, place frequently used items at the top, and replace worn tools regularly. Your routine stays swift, tidy, and hygienic.
- Spill-proof caddy selection
- Clear labeling for quick access
- Top-row essentials placement
- Regular tool replacement schedule
Color and Material Cohesion for a Calm Look
Color and material cohesion starts with a simple rule: pick a dominant color and one or two supporting neutrals, then carry those through every surface, accessory, and tool.
I emphasize consistent finishes—matte metals, polished stone, and glass—so textures read calm, not busy. Limit patterns, group similar tones, and maintain spacing.
A cohesive aesthetic clarifies daily routines and reduces visual clutter.
Budget-Friendly Upgrades That Make a Difference
If you’re aiming for noticeable improvements without breaking the bank, start with practical upgrades that hit the essentials: storage, lighting, and surfaces.
I’ll guide you to simple, impactful choices that feel intentional, not cluttered.
- Add a slim cabinet organizer to maximize under-sink space
- Swap bulbs for bright, warm LEDs to sharpen color and mood
- Install a painted backsplash to refresh surfaces
- Use removable adhesive hooks for flexible storage
Maintenance Habits to Keep It Organized
Maintaining an organized bathroom isn’t about one big reset but steady, simple habits you stick to daily.
I suggest a quick morning wipe-down, a nightly glance to return items to their spots, and a weekly purge of expired products.
Use labeled containers, adjust storage as needs shift, and commit to a 5-minute reset before bed.
Consistency delivers lasting calm.
Conclusion
I know a tidy bath can feel like a small victory parade in a rainstorm. With decluttering as the drumbeat and smart storage as the float, your space becomes a calm harbor, not chaos. I’ve shared practical tweaks—floating shelves, drawer dividers, hidden hampers—that breathe order into your routine. Stick to simple habits, keep cohesion in color and material, and let maintenance be your loyal compass. You’ve got this: a serene, organized bathroom is well within reach.