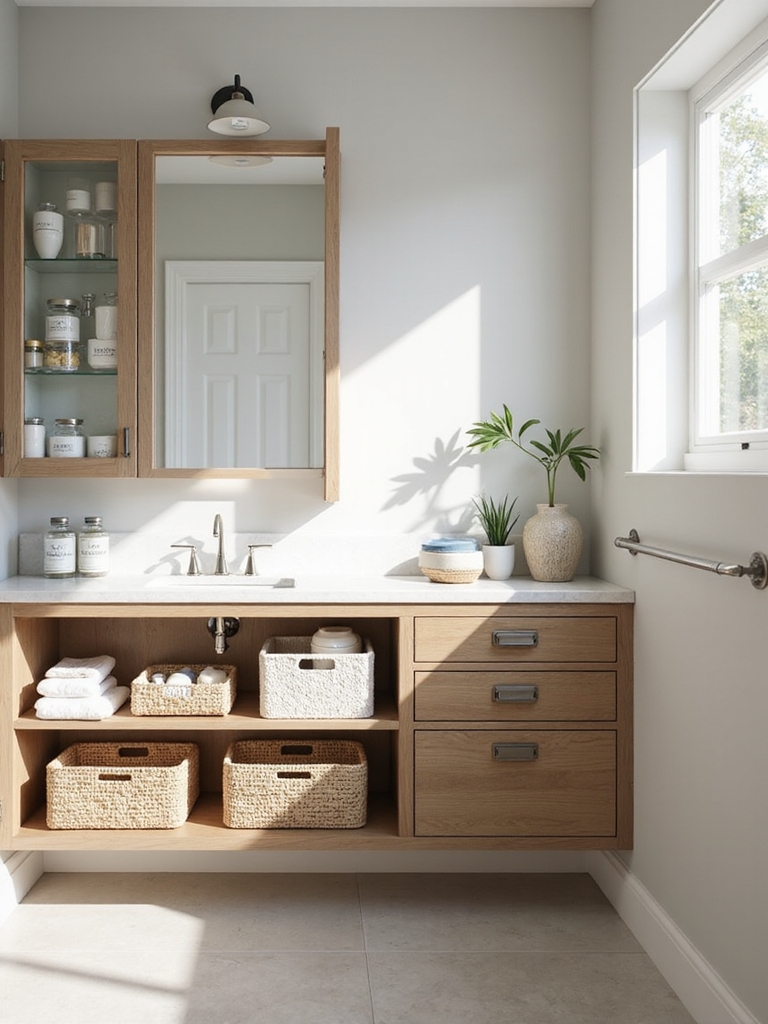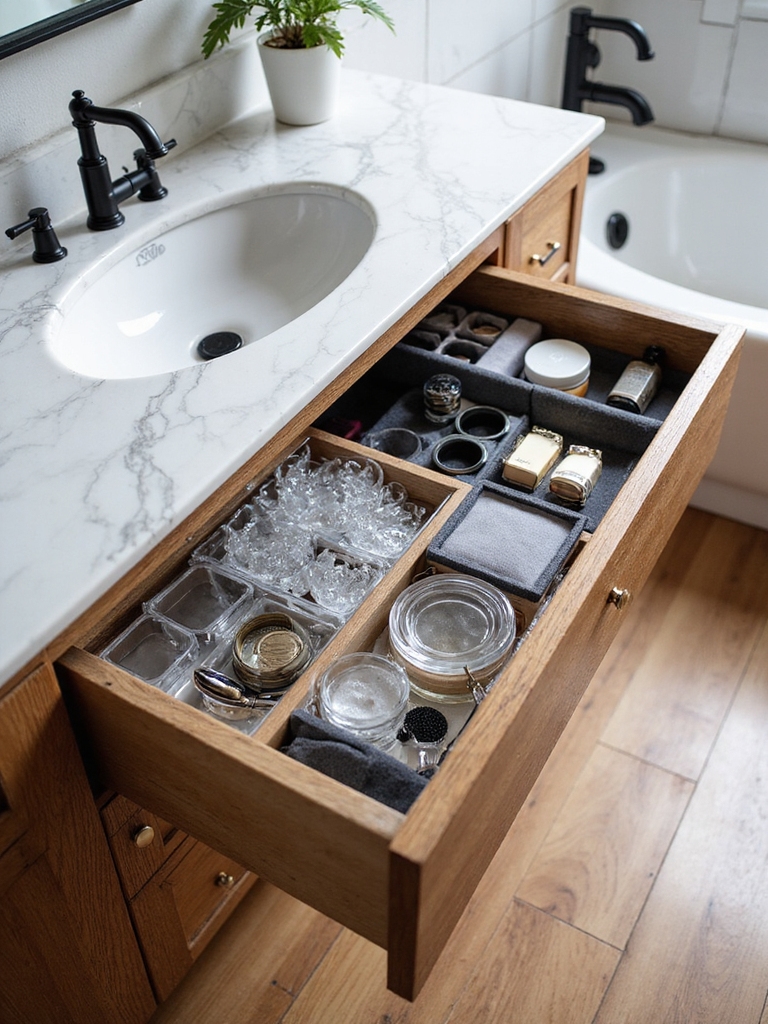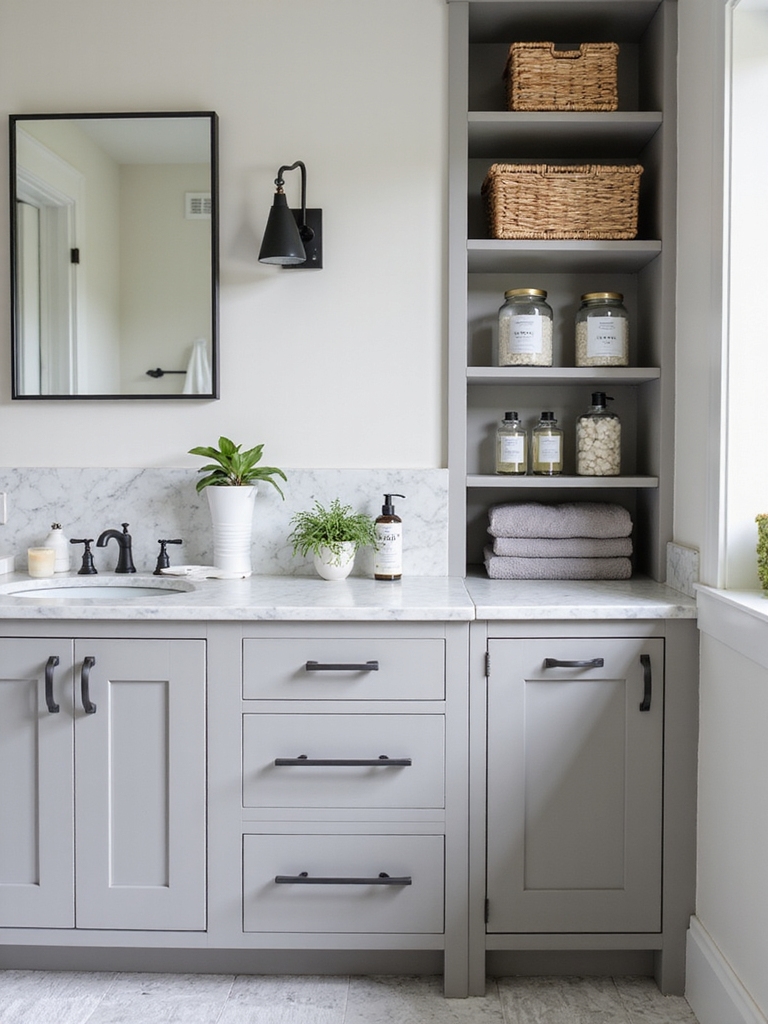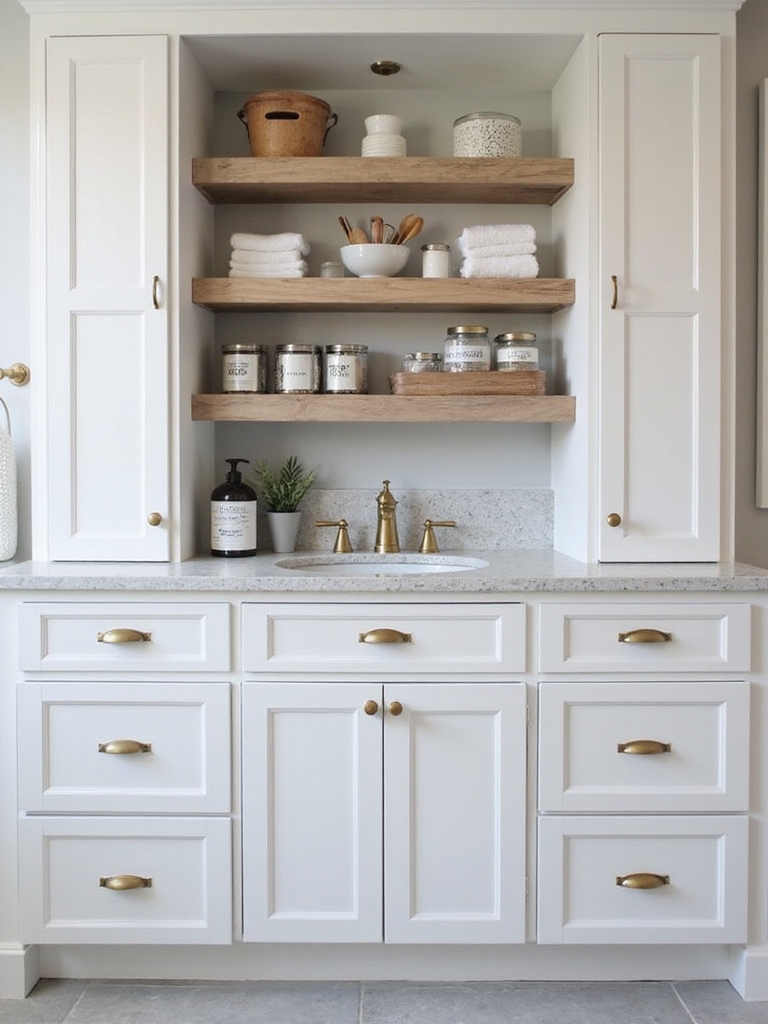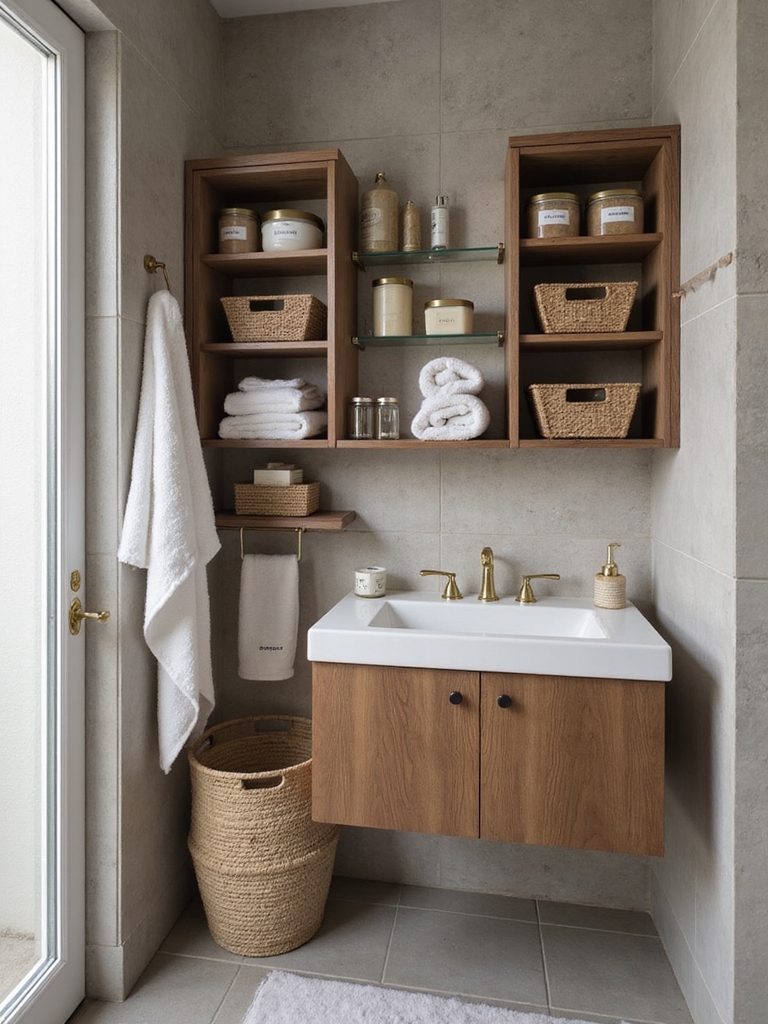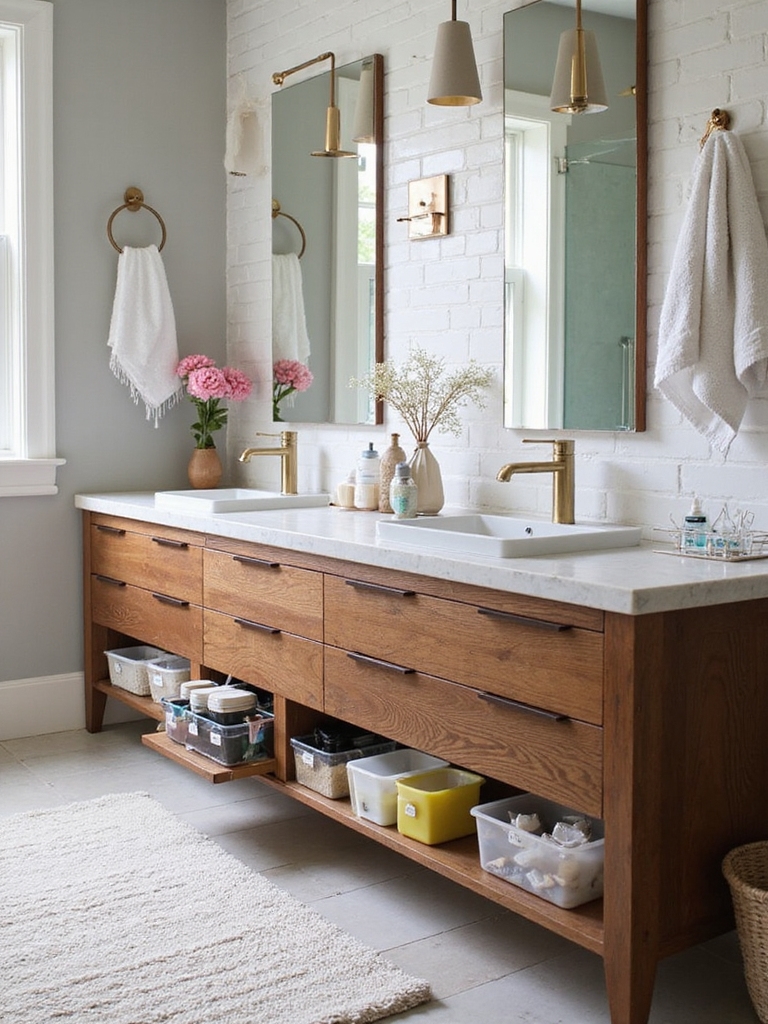

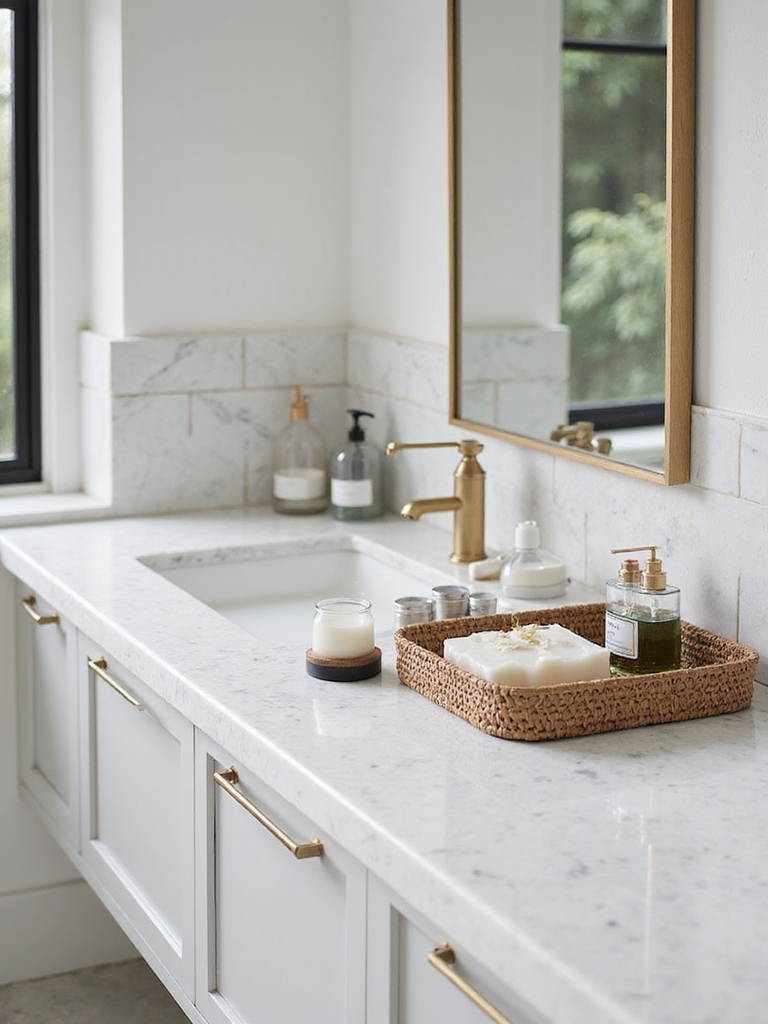
A tidy countertop is usually treated like a weekend renovation, when it is closer to a thirty-minute job and a trip to the dollar store. You do not need matching designer canisters or a custom drawer system. You need to clear what you do not use, give the rest a cheap home, and split the space fairly if more than one person shares it.
These 13 bathroom countertop organization ideas lean fast and budget-friendly, with a real 30-minute quick-start plan and fair zones for a family bath. For the deeper decluttering method see these counter organization ideas, and for the storage gear itself, these counter storage ideas. This piece is the quick, cheap, shareable version.
Quick Answers
How fast can I do this? About 30 minutes for a full reset: clear, sort, zone, and contain. The plan is at the end.
What will it cost? Very little. A few hooks ($5-12), a tray ($10-30), and repurposed jars cover most counters.
We share one bathroom. Help? Give each person a zone and a labeled bin or shelf. Fair zones are what keep a shared counter from warring.
Organize for a Fresh Countertop Start
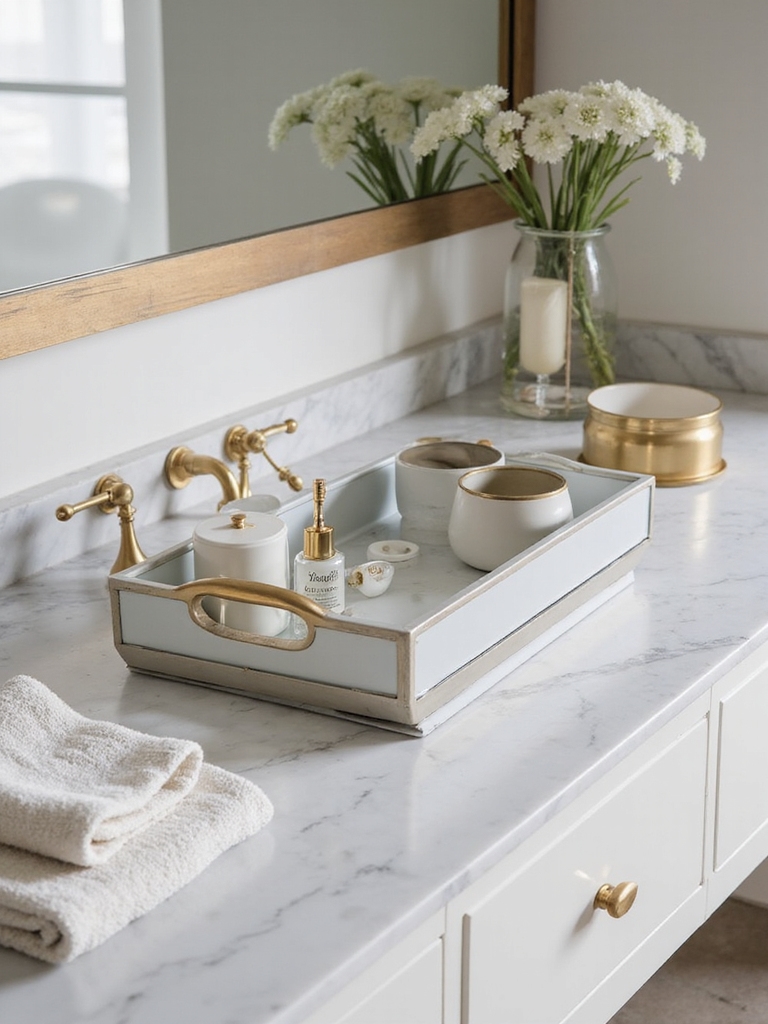
Every quick win starts the same way: clear the whole counter and wipe it down to a blank slate. Seeing the bare surface is half the motivation. It shows you exactly how little actually needs to live up top, and how much of what was crowding the sink was really just stuff you had stopped noticing was even there.
As things come off, I make three fast piles, keep, relocate, and toss, and I am ruthless about the toss pile. The counter I reset first for any client is always the busiest one.
The expired sunscreen, the dried mascara, the hotel samples you will never use, all of it goes. Most counters lose a third of their clutter in this single step, before you buy or organize a thing. A clean baseline makes every idea below faster and cheaper, because you are only storing what you truly use.
Zone-Based Bathroom Organization
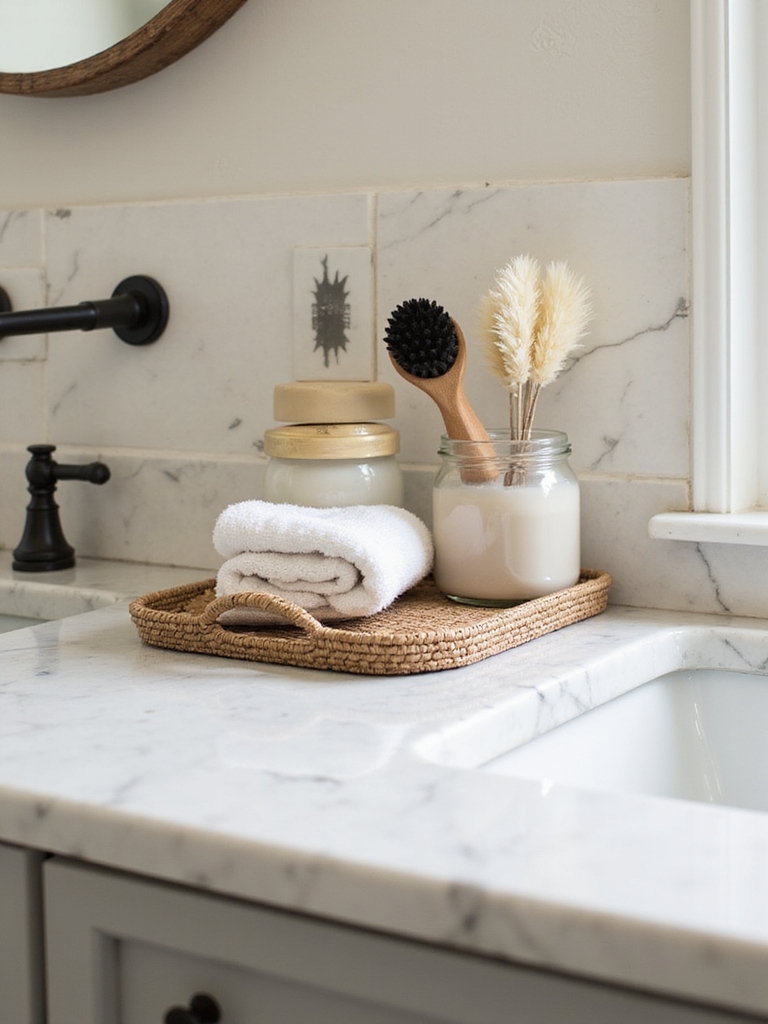
Once the counter is clear, give every item a job and a home by grouping it into zones. When like lives with like, your hand learns where things are and the morning runs on autopilot. I map three or four simple zones based on how you actually move through getting ready, not on how a catalog photo looks.
Put the daily zone front and center by the faucet, and push backups and rarely-used items to the edges or below. This single bit of structure is what stops a counter from re-cluttering, because everything has somewhere obvious to go back to.
- Daily zone: the few things you touch every morning, parked within arm’s reach.
- Grooming zone: brushes, tools, and their cords, grouped so cleanup is one motion.
- Backup zone: refills and extras, tucked to the side or into the cabinet below.
Heads-Up
Resist the urge to shop before you declutter. The most common mistake I see is buying a cart of cute organizers first, then discovering half do not fit the counter or the things you actually own. Clear and measure, then buy only what the leftover items need.
Organized Countertop Essentials: Hooks, Trays, Baskets
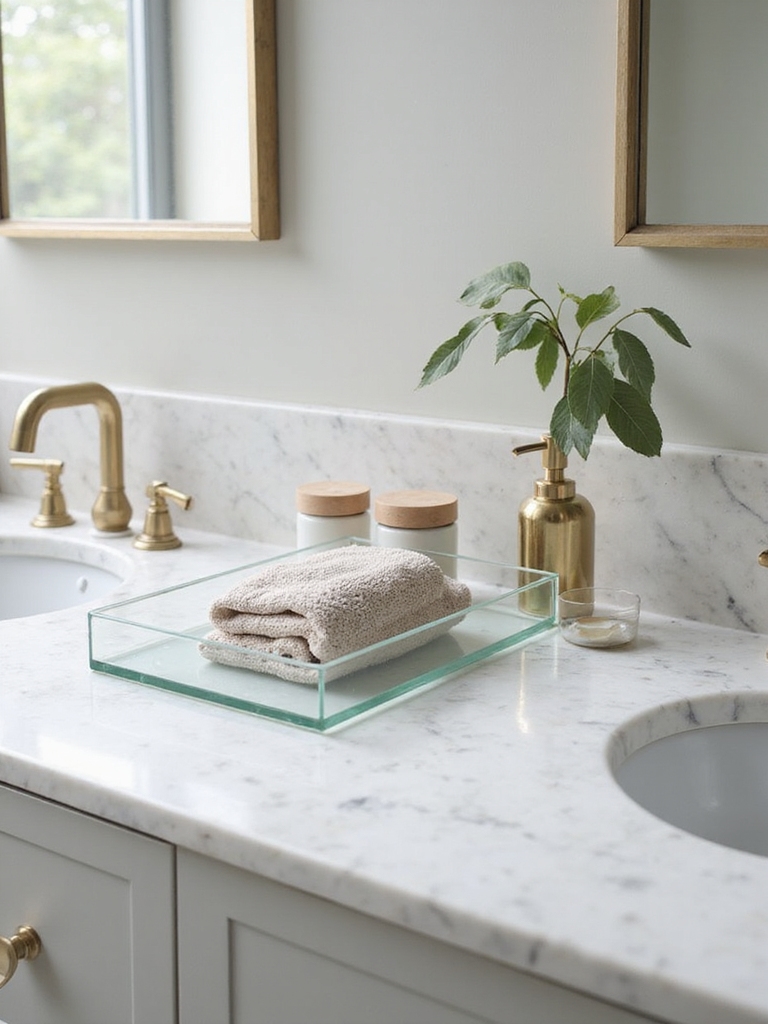
You can organize almost any counter with three cheap tools: hooks, trays, and baskets. Each does a specific job, and together they cost less than a single fancy organizer. A few adhesive or over-cabinet hooks at $5 to $12 move brushes and cords up off the surface in seconds, no drilling required.
One Tray Does the Most Work
A tray is the workhorse. It draws a frame around your daily items so they group, look intentional, and let you wipe the whole counter in one swipe. A tray runs $10 to $30, and a basket or two at $8 to $20 corrals the bulkier or less-pretty things you would rather not display.
Match the finishes loosely to your room and the cheap toolkit suddenly looks deliberate. I keep the trio in one palette so a five-dollar basket and a borrowed tray still read as a set. For more on the gear, these cabinet storage ideas go deeper on organizers.
A Simple Countertop Organization System
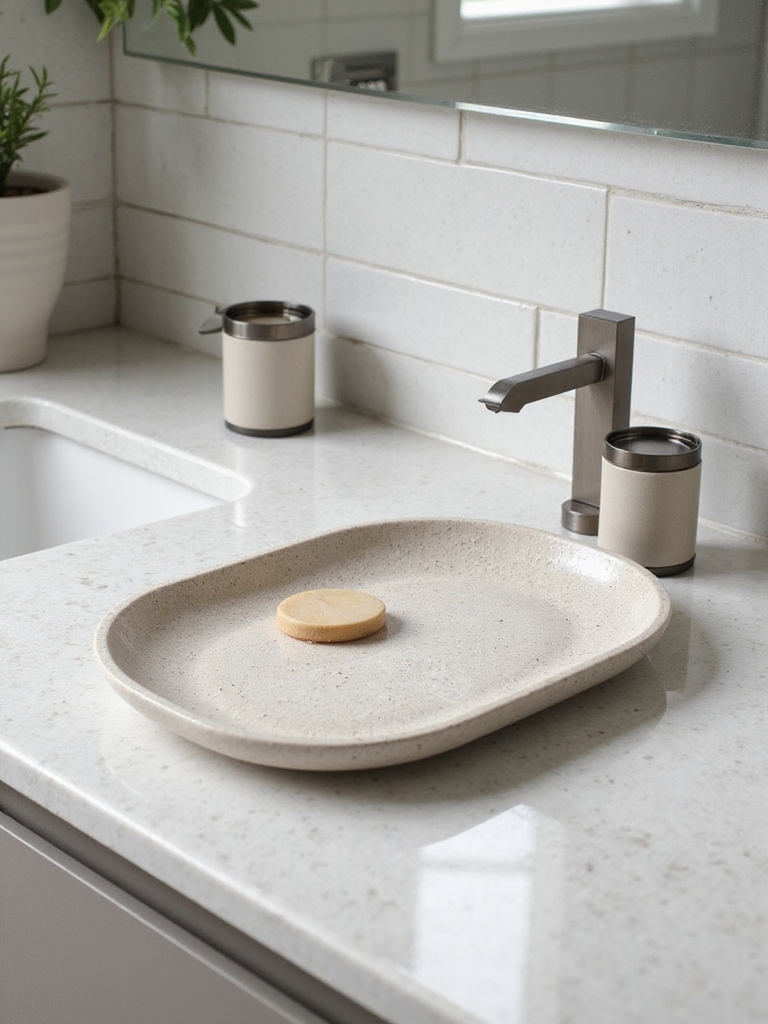
The system that actually sticks is the simplest one: three quick-grab tiers based on how often you reach for something. Daily essentials go in a slim tray right by the faucet, backups go in a discreet bin underneath, and seasonal or occasional items get parked in a labeled basket out of the way. That is the whole framework.
The point is to make the right thing the easy thing. When your everyday five are the closest to hand and the clutter is one tier removed, you stop piling things on the open counter out of laziness. It is a system you can set up in minutes and keep without thinking.
📋The Cheap Counter Starter Kit
- ✓One tray for the daily five ($10-30 or repurposed)
- ✓Two glass jars for brushes, cotton, and swabs (free)
- ✓A few adhesive hooks and a cord wrap ($5-12)
Budget-Friendly Countertop Organization
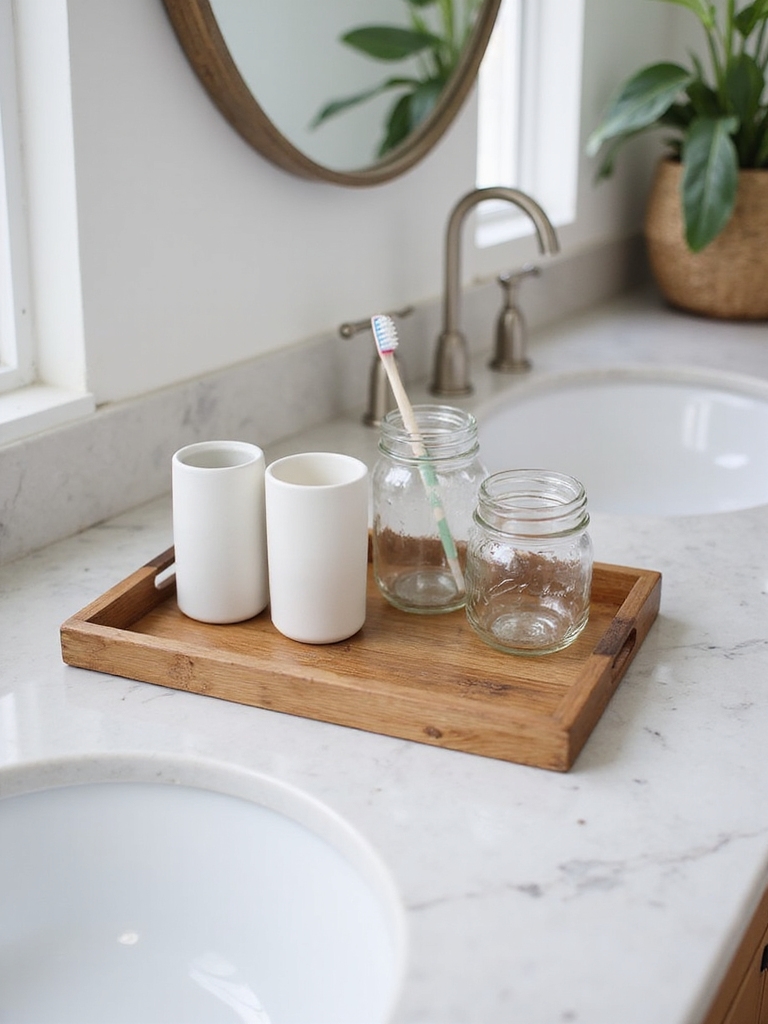
You do not need to spend much, because the best counter organizers are often things you already own or can grab for a dollar. The trick is matching a cheap container to each job. My favorite budget swaps, in order of impact:
- Repurpose glass jars and candle vessels for brushes, cotton, and swabs, free and pretty.
- Grab a dollar-store tray or a small plate to corral the daily five into one spot.
- Use binder clips or a cheap cord wrap to tame charger and tool cables on the surface.
Fair Zones for a Shared or Family Bathroom
A shared bathroom counter is where organization usually breaks down, because two or three people pile their stuff into the same square foot. The fix that keeps the peace is giving each person a clearly assigned zone, a labeled bin, a shelf, or a side of the counter that is theirs to manage.
When the territory is fair and obvious, with each person responsible for their own labeled patch of counter, the blaming stops and the surface stays neat because everyone knows exactly what is theirs to keep in order.
I size each zone to the person and their routine, so the one with the longest morning gets a little more room. Kids get a low, reachable bin with picture labels, which teaches them to put their own things away and keeps the grown-up products up top. A shared cabinet below holds the family overflow.
The trick with a family bath is that the system has to survive everyone, not just the tidy one. Labels do that quiet work, since a marked bin tells every person exactly where their things belong. Lean on a few small-space storage tricks when the counter simply cannot stretch to fit the whole household.
A 30-Minute Quick-Start Plan
If you only have one free half hour, this is exactly how I spend it to take a counter from mess to neat. Set a timer and move fast. Speed is the secret weapon here, because it keeps you from overthinking every bottle. Most people finish with time to spare and a counter they cannot stop looking at.
The order matters more than perfection. Clear and toss first, then zone, then contain, and label last so the system holds after you walk away. Done once, the daily upkeep is almost nothing.
- Minutes 0-10: clear the counter completely and toss expired or unused items.
- Minutes 10-20: group the keepers into daily, grooming, and backup zones.
- Minutes 20-30: set a tray and jars, move backups below, and label the bins.
Go Vertical to Win Back Counter Space
When the counter is truly tiny, the cheapest fix is to stop using the counter at all and go up the wall instead. Walls are free real estate. A slim adhesive shelf, a few hooks, or a tension caddy moves daily items to eye level for a few dollars and no drilling. In my own narrow rental bath, two adhesive shelves cleared more space than any organizer I bought.
I lean on this most in small and shared bathrooms, where every square inch of surface is fought over. Mount a little shelf above or beside the sink for the daily things, hang brushes and cords on hooks, and the counter is suddenly free for actually getting ready. Renters love it because none of it leaves a mark.
Keep the wall pieces light and few so the room does not feel cluttered overhead. One shelf and a row of hooks usually does it. The counter you cleared in thirty minutes stays clear, because the overflow finally has somewhere to live that is not the sink.
Habits That Keep It Neat for Good
The thirty-minute reset only lasts if a tiny habit guards it, and the easiest one is a quick wipe-and-return right after you finish getting ready. While the counter is already in use, putting your few things back into their zones takes seconds, and the surface never gets the chance to pile up. It is upkeep folded into a routine you already do.
On a slower rhythm, restock and edit before things sprawl. In my own bath I refill the jars when they run low and do a short purge every few weeks to catch the new samples and empties before they multiply. Because everything has a home, both tasks are quick rather than a dreaded overhaul.
The real test is a hectic week, and a simple system usually passes it. When the daily five sit on a tray, the backups live below, and each person owns a zone, the counter has nowhere to clutter from. Style the surface lightly the way you would any vanity counter so neat also looks good.
What to Expect
Set honest expectations and you will actually keep this up. The first reset is thirty minutes and usually under thirty dollars, and the difference is immediate, a clear counter that wipes in one swipe and a morning that runs smoother. Nothing here needs tools, a contractor, or permission from a landlord.
The ongoing cost is a few seconds a day and a short top-up every couple of weeks. That is a small price for a counter that stays neat on its own, and it is far less work than re-cluttering and re-cleaning the same surface forever. Start with the thirty-minute plan and let the small habits carry it from there.
Countertop Organization Questions, Answered
?How do I organize a bathroom countertop quickly?
Set a 30-minute timer and work in three blocks: ten minutes to clear and toss, ten to group the keepers into daily, grooming, and backup zones, and ten to set a tray and jars and label the bins. The speed keeps you from overthinking, and most people finish with a counter that wipes clean in one swipe.
?What is the cheapest way to organize a bathroom counter?
Use what you have and add a few dollar-store pieces. Repurpose glass jars for brushes and cotton, set a small tray or plate for the daily five, and use binder clips or a cheap wrap for cords. A counter can look styled and organized for well under thirty dollars.
?How do we keep a shared bathroom counter organized?
Give each person their own labeled zone, whether a bin, a shelf, or a side of the counter, and size it to their routine. Kids get a low, reachable bin with picture labels. Clear territory and labels stop the blaming and keep everyone returning their own things to the right spot.
?How do I stop my counter from getting cluttered again?
Build a quick return into your routine: while the counter is already in use after getting ready, put your few things back into their zones, which takes seconds. Add a short purge every couple of weeks to catch new samples and empties, and the surface never gets the chance to pile up.
Thirty Minutes to a Counter That Stays Neat
A neat bathroom countertop is not a budget project or a weekend one; it is a fast, cheap reset plus a tiny daily habit. Clear and toss, zone what is left, contain it in a tray and a few jars, split it fairly if you share, and protect it with a quick return after each use. The whole thing fits in a half hour and a handful of dollars.
Start the timer this week and watch a chaotic counter turn orderly in one sitting. Once the system is in place, the only real work is putting things back where they live. Pick the thirty-minute plan if you want a fast reset, or the fair-zones approach if a shared bath is your real headache, and start there tonight.