I’ve mapped out 17 stunning bathroom vanity organization ideas that streamline clutter and boost efficiency, all on a practical budget. Start with an audit to spot clutter hotspots, then tailor a simple, functional storage system. Maximize under-sink space with tiered organizers and create daily-use zones for quick access. Tidy cords, use cohesive labeling, and establish a quick weekly cleaning routine. Curious what comes next? You’ll uncover more practical tweaks and stylish upgrades soon.
Audit Your Vanity to Spot Clutter Hotspots
Start by taking everything out of your vanity and sweeping or wiping down the space.
I’m right there with you, and I’ll keep this simple: notice what’s repeating, what’s expired, and what never gets touched.
Group items by use, then flag clutter hotspots—drawer corners, back shelves, and under-sink gaps.
Clear paths, label zones, and plan a quick reset routine.
You’ve got this.
Incorporating smart storage solutions can help maximize your bathroom space and keep your vanity organized efficiently.
Identify Your Daily Routine and Pain Points
So, what does your daily routine look like in the bathroom, and where do the pain points creep in?
I’ll map it with you, spotting friction before it slows you down.
Then we’ll flip mindset, not products, to reclaim space and speed.
- Note morning rituals
- Track product swaps
- Identify frequent bottlenecks
- Prioritize quick wins
Consider incorporating clever bathroom sink storage solutions to maximize every inch of your space and streamline your routine.
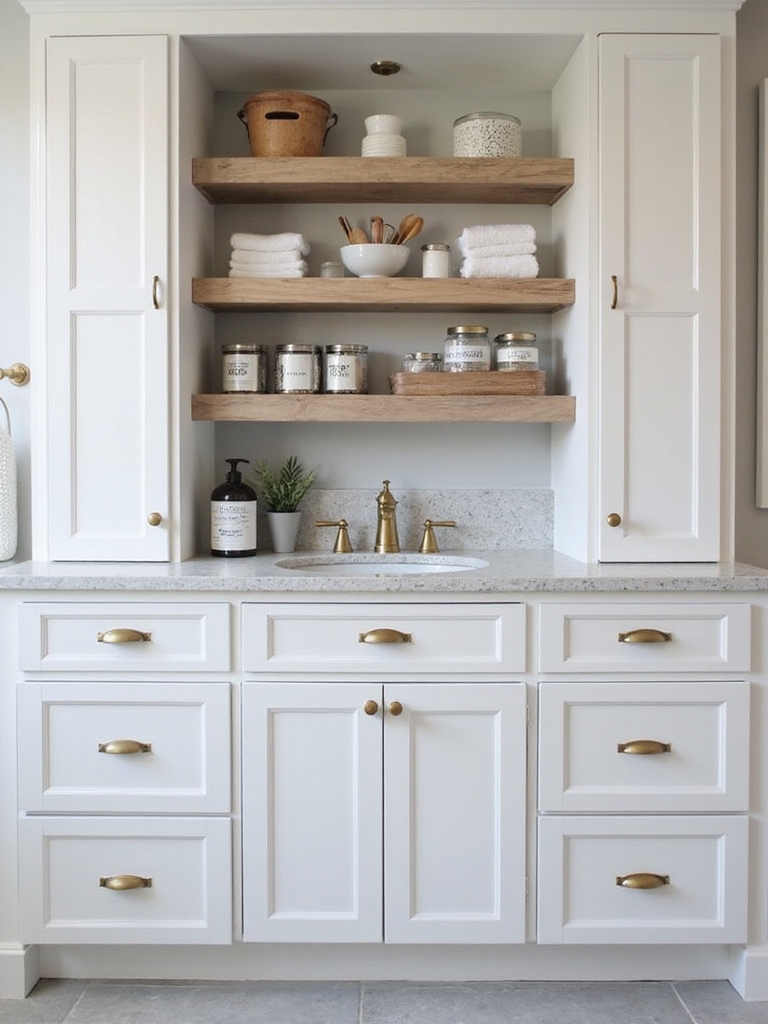
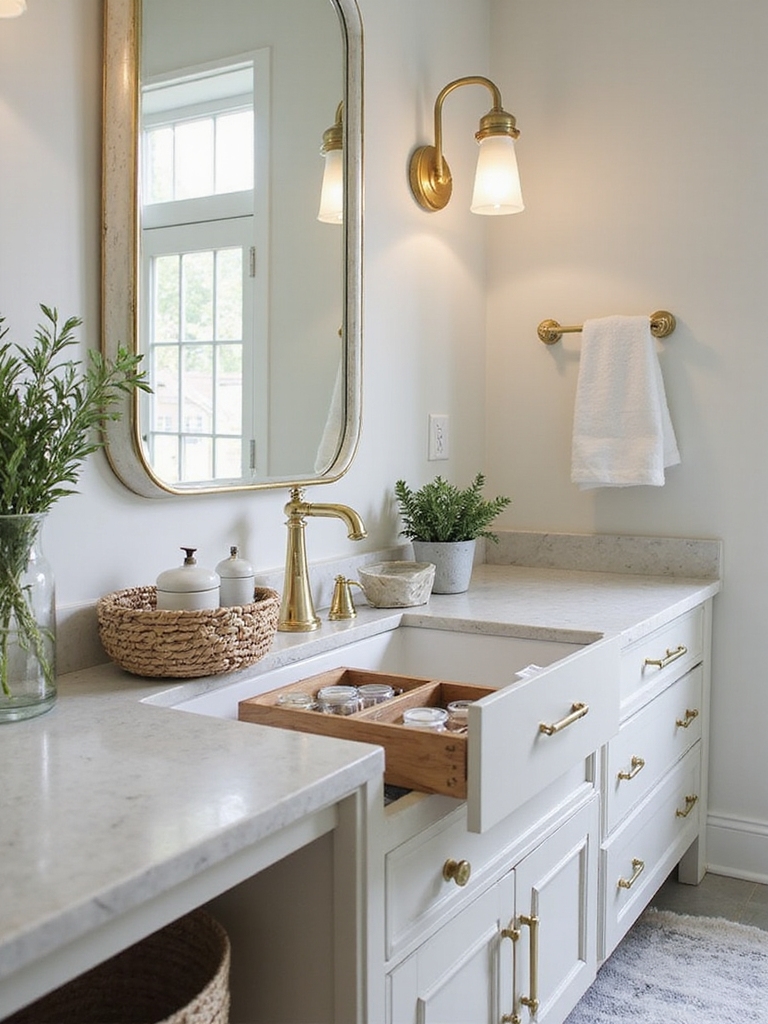
Choose a Simple, Functional Vanity Storage System

A simple storage system helps you grab what you need without chaos, so I’ll show you how to keep the essentials visible and accessible.
I favor functional vanity solutions that maximize every inch, from shallow organizers to built-in dividers.
Let’s aim for streamlined cabinet organization that saves time and reduces clutter, clear and practical from day one.
Incorporating smart bathroom storage solutions can transform your vanity area into a clutter-free, efficient space.
Simple Storage System
When you’re choosing a simple storage system for your vanity, simplicity wins: a streamlined setup that keeps everyday items easy to grab and put away.
- I pick clear containers for quick visibility.
- I group essentials by use.
- I label lids and drawers for fast return.
- I keep a small bin for overflow and backups.
Functional Vanity Solutions
I keep essentials accessible in labeled trays and a shallow drawer for quick grabs. No fuss, just clear zones: daily items up front, backups neatly tucked away.
I invest in sturdy organizers and a tiny cosmetic bag for travel. Your routine stays calm, efficient, and bright.
Streamlined Cabinet Organization
I’ll share a practical setup you can replicate now:
- Group similar items together
- Use clear bins and labels
- Allocate a dedicated drawer for daily essentials
- Regularly purge unused products and reassemble efficiently
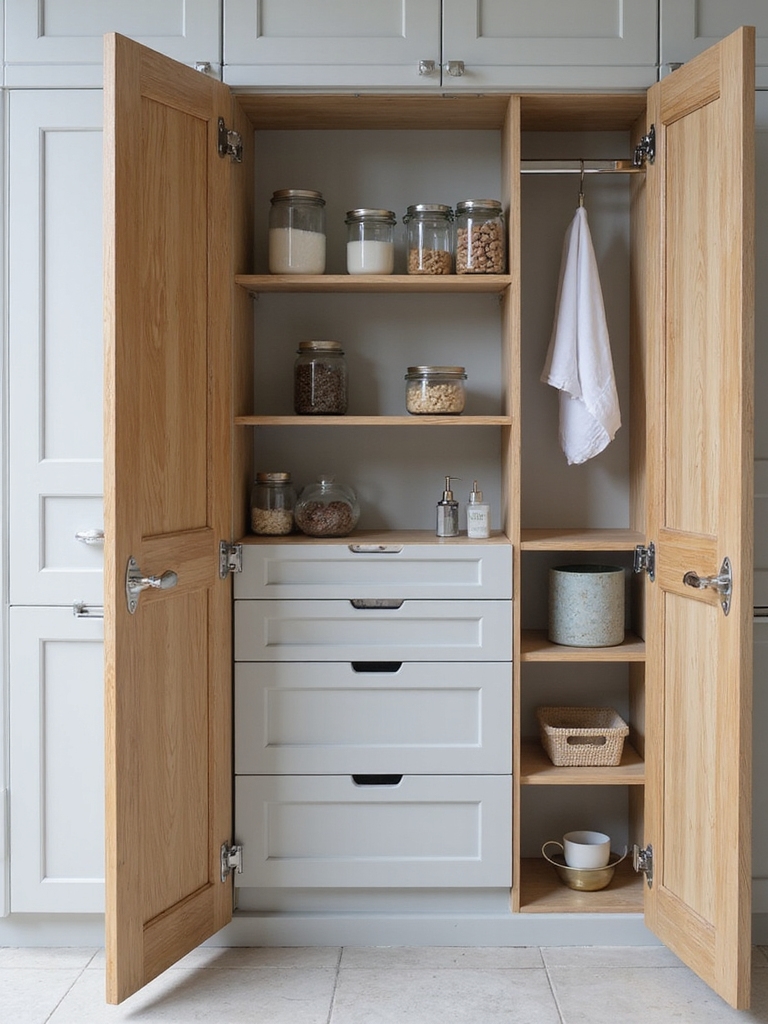
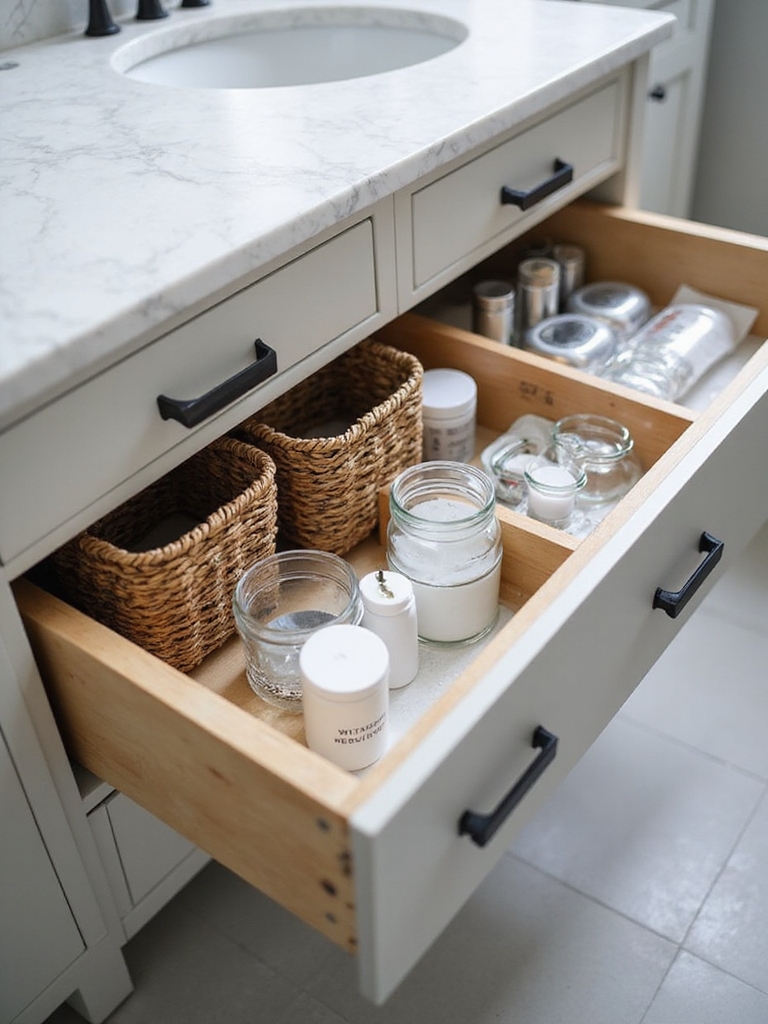
Maximize Under-Sink Space With Tiered Organizers
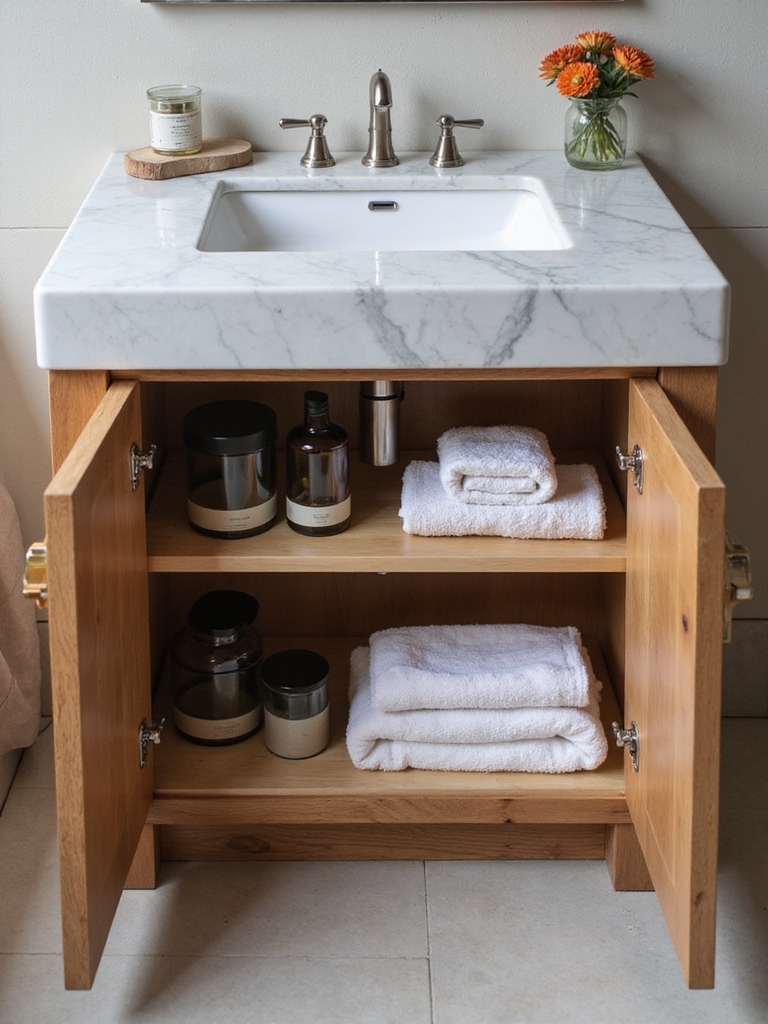
I’ll show you how tiered storage can transform under-sink chaos into order, using vertical space to hold the essentials without clutter.
We’ll focus on maximizing under-sink depth and choosing setups that put frequently used items within easy reach.
Let’s explore quick, accessible upgrades that make every inch count.
Incorporating clever storage solutions like tiered organizers is one of the smartest ways to achieve an efficient bathroom cabinet organization.
Tiered Storage Solutions
Tiered storage can transform a cramped under-sink area into a slick, usable space.
I share simple swaps that boost reach and order without clutter.
- Place a tall tray for tall bottles
- Use layered baskets to group items
- Install a slim caddy for disposables
- Label bins for quick finds
You’ll uncover space, so items stay visible and accessible.
Maximize Under-Sink Depth
If you’ve upgraded to tiered storage before, you already know how powerful vertical options can be.
I stack lightweight bottles on the top tier and reserve the deepest shelf for bulky cleaners, keeping airflow steady.
Drawers below hide sponges and brushes, while slim bins organize small parts.
With tiered setups, under-sink depth finally feels like usable space.
You’ll notice the difference quickly.
Easy Accessibility Upgrades
Maximize under-sink space with tiered organizers by making accessibility the center of your setup.
I guide you to simple upgrades that keep essentials at eye level and within reach.
- Measure space for precise fits
- Choose clear, stackable tiers
- Install slim pull-out shelves
- Label contents for quick grabs
This approach feels bright, practical, and doable today.
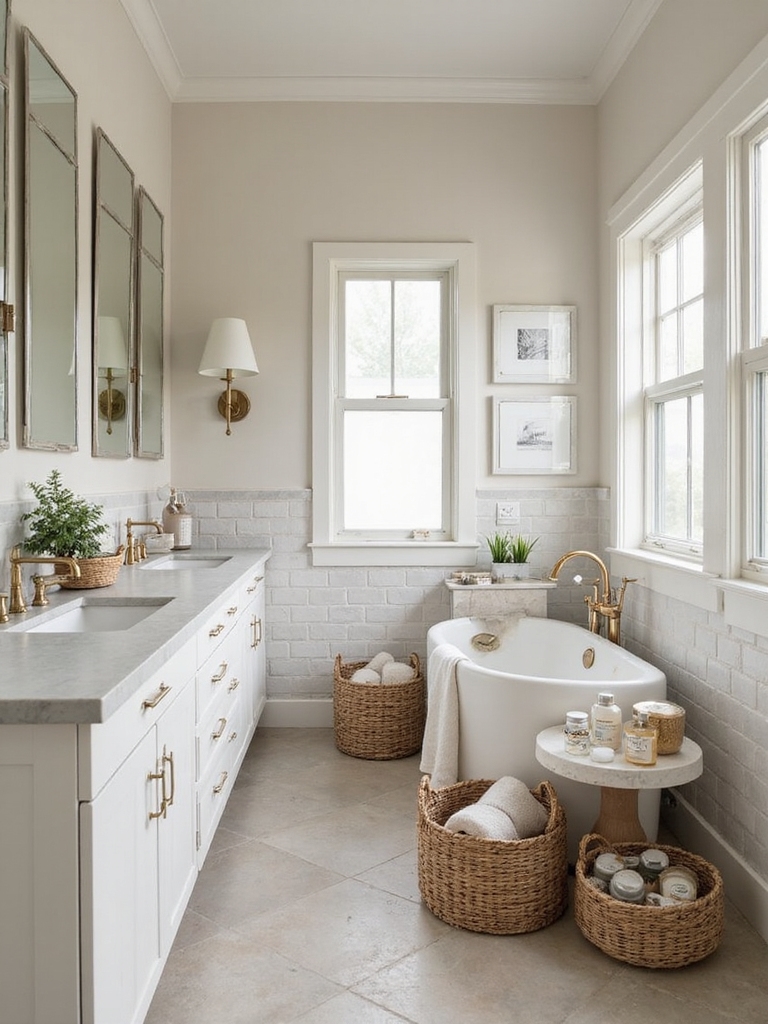
Create Daily-Use Zones for Routine Items
To make daily routines smoother, I like to create clear zones for the items I reach most—things like toothpaste, razors, and facial wipes—so everything has a designated home.
I group these by habit: morning, evening, and grooming.
Put daily-use staples within arm’s reach, label where possible, and keep a small tray for odds-and-ends.
Simple, practical, and consistently organized.
For added efficiency, consider incorporating creative bathroom storage solutions that maximize space and keep your vanity clutter-free.
Use Clear Containers for Makeup and Small Tools
Clear or translucent containers keep makeup and small tools visible at a glance, so I can grab what I need without rifling through a drawer.
- I sort items by frequency.
- I stack lids and brushes upright.
- I label compartments for quick finds.
- I wipe spills immediately and keep lids on.
Using clever bathroom storage solutions maximizes space efficiency in tiny bathrooms.
Group Hair-Styling Gear With Labeled Bins
Since clear containers help me see makeup and small tools at a glance, I’m applying the same idea to hair-styling gear: group it with labeled bins so everything’s where I expect it.
I sort by category—brushes, irons, combs, clips—then label each bin with a quick reminder.
This setup reduces chaos, speeds routines, and keeps near-duplicates from piling up.
Simple, effective, tidy.
Incorporating creative bathroom storage solutions ensures that even the smallest items have a designated spot, maximizing space and style.
Install a DIY Magnetic Rail for Tools and Accessories
I’ve found a DIY magnetic rail is a game changer for quick-grab tools and accessories.
I’ll show you how to set up a simple rail that holds brushes, small tools, and other essentials without clutter.
Let’s discuss the best spacing, magnet strength, and placement to keep everything visible and accessible.
Magnetic Rail Setup
A magnetic rail is a simple, space-saving solution for keeping tools and small accessories within arm’s reach.
I share how I set mine up to stay tidy and quick.
- Measure wall space carefully
- Attach screws and a level
- Arrange magnets by frequency of use
- Test hold and adjust spacing for accessibility
Tools And Accessoriesulsion
With the DIY magnetic rail already mounted, I’ll show you how to install it for tools and other accessories so everything stays within easy reach.
Start by cleaning the rail surface, then attach magnetic strips aligned with your most-used items.
Keep short, non-slip containers nearby for small bits.
Regularly check tension, swap positions as needs shift, and enjoy clutter-free, accessible vanity space.
Install a Pegboard Rail to Hold Daily Accessories
Install a pegboard rail where you reach daily accessories so you can grab what you need without digging through drawers.
I love how this keeps essentials visible, tidy, and reachable.
- Pick a height you use most
- Hang lightweight items in small hooks
- Label sections for quick tips
- Maintain with a weekly quick sweep
Adding vertical storage solutions like pegboard rails is a great way to maximize space in tiny bathrooms while keeping everything organized and accessible.
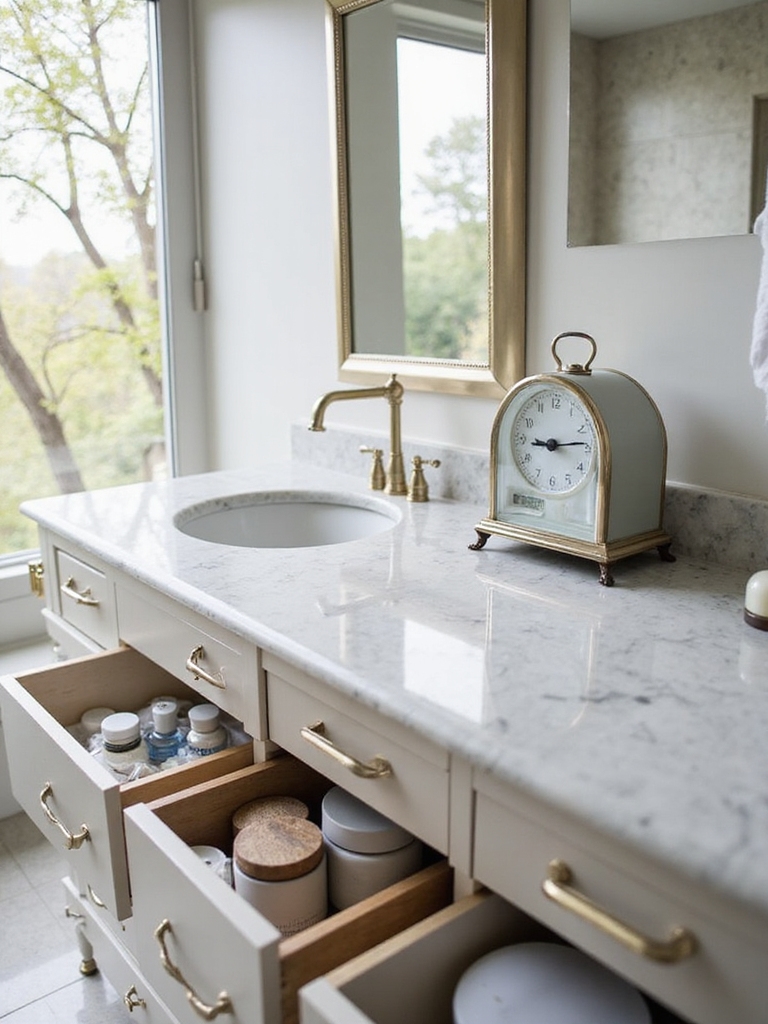
Add Drawer Dividers That Fit Your Exact Drawers
If you want drawer organization that actually sticks, start by choosing dividers that fit your exact drawers.
I measure width, height, and depth, then pick adjustable or pre-sized options.
I label zones for everyday items and avoid overcrowding.
Smooth edges prevent snags, and a soft glide helps.
Precision now saves chaos later, keeping vanity tops clean and purposeful.
Incorporating smart storage solutions can transform your bathroom by maximizing space and reducing clutter.
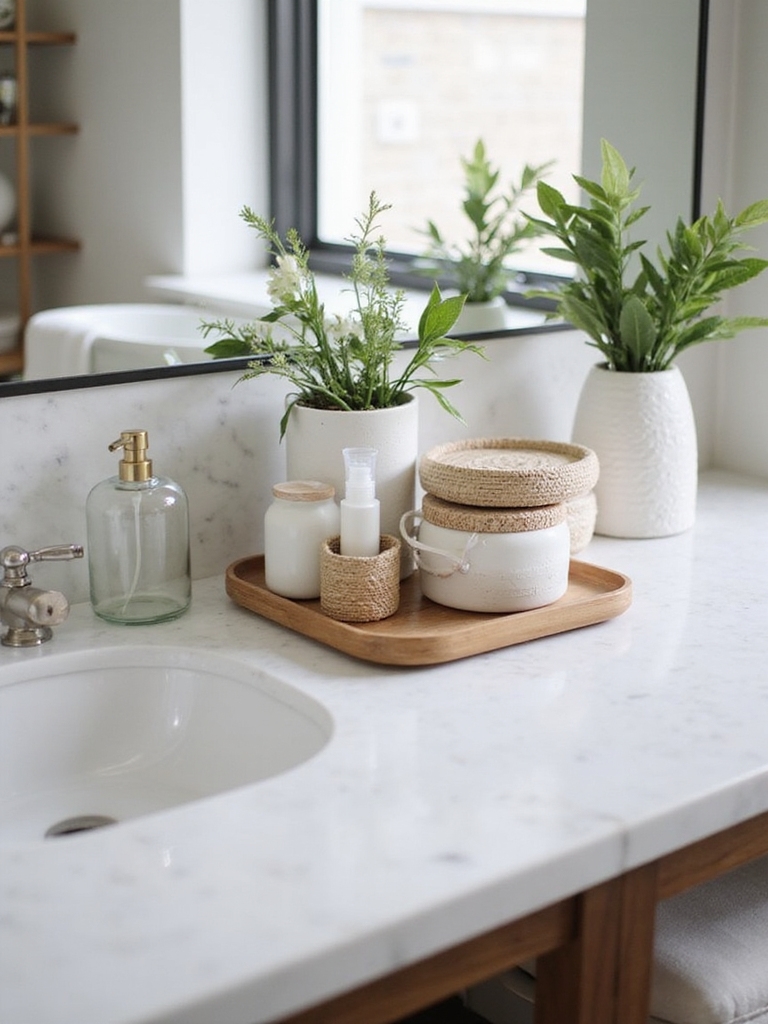
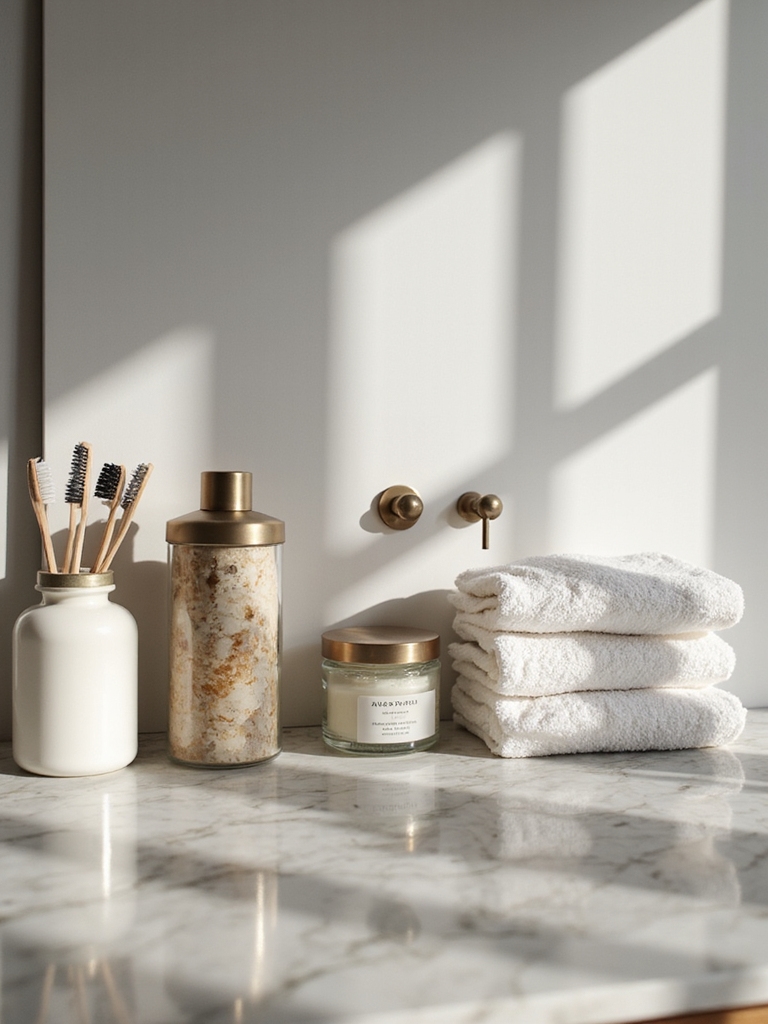
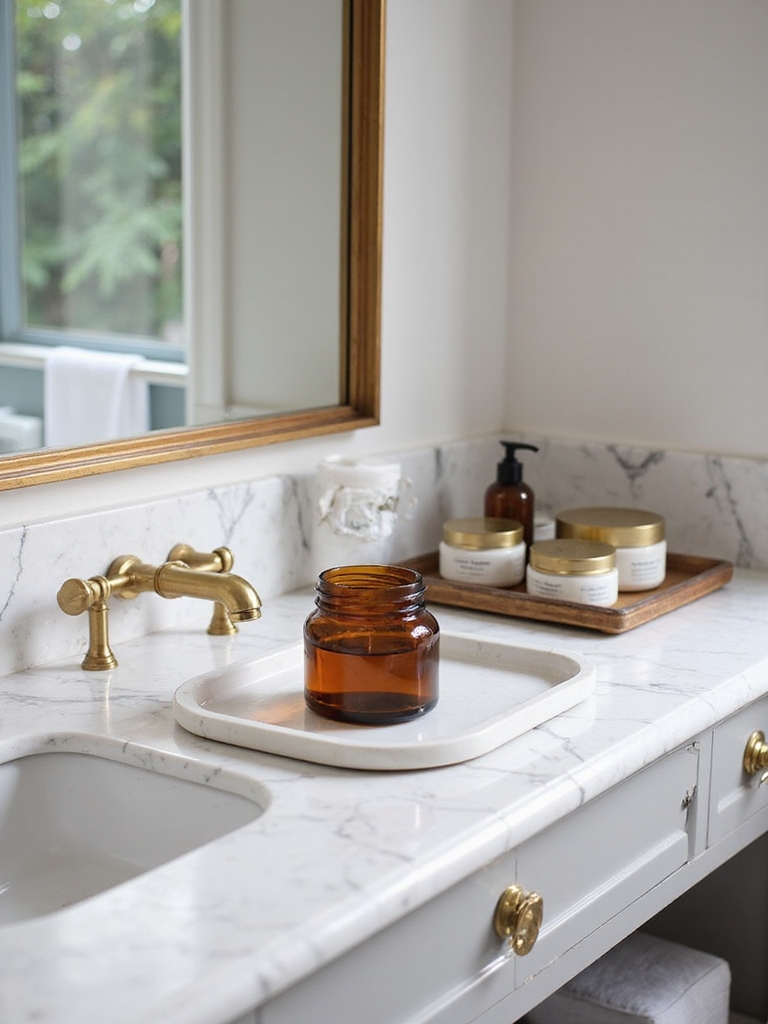
Pick Containers That Pull Double Duty and Look Good
I’m looking for containers that pull double duty, so your vanity stays tidy without sacrificing style.
I’ll show you options where dual-purpose design meets a clean look, letting you swap in supplies as needed.
Think compact, stylish solutions that stay out of the way but make daily routines smoother.
Incorporating smart organization tips can transform your bathroom counter into an efficient and visually appealing space.
Dual-Purpose Containers
- Pick clear, stackable options for visibility.
- Use labeled sections to quick-find everyday items.
- Opt silicone lids or seals to resist moisture.
- Balance size with function to minimize space usage.
Style Meets Function
When choosing containers, I look for those that pull double duty and still look great on the counter or in the drawer.
They must be sturdy, stackable, and easy to clean, yet stylish enough to elevate the vanity. I favor clear or neutral tones, label-friendly fronts, and compact molds.
Practical design wins, reducing clutter while enhancing daily routine with confidence.
Understated Compact Solutions
If you want a bathroom that feels tidy and effortless, start with understated, compact solutions that pull double duty and still look great.
I choose versatile containers that hide clutter and simplify routines, blending form with function.
- Choose stackable trays for cosmetics
- Opt baskets with handles for fast access
- Use labeled jars for essentials
- Pick slim organizers that fit narrow drawers
Use Modular Wall Rack for Tall Items
A modular wall rack is a simple, smart solution for tall items that won’t fit in a typical cabinet.
I keep taller bottles and brushes accessible by placing slim shelves at different heights, so every item has its own niche. This frees counter space, minimizes clutter, and makes cleaning quick.
Plus, it adds a modern, organized vibe to any vanity.
Build a Simple Vanity Tray With Dividers
A simple vanity tray with dividers keeps small items organized and easy to grab.
I share a quick build:
1) cut a shallow box,
2) add dividers for mini items,
3) seal edges for durability,
4) place on a counter.
This tidy setup saves time and reduces clutter, making routine beauty rituals smoother.
Tidy Cords: Optimize Lighting and Tools
Cords can clutter a vanity fast, but they don’t have to. I keep power strips off the counter and route cords behind storage.
Use short extension leads, labeled plugs, and Velcro ties to tame tangles. A small cable bin holds chargers for daily tools.
I test lighting lamps for safe, neat operation without visual chaos. Practical, quick, organized.
Label Everything With Cohesive Color and Texture
I’ve tamed the cords, and now I’m bringing cohesion to what sits on your vanity by labeling everything with a unified color and texture.
- Choose a palette and apply labels consistently
- Use matte textures for a calm, cohesive feel
- Match containers to label colors for clarity
- Keep font size readable and simple
Establish a Quick Weekly Cleaning Routine
Establishing a quick weekly cleaning routine makes vanity upkeep effortless.
I’ll guide you through a simple, repeatable schedule that fits busy weeks. Set a 20-minute window: wipe surfaces, quick sink scrub, and empty/toast brush drawers.
I keep microfiber towels handy and products in reach for speed.
Consistency beats perfection, so I’ll remind you to skim, organize, and seal in tidy habits.
You’ve got this.
Upgrade Affordably: LED Mirror and No-Drill Options
If you’re upgrading on a budget, LED mirrors and no-drill options can give you a fresh, brighter bath without a huge install.
I’m sharing practical picks you can grab now:
- LED mirror with switch
- Adhesive LED strips
- No-drill towel bars
- Wireless defogger pad
Let’s brighten spaces without the fuss and mess.
Conclusion
Hey there, you’ve got the blueprint for a bathroom that breathes. Think of your vanity as a tiny city where every drawer is a street and every shelf a plaza—cleared of chaos, thriving with routine. When you tune the zones, label with style, and snip cords, you’re sculpting calm from clutter. Do a quick weekly sweep, smile at the glow of that LED mirror, and watch the space rise to meet your day, effortlessly. You’ve got this.