I’m excited to share 19 bathroom LVT ideas that elevate any space with durability, style, and budget-friendly appeal. From wood- and stone-look options to water-resistant cores, these trends help you craft a cohesive mood—spa calm, coastal brightness, or modern restraint. Explore durable wear layers, easy maintenance, and clever layouts like herringbone or diagonals. Mixing LVT with tile and choosing the right color palette can transform your bath. If you keep exploring, you’ll uncover more tips and inspiration.
Choosing the Right Bathroom LVT: Durability, Style, and Budget
Choosing the right bathroom LVT comes down to balancing durability, style, and budget, so you get a floor that lasts, looks great, and fits your plans.
I weigh wear resistance, water tolerance, and grout-free upkeep, then pair it with color and texture that elevate your space.
You’ll enjoy easy maintenance, timeless appeal, and a smart investment that fits your lifestyle.
Additionally, incorporating waterproof flooring ensures your bathroom remains both stylish and protected from moisture damage.
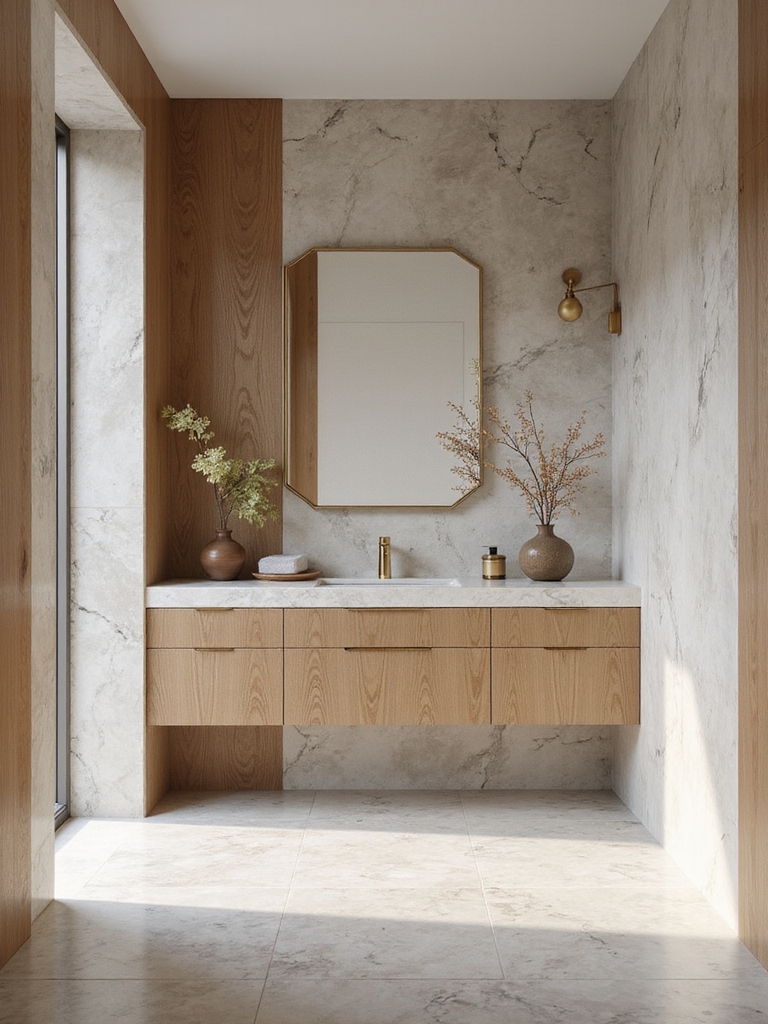
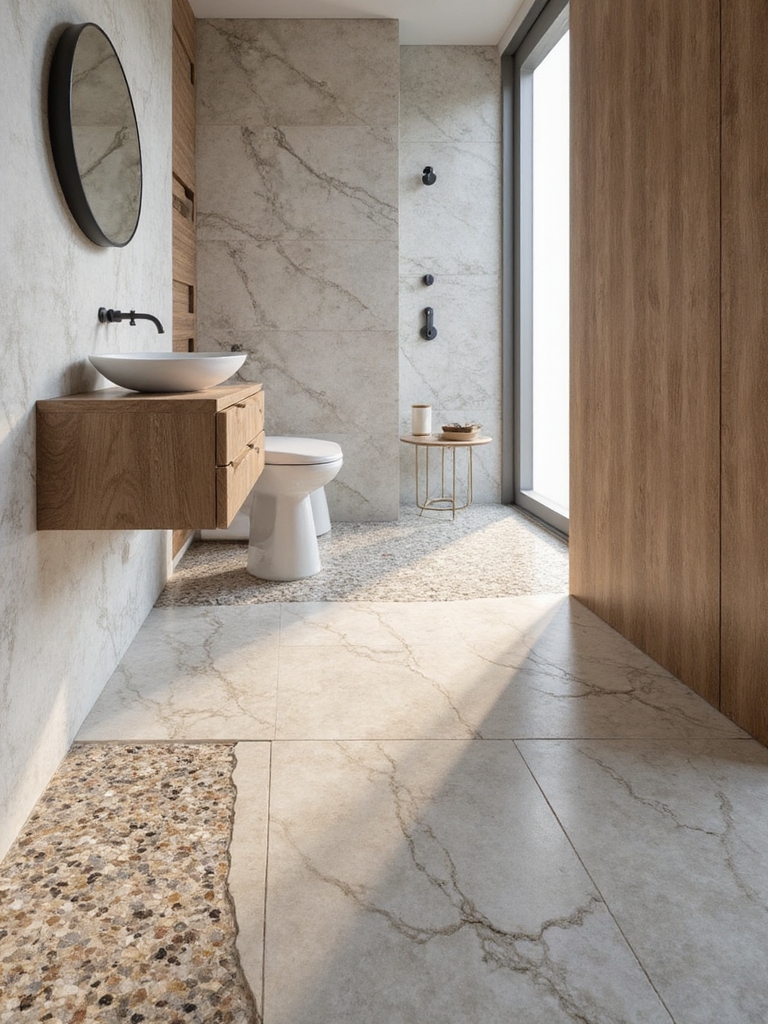
Wood-look vs. Stone-look LVT: Which Fits Your Bath?
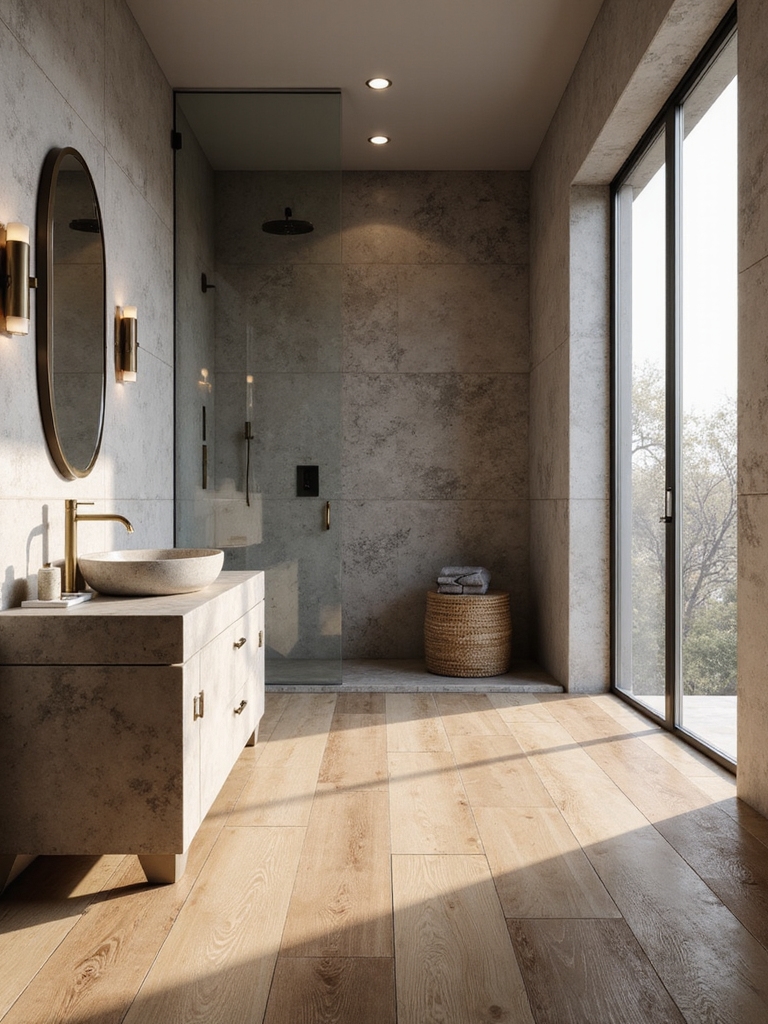
Curious how wood-look and stone-look LVT can transform your bath?
I compare textures, tones, and maintenance needs so you can envision a cohesive mood.
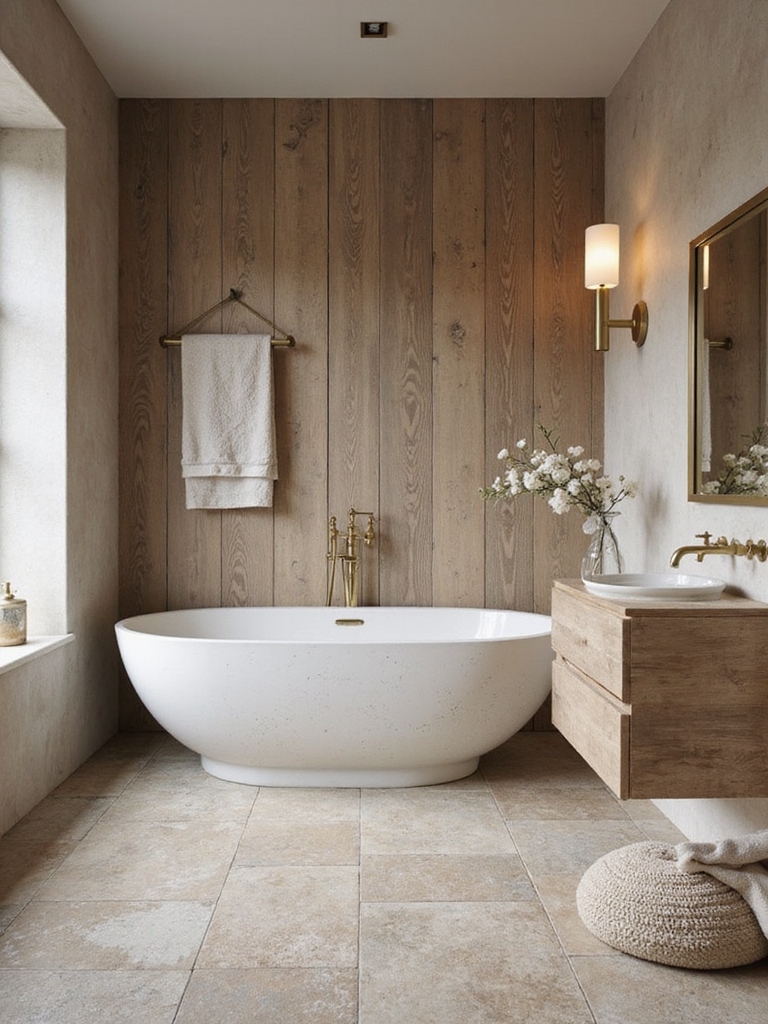
Wood offers warmth and softness underfoot; stone delivers cool, timeless elegance.
Your choice shapes layout flow, reflections, and perceived space.
I balance practicality with style, guiding you toward a striking, durable bath that feels purposefully yours.
Experts recommend considering factors such as moisture resistance and slip safety when selecting bathroom flooring.
Key Durability Criteria for Bathroom LVT
When selecting bathroom LVT, durability isn’t a luxury—it’s a necessity.
I look for strong wear layers, impact resistance, and resilient cores that handle daily family life without showing wear. Easy maintenance, stable underfoot, and colorfast patterns matter.
I value graded warranties and reliable abrasion tests, ensuring long-term beauty and performance.
You deserve flooring that earns its keep, beautifully and practically.
Additionally, incorporating trendy bathroom tile flooring inspiration can help you choose designs that are both stylish and functional.
Waterproofing Ratings: What Bathrooms Really Need
Waterproofing ratings matter because even the best-looking LVT can fail without a reliable moisture strategy.
I guide you to choose ratings that actually withstand bathroom realities, not just claims. Here’s what I aim for:
- Warranties aligned with real moisture exposure
- High water resistance for seams and connections
- Subfloor compatibility and proper underlayment
- Proven test results and reputable certifications
Selecting flooring that complements other stylish bathroom flooring ideas can enhance both function and design in your master bath.
Pet-Friendly LVT for Wet Spaces
I guide you toward resilient planks that resist moisture, claw marks, and spills, while maintaining comfort underfoot.
With modern textures and realistic grains, this option blends seamlessly with your bathroom’s design, delivering style, safety, and lasting practicality—every day, effortlessly.
This flooring is an excellent example of waterproof vinyl flooring that is stylish and practical for bathroom environments.
Budget-Friendly LVT Ideas That Don’t Compromise
Budget-friendly LVT can look luxe without the sticker shock, and you don’t have to sacrifice durability or style to save.
I’ve tested options that balance price with performance, so your bathroom feels premium without a premium tag.
- peel-and-stick ease for quick updates
- realistic textures that fool the eye
- scratch-resistant wear layers for busy rooms
- waterproof cores for peace of mind
Plus, incorporating trending bathroom decor ideas can elevate your space effortlessly alongside LVT flooring.
Luxury LVT Patterns That Wow
Luxury LVT patterns aren’t just about looks—they’re about how a space feels.
I envision rooms that echo refined taste with bold textures and subtle contrasts. You’ll notice rhythm in plank layouts, directional patterns that guide movement, and deliberate color choices that elevate lighting.
These patterns create a curated warmth, texture, and sophistication you can live in—without sacrificing practicality or maintenance.
Plus, incorporating luxurious bathroom flooring ideas can help you achieve an expensive look without breaking the bank.
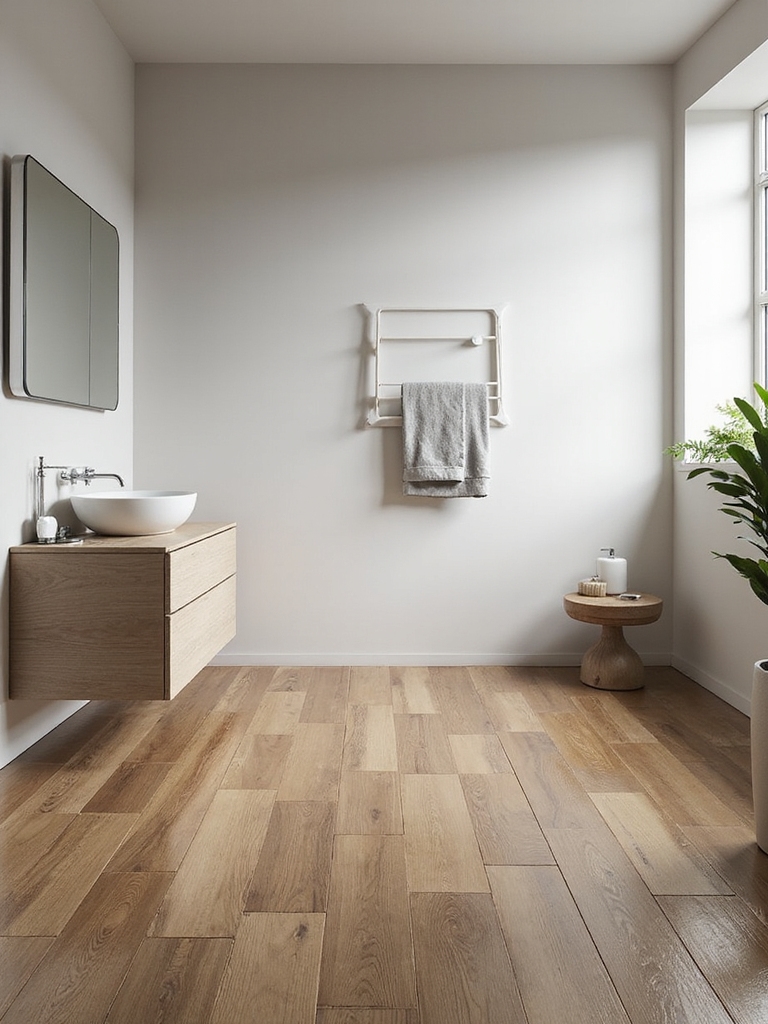
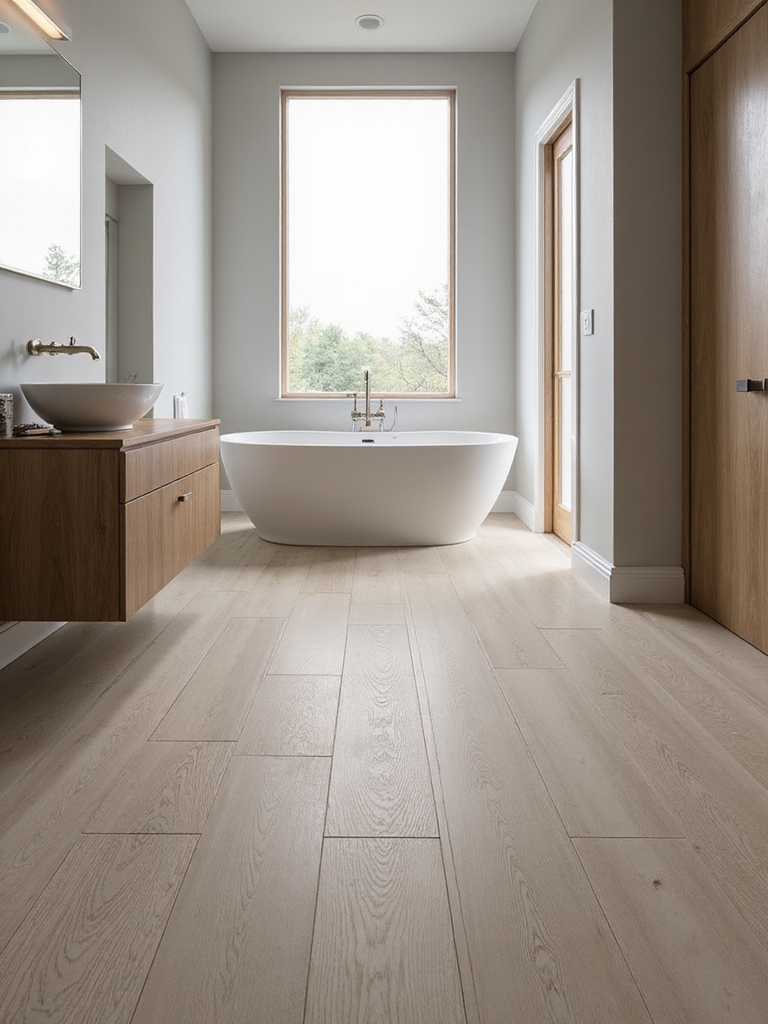
Small Bathroom? Maximize Style With Smart LVT Layouts
Small bathrooms demand smart layouts, and the right LVT arrangement can make the space feel larger, brighter, and more cohesive from the moment you step in.
I’ll guide you with practical ideas that elevate style without clutter, so you feel confident choosing patterns, grout, and plank directions.
- Use a diagonal layout to create depth and movement
- Choose light, reflective tones to brighten corners
- Align planks with doorway sightlines for flow
- Keep minimal trim and cohesive grout colors
Incorporating innovative ideas for maximizing space can further transform your tiny bathroom into a stylish and functional retreat.
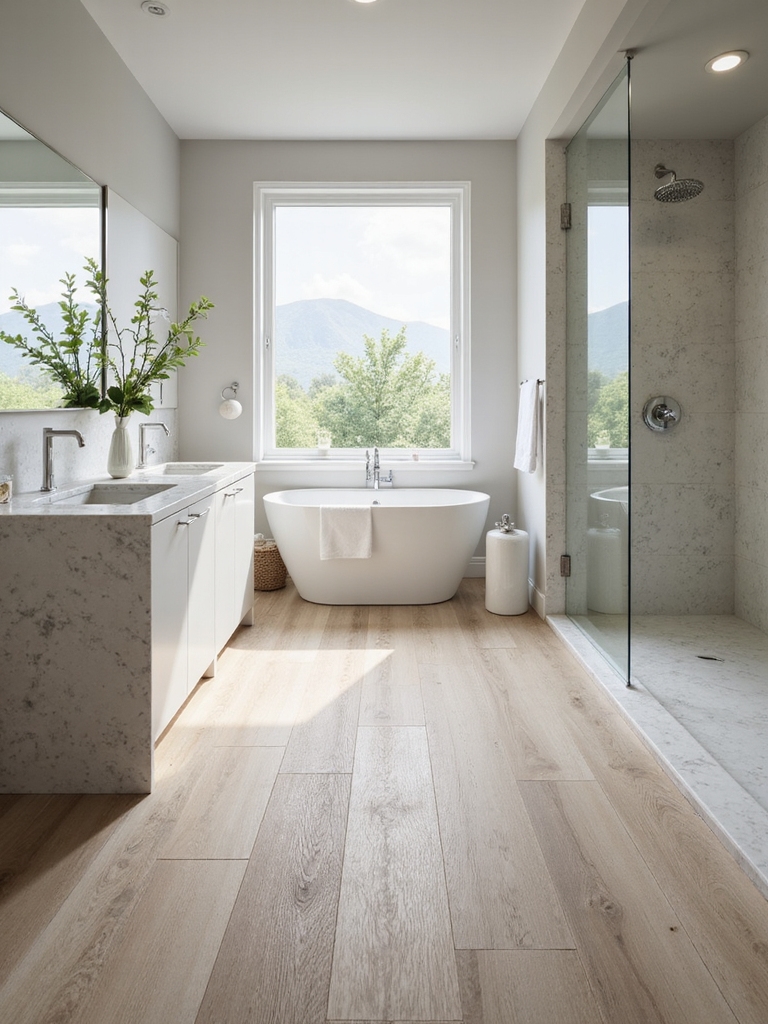
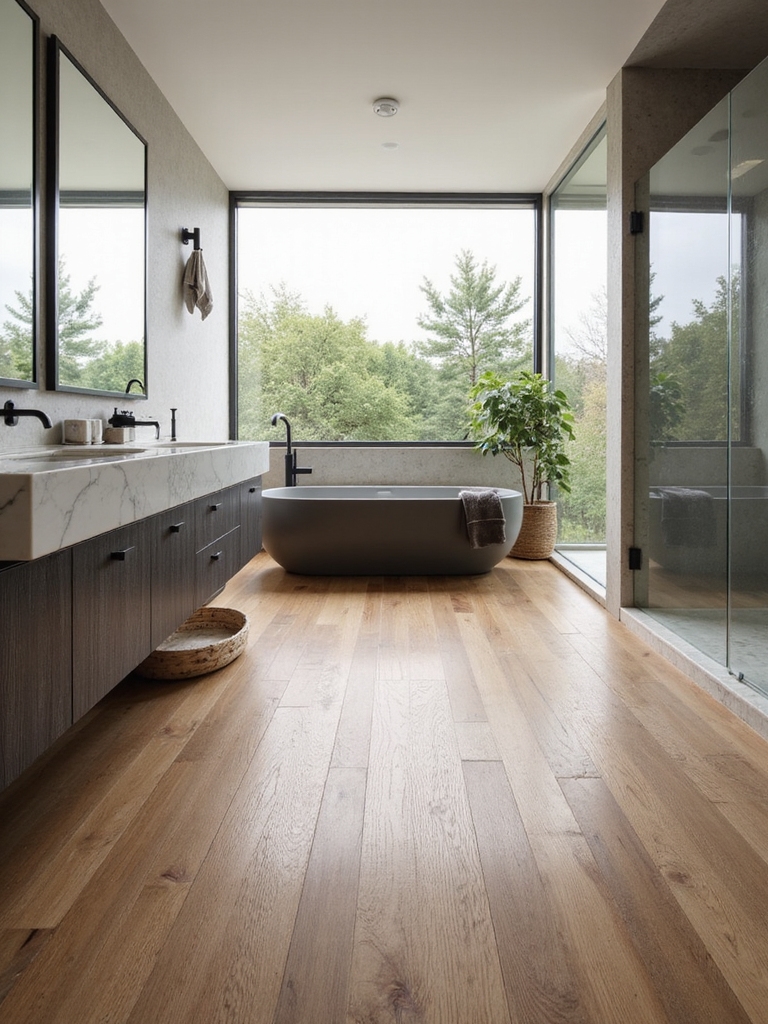
Large Bathrooms: Expanding Space With Grain Direction
Grain direction can transform a large bathroom from ordinary to expansive, and choosing the right orientation is a quiet game changer.
I guide the eye with lengthwise planks to stretch the room, or rotate tiles for a center-focused vignette that feels wider.
I balance grain pace with airy grout gaps, keeping reflections clean, purposeful, and inviting throughout daily routines.
Incorporating creative tile solutions specifically designed for small bathroom spaces can also influence how the grain direction enhances the overall sense of space.
Seamless, Grout-Free Looks With LVT
- I pair tones for cohesive continuity.
- I avoid grout lines that interrupt visual calm.
- I choose durable, seamless planks for longevity.
- I create a spacious illusion with consistent patterns.
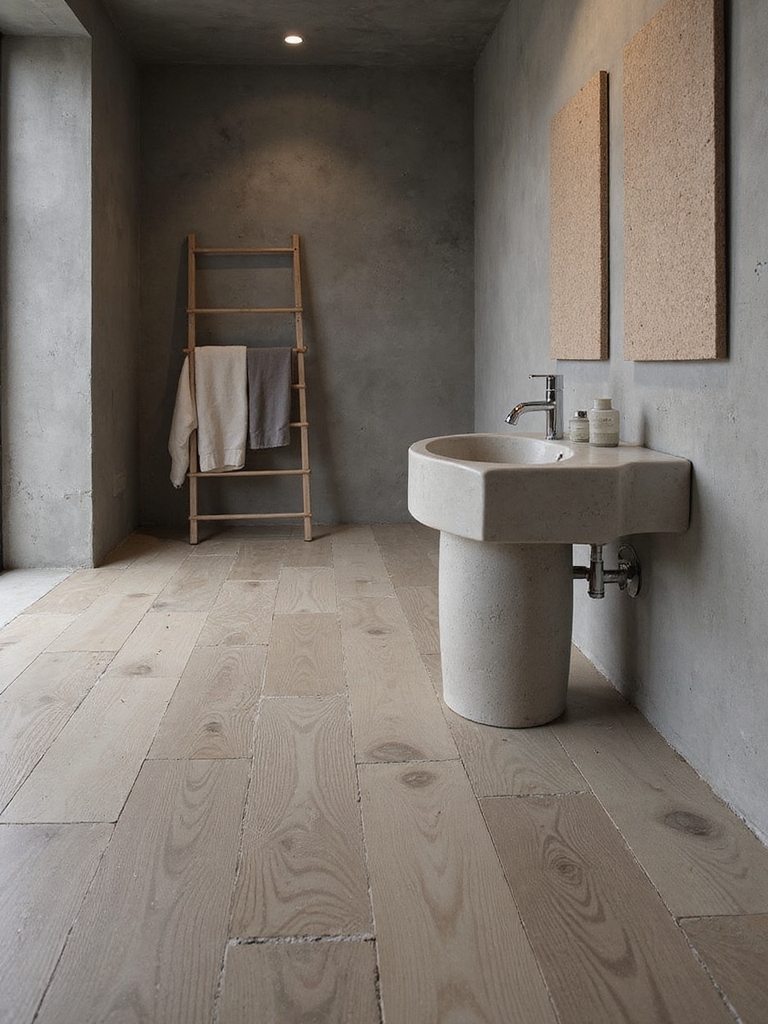
Textured LVT Surfaces That Hide Water and Grime
I’m curious how textured LVT surfaces can subtly conceal water and grime while keeping your bathroom looking pristine.
Their texture adds grip and character, making maintenance feel straightforward rather than intimidating.
With careful selection, you’ll enjoy both durable performance and a refined, low-key finish.
These trendy bathroom vinyl flooring ideas show how style and function can seamlessly blend in your space.
Textured Surfaces Advantage
Textured LVT surfaces quietly elevate bathroom practicality by hiding water and grime while still looking polished.
I guide you to choose textures that disguise spills, footprints, and soap crowns without dulling style, so daily routines feel effortless and refined.
- Subtle grain patterns blend with fixtures for cohesive elegance
- Micro-textured tops resist visible wear and smudges
- Light reflections stay soft, not busy
- Groutless looks simplify maintenance and upkeep
Hide Water and Grime
When water and grime come into play, textured LVT surfaces prove their worth by masking their presence rather than shouting about it.
I love how these patterns quietly conceal spills and streaks, keeping bathrooms looking pristine longer. It’s aspirational, practical flooring that blends texture with elegance, offering resilience without sacrificing style.
You gain calm, clean lines and a timeless, accessible finish.
Maintenance With Textured LVT
Textured LVT hides water and grime with ease, so maintenance becomes quick and predictable.
I’ll show you how I keep it pristine without fuss, guiding you toward confidence with every wipe and sweep. You deserve floors that look flawless daily.
- Quick weekly dust and wipe routine
- Gentle cleaners that protect texture
- Minimal grout, maximal appeal
- Long-lasting shine with simple habits
Bathroom LVT Installation Methods: Glue-Down, Click-Lock, Peel-and-Stick
There are three common LVT installation methods for bathrooms—glue-down, click-lock, and peel-and-stick—and each offers its own balance of speed, resilience, and trim options.
I guide you through choosing based on room dynamics, maintenance, and future comfort.
Glue-down delivers permanence; click-lock emphasizes ease and precision; peel-and-stick suits quick refreshes.
Your choice shapes durability, comfort, and style with minimal disruption.
Underlayment and Subfloor Prep for Flawless Baths
I start with a quick check of subfloor stability so every step feels solid and lasting.
I’ll outline moisture barrier essentials to protect your LVT from future challenges.
Together, we’ll set the stage for flawless baths by aligning underlayment and prep with your chosen installation method.
Subfloor Stability Check
Before laying LVT in a bathroom, I start with a solid subfloor and a reliable underlayment, because stability now saves headaches later.
- Check flatness with a chord and 1/8″ per 6′ rule, plan for changes.
- Patch high spots and forgiving dips for uniform adhesive contact.
- Secure with mechanical fasteners where needed, no squeaks.
- Allow substrate to acclimate, minimizing movement after install.
Moisture Barrier Essentials
Now that the subfloor is flat and stable, I turn to moisture protection that keeps your LVT bathroom flawless.
I select a high-quality underlayment, compatible with vinyl, to cushion and seal.
I prep the surface: clean, dry, and crack-free, then seal joints and edges.
Radiant-Floor Compatible LVT: Comfort Meets Efficiency
Radiant-floor-compatible LVT blends comfort with efficiency, letting warm floors greet you the moment you step in while keeping energy use in check.
I’m sharing how this pairing elevates daily routines, making bathrooms feel luxurious yet practical, with seamless integration into your design plan and thoughtful performance.
- Cozy mornings without high bills
- Consistent warmth underfoot
- Quick, simple installation notes
- Durable, water-friendly comfort
How to Maintain Bathroom LVT: Pro Tips for Pristine Floors
I’ll share simple, effective routines for keeping bathroom LVT looking pristine, starting with consistent cleaning that protects the finish.
I’ll also cover smart stain prevention tips so everyday wear stays minimal and floors stay fresh.
Let’s explore practical steps you can implement today for enduring beauty and easy maintenance.
Regular Cleaning Routines
To keep bathroom LVT looking pristine, establish a simple, daily routine that protects the finish and preserves its beauty.
I share practical habits you can adopt now, with clarity and purpose.
- Wipe spills immediately with a soft cloth to prevent rings.
- Use a mild, pH-neutral cleaner weekly.
- Dry floors after showers to minimize moisture.
- Vacuum edges to remove grit before mopping.
Stain Prevention Tips
Stains have a way of revealing themselves long after a spill, so I keep a few simple rules close at hand to protect bathroom LVT.
I blot spills immediately, avoid harsh cleaners, and use mats in high-traffic zones.
Regularly wipe with a mild solution, test new products first, and reseal grout lines.
Prevention keeps floors pristine and inviting, always.
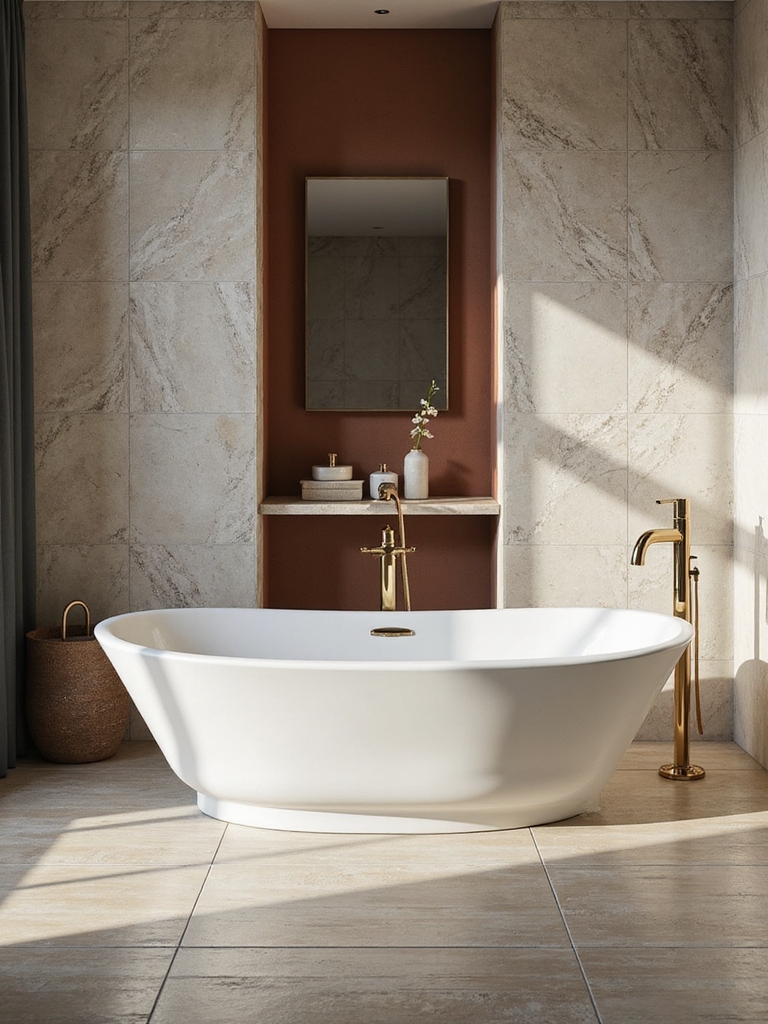
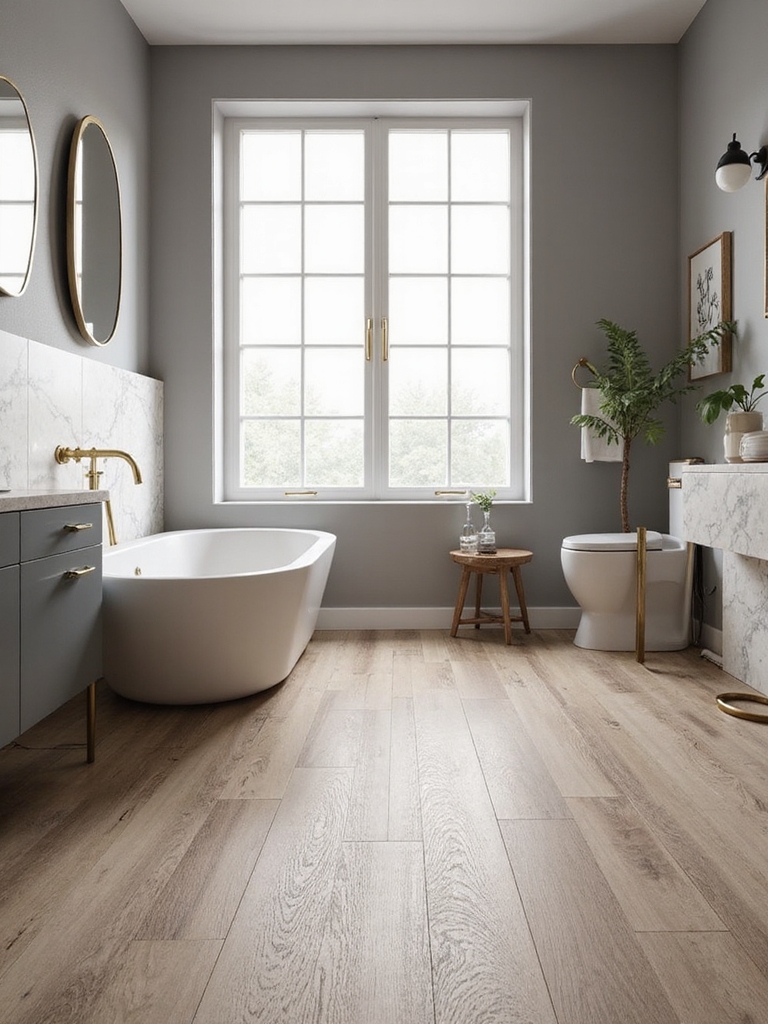
Color Palettes for Spa, Coastal, and Modern Vibes
Color palettes set the tone for a bathroom with LVT—whether you crave spa serenity, coastal freshness, or modern polish.
I’ll share approachable combos that feel both luxurious and livable, guiding you toward cohesive spaces.
- Soft sand and seafoam for a calm, spa-inspired base
- Navy accents with warm whites for modern contrast
- Driftwood neutrals mixed with crisp blues
- Greige tones and marble-like surfaces for timeless coastal chic
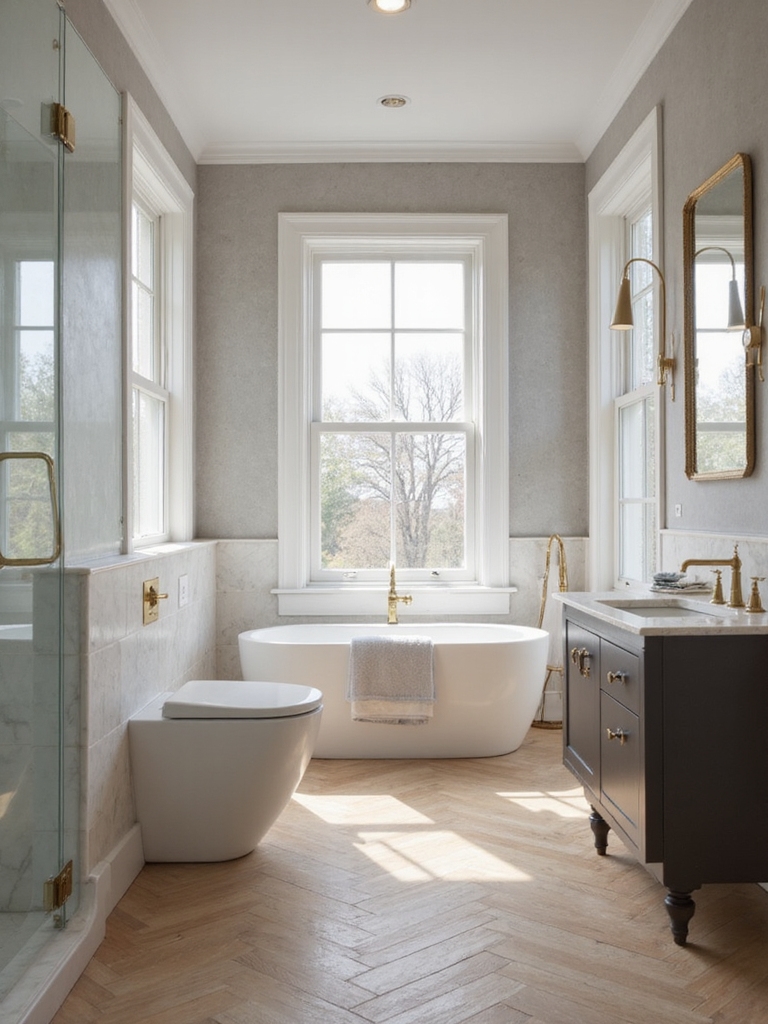
Accent Patterns: Herringbone, Diagonal, and Mosaic Looks
I’m excited to explore how Herringbone, Diagonal, and Mosaic patterns can elevate your bathroom LVT.
Herringbone adds striking rhythm, Diagonal opens space, and Mosaic lends intricate texture—each option reshaping the room’s feel.
Let’s unpack how these patterns can align with your style and practical needs for a polished, timeless look.
Herringbone Impact
Herringbone isn’t just a pattern; it’s a bold statement that transforms a bathroom into a gallery of movement and texture.
I invite you to feel the rhythm, the depth, the subtle sophistication it brings to a space. It elevates everyday routines with refined energy and timeless appeal.
- Creates dynamic focal points
- Guides eye line with elegance
- Complements warm fixtures
- Balances scale in small baths
Diagonal Dynamics
Diagonal patterns bring movement and modernity to a bathroom, turning LVT into a canvas of dynamic vision.
I’m drawn to diagonal layouts because they elongate spaces and spark sophistication without overwhelming the room.
You’ll notice crisp lines, intentional rhythm, and a clean, contemporary vibe.
Let’s choose a direction that complements fixtures, lighting, and your personal taste.
Effortless, elevated, transformative.
Mosaic Magic
Curious about how mosaic patterns can elevate a bathroom LVT? I’m obsessed with how Herringbone, Diagonal, and Mosaic looks create movement, light, and unexpected texture.
This approach feels intentional, modern, and timeless, guiding the eye with rhythm and space. Let’s explore how subtle shifts transform everyday routines into a refined, magazine-worthy moment.
- Herringbone accents add kinetic elegance
- Diagonal layouts maximize narrow spaces
- Mosaic tessellations create focal points
- Balanced grout lines maintain clean clarity
Mixing LVT With Tile: Best Practices for Transitions
When mixing LVT with tile, you don’t have to choose one look over the other—you can create seamless shifts that honor both materials.
I show clean changes by matching grout, edge profiles, and plank direction to emphasize flow.
Use a consistent color palette, controlled shifts, and thoughtful patterns to elevate spaces without shouting contrast.
Subtle physics, striking results.
Real Bathroom LVT Transformations: Before and After
I’ll walk you through real bathroom LVT transformations, sharing the before and after details that reveal the impact of choice and layout.
You’ll see how minor shifts in color, texture, and changes can dramatically elevate space and mood.
Let’s explore the highlights and learn how these reveals can inspire your own renovation plan.
Before and After Reveals
From drab to dazzling, these real bathroom LVT transformations prove that a floor swap can redefine the entire space.
I reveal honest, practical changes, quick wins, and the mood shift that follows. You’ll see how texture, tone, and layout come together without costly overhauls.
- Before: dated fixtures, cramped feel; after: open, cohesive design
- Color continuity that visually expands small rooms
- Durable finishes meeting busy, water-prone zones
- Quick, budget-friendly styling tweaks that punch above their weight
Transformation Highlights and Details
Transformations aren’t just about a new surface—they’re about the mood they create, the flow they establish, and the way a bathroom finally feels effortless to use.
I’ve seen spaces glow when LVT mirrors natural textures, hides seams, and expands light.
Details matter: grout color, plank scale, and sharp shifts.
The result? cleaner routines, calmer mornings, and lasting, stylish practicality.
Conclusion
Choosing the right bathroom LVT isn’t just about looks—it’s about how you live in the space. I’ve seen rooms transformed into calm, lasting retreats, like quiet coves after a long day. Remember the whispers of a timeless design, a nod to nature, a subtle nod to modernity. Let your choices echo stories you’ll tell tomorrow: durable, beautiful, and ready for life’s everyday moments—as enduring as a shoreline, as inviting as a spa. Your next step awaits.