I’ve pulled together 13 master-bath flooring ideas that blend durability, slip resistance, and timeless style you can trust. From porcelain’s dense, moisture-ready performance to ceramic’s easy install and budget-friendly charm, you’ll find options that suit showers and dry zones alike. I’ll guide you on slip-resistant finishes, waterproofing basics, and smart layout choices. Expect practical maintenance routines, thoughtful grout decisions, and budget tips that keep high-end aesthetics accessible. Stick with me, and you’ll uncover options that elevate your space.
Master-Bath Tile Criteria: Durability, Slip Resistance, Moisture Control
Master-bath tile needs to be more than pretty—it has to perform. I choose surfaces that endure daily use, resist scratches, and stay pristine with minimal maintenance.
Slip resistance matters, so I prioritize textured textures and true grout lines. Moisture control follows: sealants, proper underlayment, and drought-friendly gradients prevent leaks.
Durability guides my selection, ensuring lasting beauty, safety, and effortless calm. Incorporating waterproof flooring ideas ensures that the bathroom remains both stylish and functional over time.
Porcelain vs Ceramic for Moisture-Heavy Bathrooms: Pros and Cons
Porcelain and ceramic tile each bring distinct moisture-handling strengths to bathrooms that face heavy wetting, so choosing between them comes down to performance and practicality.
I favor porcelain for superior density, water absorption, and long-term durability, especially behind showers.
Ceramic offers easier installation and cost savings, with decent moisture control.
For me, the best balance blends reliability with approachable upkeep and timeless style.
Both options can be found in a variety of stylish bathroom tile designs to inspire your space.
How to Choose Slip-Resistant Finishes for Bathroom Floors
Choosing slip-resistant finishes for bathroom floors starts with a clear practical goal: safety without sacrificing style.
I assess texture, tread, and color to balance grip with aesthetics, aiming for low maintenance and durability.
I favor matte or lightly textured surfaces over glossy ones, test sample tiles, and consider grout choice.
Practical choices, stylish results, confident steps, and lasting comfort guide my recommendations.
Many tile enthusiasts obsess over stylish bathroom flooring ideas, making it possible to combine safety and design seamlessly.
Waterproofing Fundamentals: Underlayment and Installation Basics
I’ll walk you through the essentials of underlayment types, the correct installation sequence, and moisture barrier best practices to keep bathroom floors dry and durable.
We’ll start with selecting the right underlayment for your substrate and climate, then map out a precise installation flow, and finish with proven moisture barrier strategies.
Incorporating trendy bathroom tile flooring ideas can also enhance both the functionality and aesthetic appeal of your master bath.
Underlayment Types Overview
Underlayment is the quiet workhorse behind a durable, water-resistant bathroom floor, and understanding the different types helps you make the right call for your space.
I’ll guide you through gypsum, cement, and uncoupling membranes, noting where each excels, their moisture handling, and compatibility with tile.
This overview keeps things practical, precise, and focused on performance, not fluff.
Installation Sequence Essentials
To start a bathroom floor right, we begin with a practical sequence that puts waterproofing and underlayment at the forefront.
I map steps clearly: prep substrate, install a high-quality underlayment, apply waterproof membrane, allow cure time, and verify flatness.
Then I set tile guidelines, grout joints, and minimal movement gaps, ensuring reliable adhesion, durability, and a polished, long-lasting finish.
Moisture Barrier Best Practices
Waterproofing starts with a solid plan: choose a reliable moisture barrier system that suits your substrate, climate, and tile layout.
I pair tests with meticulous prep, ensuring clean seams, compatible primers, and appropriate fasteners.
I seal penetrations, overlap joints neatly, and follow manufacturer guidelines.
Your space stays dry, durable, and beautiful when installation stays disciplined, proactive, and thoughtfully executed.
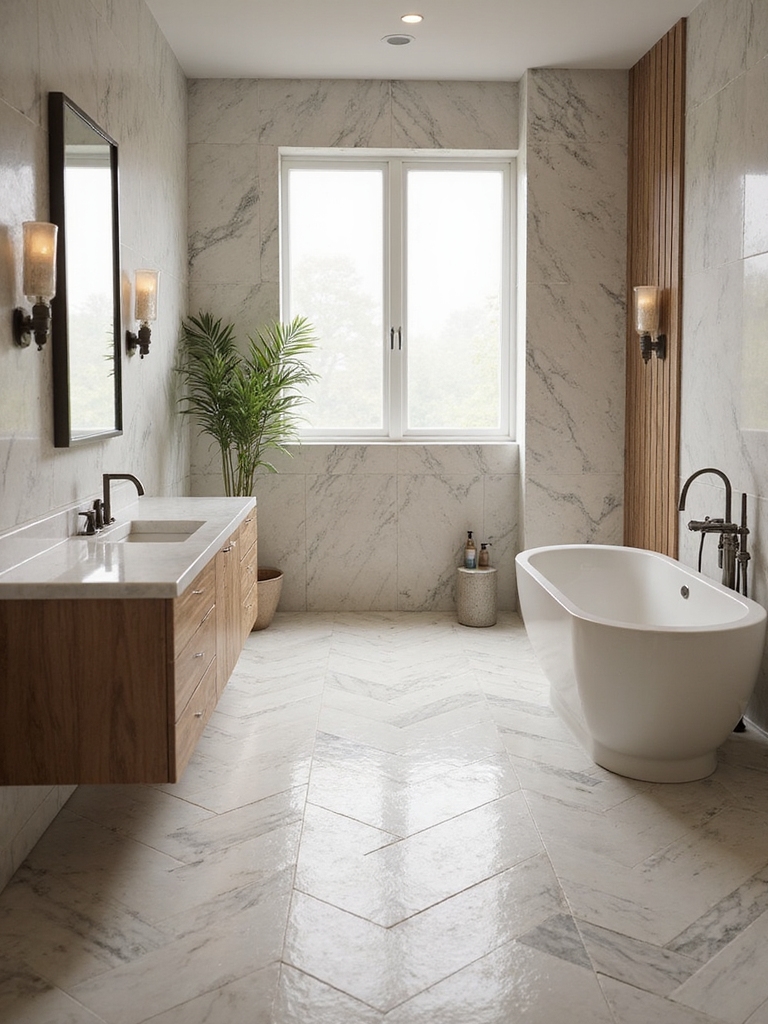
Classic Ceramic Looks That Read as Luxury in a Master Bath
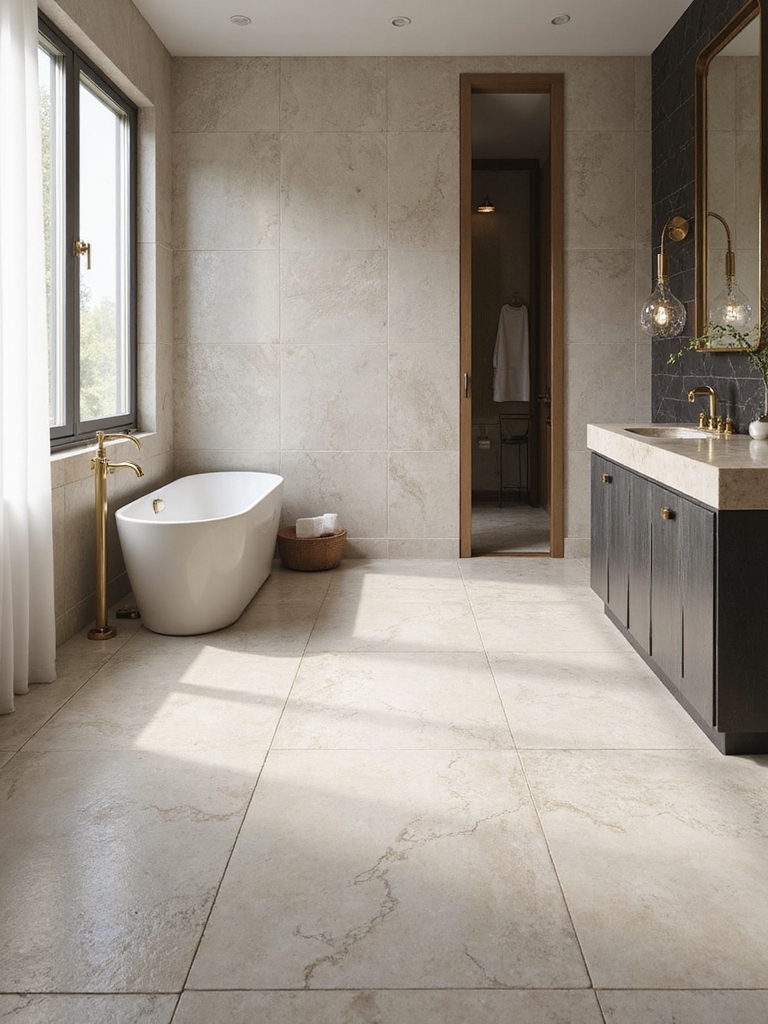
Ceramic tile can transform a master bath into a serene, luxe retreat, and the right looks read as high-end without feeling pretentious.
I recommend classic ceramic options that stay timeless: large-format boards for a seamless floor, subtle grout in matching tones, and soft matte finishes that resist shininess.
Choose neutral palettes, defined borders, and simple patterns for quiet elegance.
For more inspiration, explore luxurious bathroom tile ideas to elevate your space with style and sophistication.
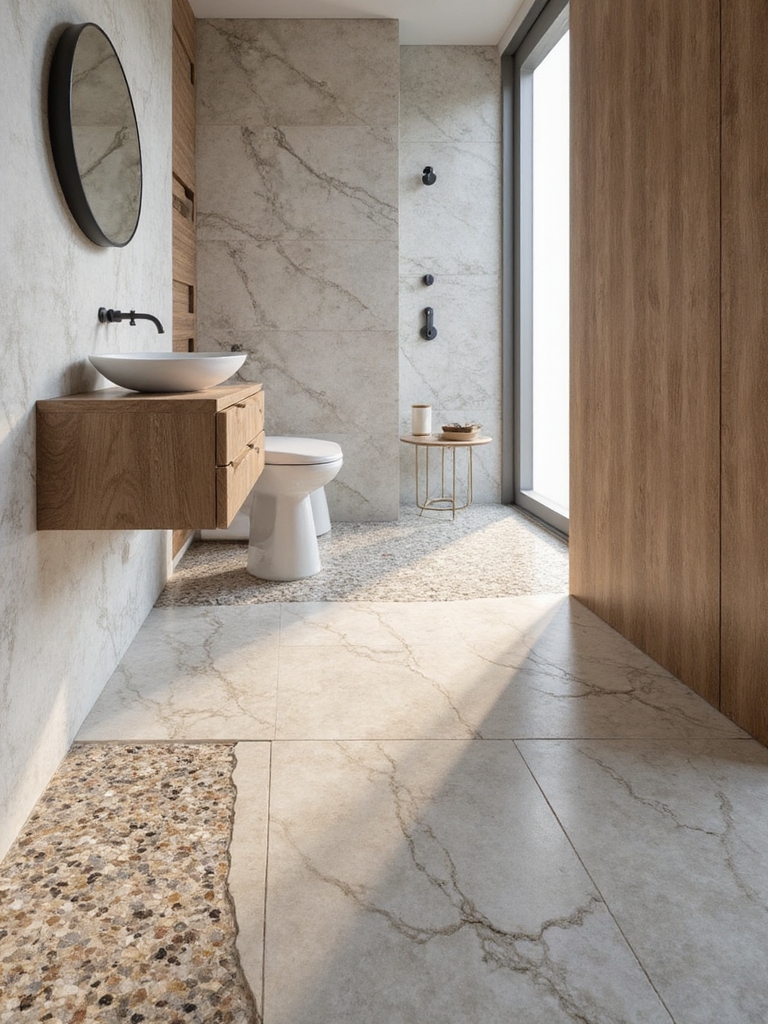
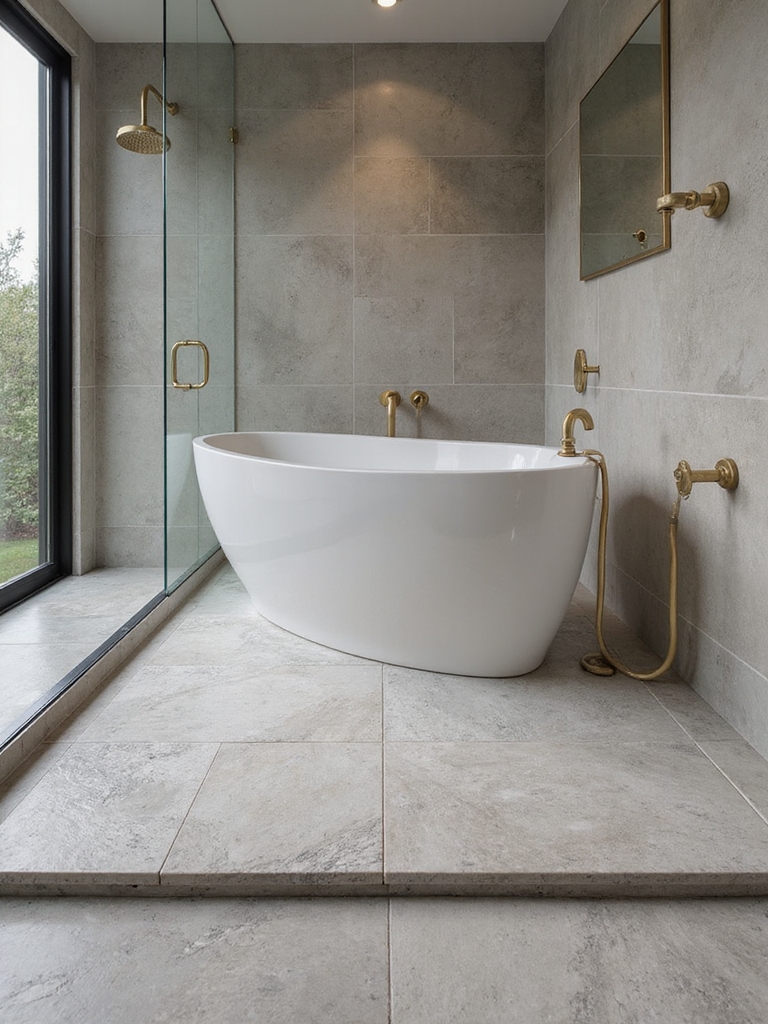
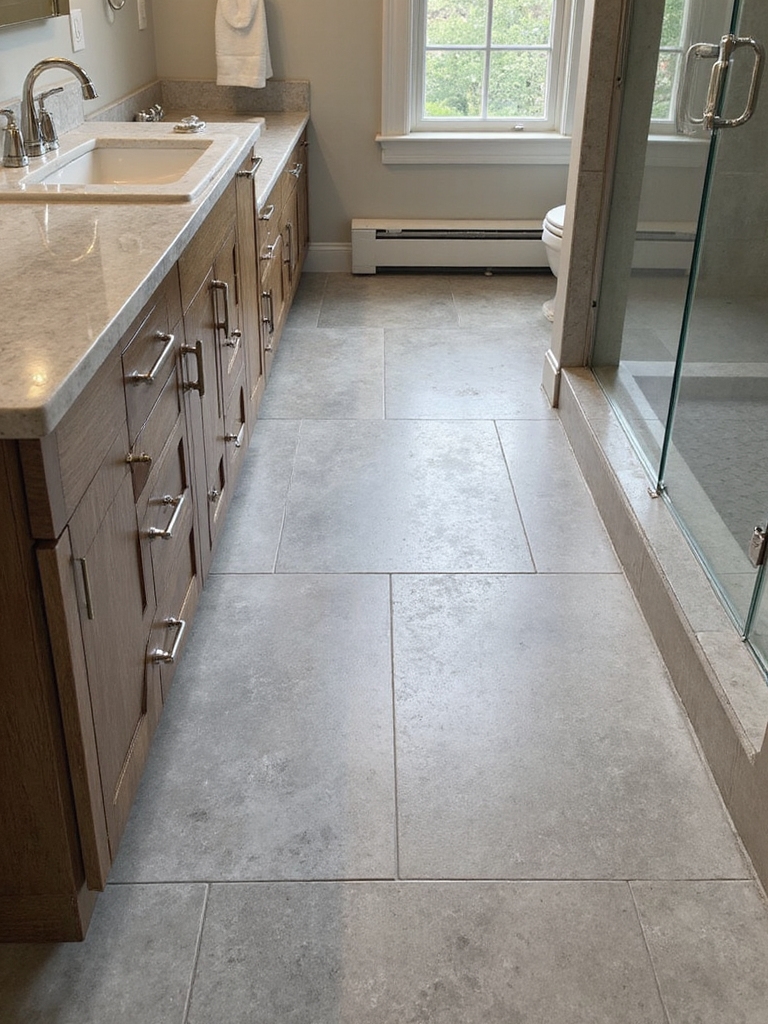
Real-Stone Vibes on a Budget: Porcelain and Ceramic Alternatives
If you loved the luxe look of ceramic tiles in a master bath, you’ll be glad to know that porcelain and ceramic alternatives can deliver real-stone vibes without the hefty price tag.
I’ve found options that mimic texture and depth, resist wear, and install easily.
Choose larger formats, subtle veining, and matte finishes for timeless sophistication with practical upkeep.
Designers love these materials because they combine style with durability, making them a top choice for modern bathroom flooring ideas.
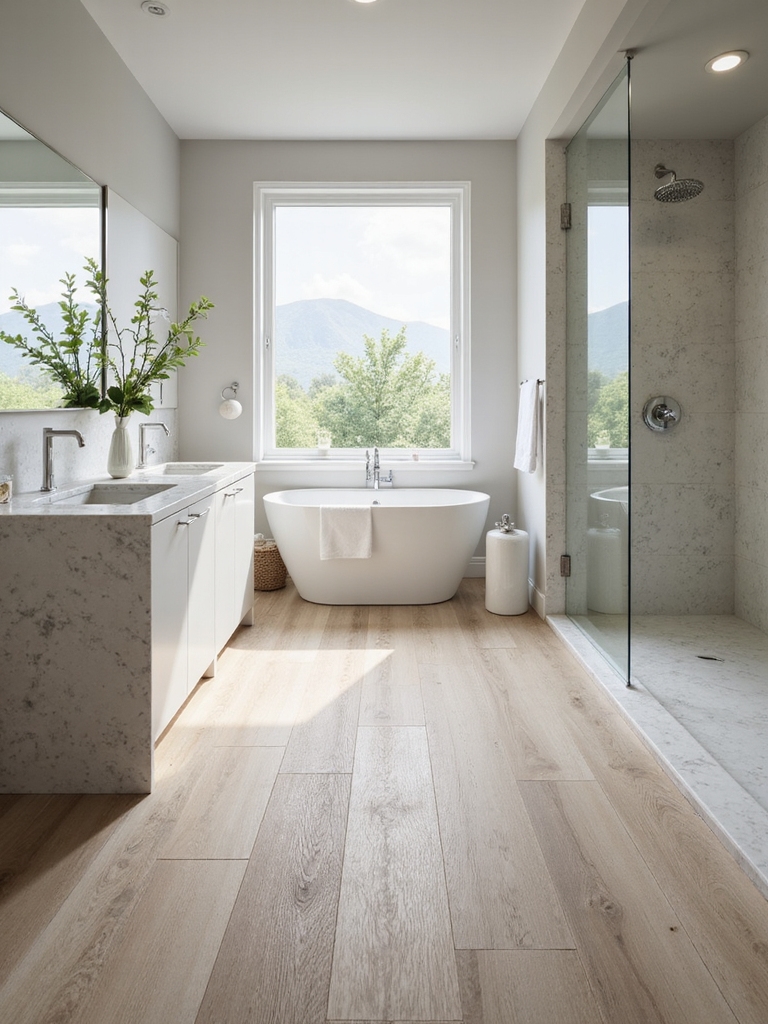
Wood-Look Tiles That Won’T Warp: Warmth With Low Maintenance
Wood-look tiles can deliver the warmth you want in a bath without the worry of warping, and they’re easier to maintain than real wood.
I choose planks that resist moisture, hide joints, and stay strong under daily use.
You’ll enjoy consistent color, subtle grain, and a timeless feel, with dependable durability and simple cleaning for long-lasting beauty.
These bathroom laminate flooring ideas are built to last, combining style with durability and ease.
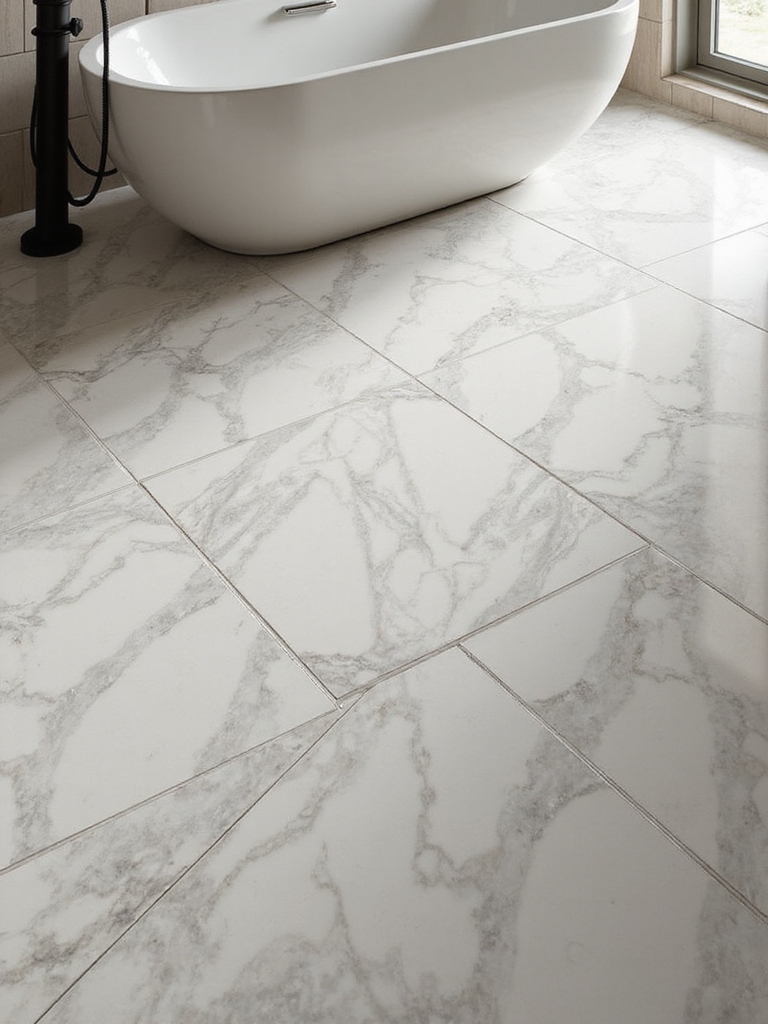
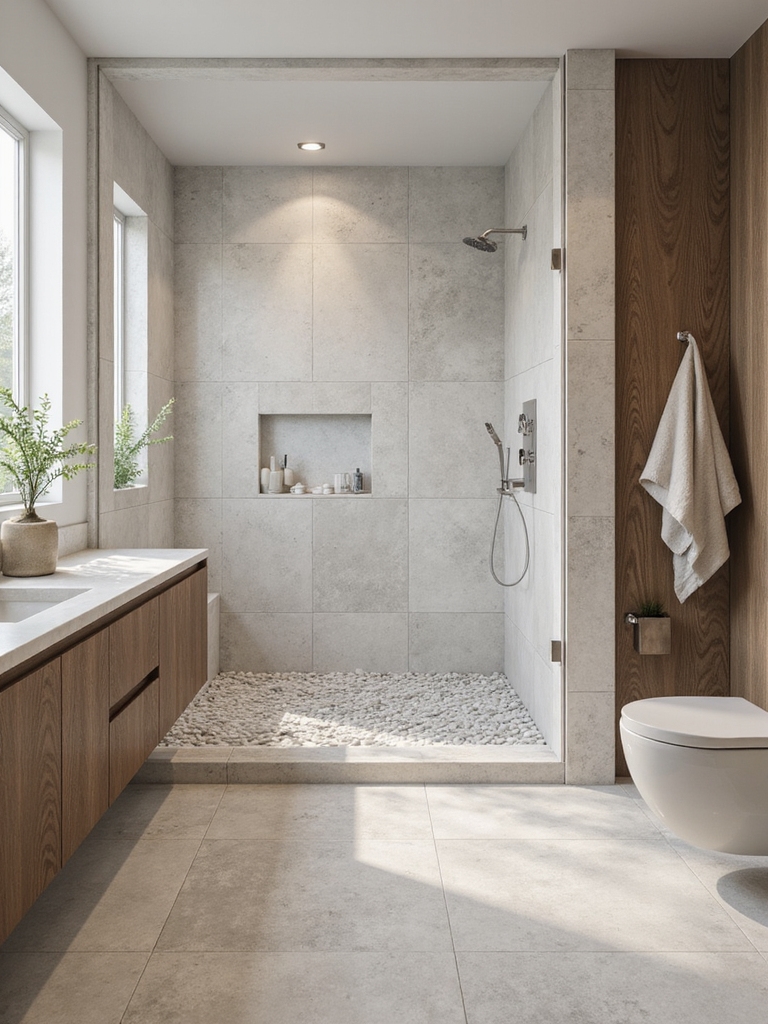
Large-Format vs Small-Pattern Tiles: Mastering Space in Small Baths
I start by showing how scale changes the feel of a small bath, using large-format tiles to visually expand the space without overwhelming it.
I’ll guide you through pattern placement to keep the eye moving and the room looking cohesive, while small-pattern tiles can create texture and warmth where you want it most.
I’ll also weigh tile grout choices, since lighter grouts can fade into the background for a seamless look or darker grout can define lines when you want a more deliberate pattern.
Experts recommend considering stylish bathroom flooring options that balance aesthetics with durability and moisture resistance to ensure your bathroom stays beautiful and functional.
Scale Perceived Size
Large-format tiles can make small bathrooms feel instantly more expansive, because fewer grout lines create a cleaner, uninterrupted surface.
I lean toward fewer seams and consistent grout, which visually lengthens walls and enhances light.
I pair them with precise layouts and consider door swings and fixtures to keep flow uninterrupted.
Small patterns work when used sparingly to avoid busy ceilings.
Pattern Placement Tricks
Pattern placement can transform the feel of a small bathroom, so I’m selective about where large-format tiles go and where small patterns shine.
I map sightlines, align seams with fixtures, and emphasize vertical or horizontal flow to elongate or widen the space.
Practical choices paired with deliberate rhythm create a polished, aspirational, attainable bathroom that feels larger than its footprint.
Tile Grout Choices
When you’re choosing tile grout for small baths, the decision between large-format and small-pattern tiles can define how spacious the room feels.
I prefer lighter, sanded grout to minimize seams and maintain flow. For large formats, use grout color close to tile; for patterns, contrast subtly to highlight layout.
Clean lines, durable blends, and consistent joints elevate every daily moment.
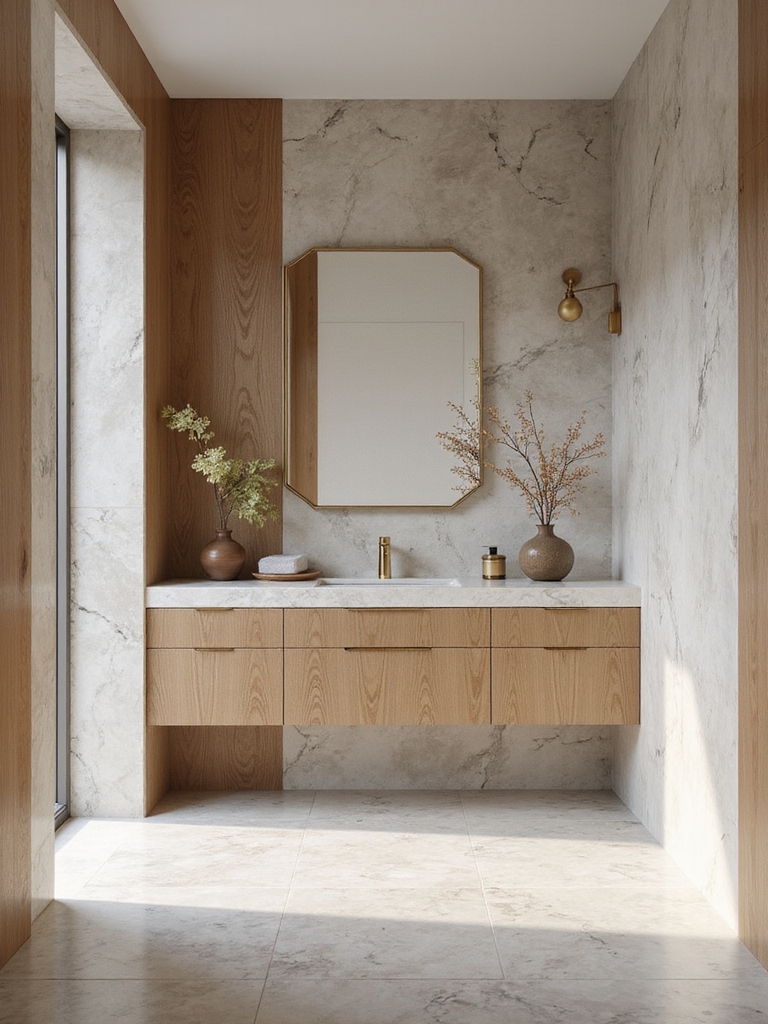
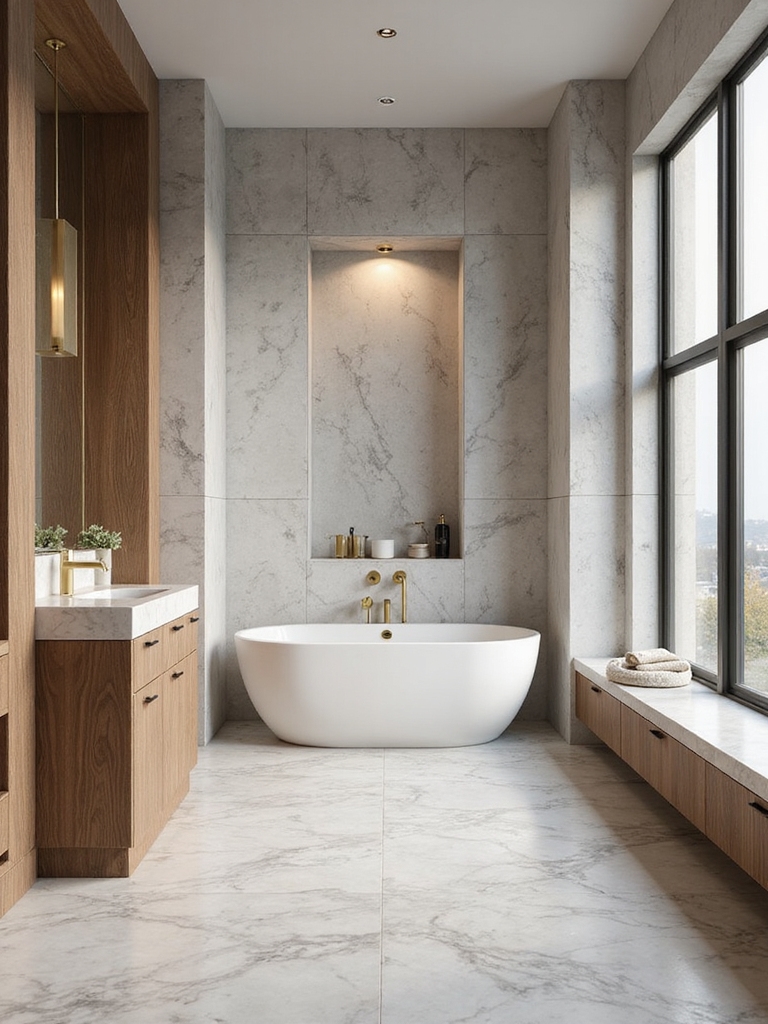
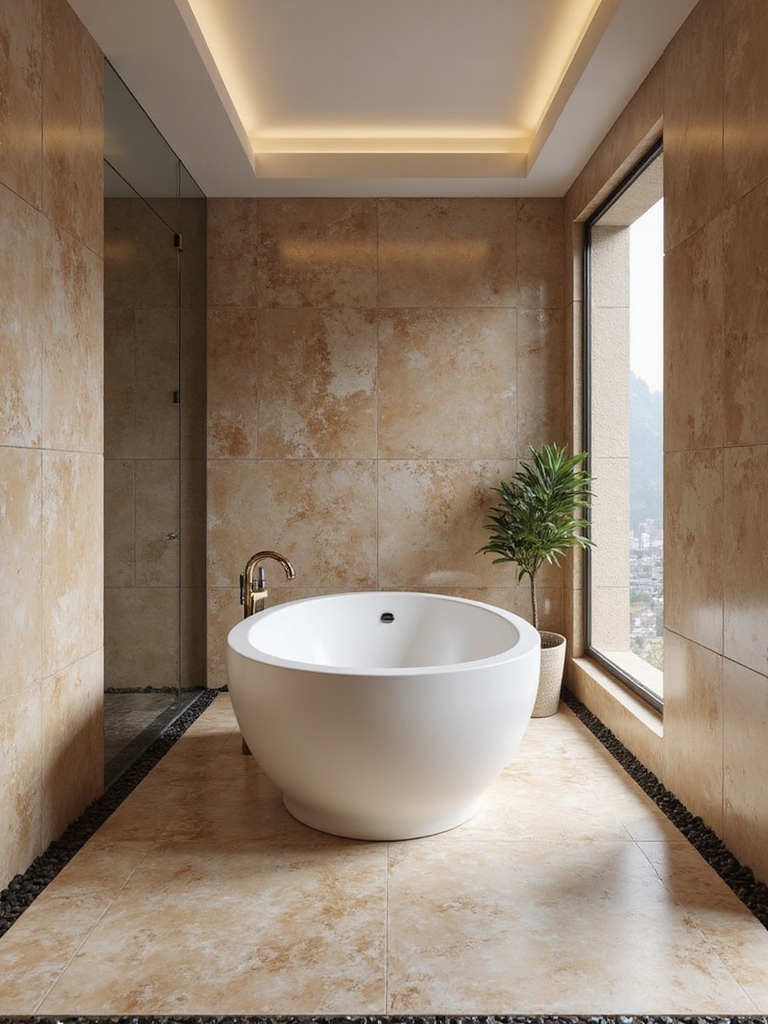
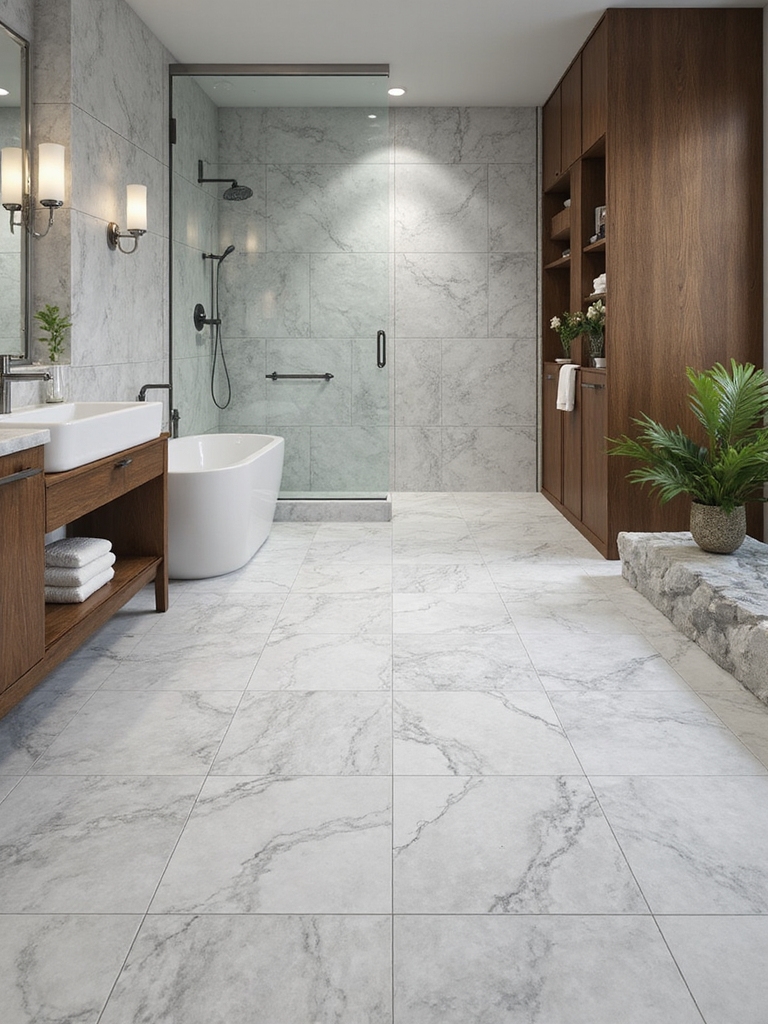
Color and Texture Combos for a Spa-Like Master Floor
If you’re aiming for a spa-like master bath, start by pairing calm colors with tactile textures that invite you to linger.
I blend cool neutrals with subtle stone feels and matte finishes for depth, then layer soft textiles and warm wood accents for contrast.
The result is serene, cohesive, and practical—elevating daily routines without shouting style.
Incorporating modern rustic elements adds warmth and a cozy charm that perfectly complements a tranquil bathroom setting.
Easy Maintenance Routines: Stain Resistance and Cleaning Schedules
Stain resistance and a solid cleaning schedule aren’t chores to dread; they’re tools that keep your bathroom flooring looking like new with minimal effort.
1) Choose sealed, easy-to-clean surfaces.
2) Establish quick daily wipe-downs and a weekly mop.
3) Use pH-balanced cleaners and blot spills promptly.
This routine preserves beauty, reduces effort, and sustains long-term durability for a pristine master bath. Affordable bathroom flooring options can also provide expensive looks without breaking the bank, making maintenance both practical and stylish.
Installation Tips: Layout, Transitions, and Grout Choices
I’ll walk you through how layout choices set the room’s flow, how smart shifts keep everyday use seamless, and how grout selection locks in both style and durability.
We’ll consider practical alignments, door and fixture clearances, and consistent grout lines for a cohesive look from doorway to shower.
Layout Considerations
When planning a bathroom floor, the layout is more than just where tiles go—it guides water flow, foot traffic, and the eye through the space.
- Align patterns with door swing and wet zones
- Plan grout lines to run parallel with key axes
- Consider tile size changes for visual cues and shifts
Transition Solutions
Modification solutions start with a clear plan for how your flooring meets different areas and materials, then focus on seamless changes, precise layout, and smart grout choices.
I guide you through shifts that honor room flows, reduce trip points, and protect edges. Precision matters: use level surfaces, compatible thresholds, and clean seams.
Your master bath gains polish, durability, and effortless elegance through thoughtful, practical detail.
Grout Selection Tips
Grout choices aren’t just about color—they’re about durability, maintenance, and the floor’s overall feel.
I guide you to select grout that resists stains, leaks, and cracking while complementing tile.
Here’s a quick framework:
1) Consider cementitious vs epoxy for durability
2) Pick a shade toward cleanliness and maintenance
3) Plan connections to minimize cracking and moisture wicking
Budget Breakdown: Where to Splurge and Where to Save
Choosing where to splurge and where to save in bathroom flooring comes down to durability, feel, and long-term value; investing in a solid base now prevents costly fixes later.
I share a practical breakdown: invest in a reliable underlayment and durable core tiles, save on premium trims and decorative accents, and prioritize timeless textures over trendy patterns to guarantee lasting appeal and fewer replacements.
13 Stylish Tile Looks to Elevate Your Master Bathroom Floor
A master bathroom deserves tiles that anchor the space with both style and durability, so I’m focusing on looks that elevate without overpowering.
Here’s what to try:
- Large-format porcelain for seamless flow
- Matte finish with subtle texture for grip
- Premium stone accents as focal points
These options blend longevity, polish, and practicality for a refined floor.
Conclusion
Imagine your master bath as a blank canvas, each tile a brushstroke of daily luxury. With durability you can trust, slip-resistant finishes you can feel, and moisture-smart underlayment you can rely on, your floor becomes both masterpiece and guarantee. Choose porcelain for resilience, ceremonial ceramic looks for timeless elegance, and grout that quietly completes the story. Invest where it matters, save where it doesn’t, and let your daily routine tread softly like a well-composed melody. Your dream floor awaits.