What actually survives a humid basement bathroom, and what looks great for one winter before it buckles? That is the question I get asked most, usually after someone has already pulled up a floor that failed. A below-grade bath fights moisture from two directions at once: steam from the shower above and damp coming up through the concrete slab below.
So the smart picks here all share one trait, which is that they do not care about water. Below are 16 basement bathroom flooring ideas for high humidity, sorted from the most foolproof to the ones that need a little more babysitting, with real costs so you can plan before you buy a single box.
The Short Version
- Waterproof vinyl plank and porcelain tile are the two safest bets for a damp basement bath.
- The floor matters less than the moisture barrier and subfloor prep underneath it; skip those and any floor fails.
- Budget runs roughly $2 to $5 a square foot for vinyl and $8 to $15 installed for porcelain tile.
- Run a dehumidifier to hold humidity near 30 to 50 percent and the whole room ages slower.
How to Choose Moisture-Resistant Basement Flooring
Before you fall for a look, the floor has to clear three tests, because a basement bath punishes the wrong choice fast. I judge every option against the same short list:
- Waterproof, not water-resistant. Those are different words for a reason; only fully waterproof cores belong below grade.
- Slip resistance, since damp tile gets dangerous. Look for a textured surface or a higher slip rating on porcelain.
- Forgiving maintenance, because the floor you have to baby is the floor you will resent. Easy-clean surfaces win here.
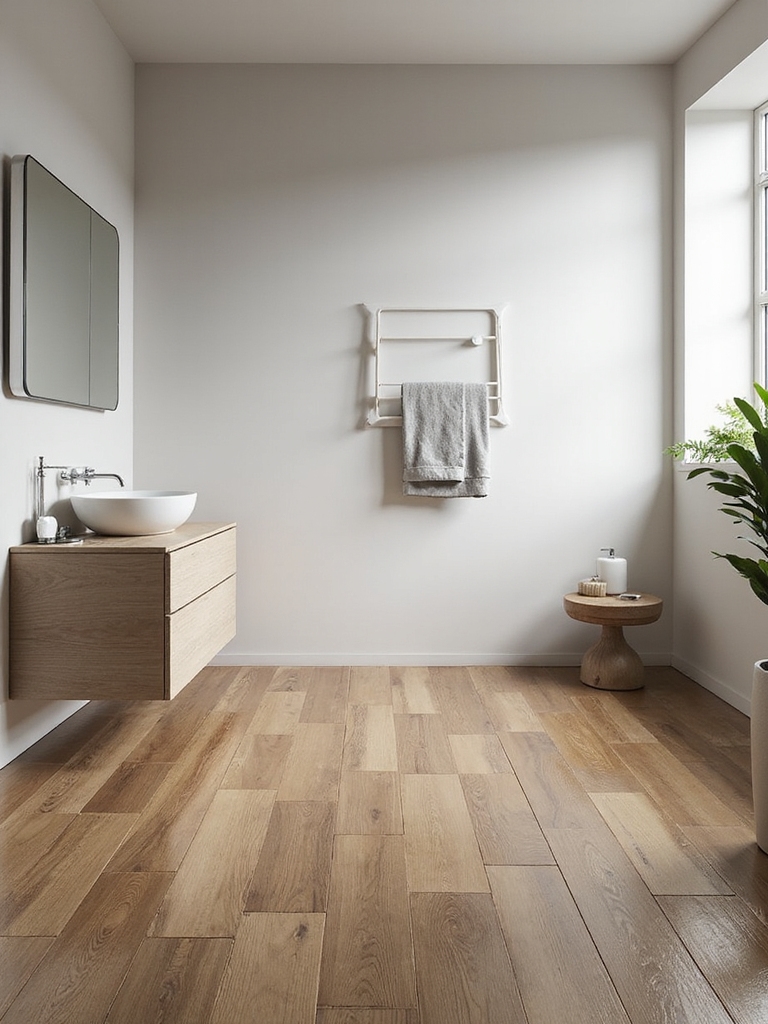
Waterproof Vinyl Plank: Durability, Cost, and Install
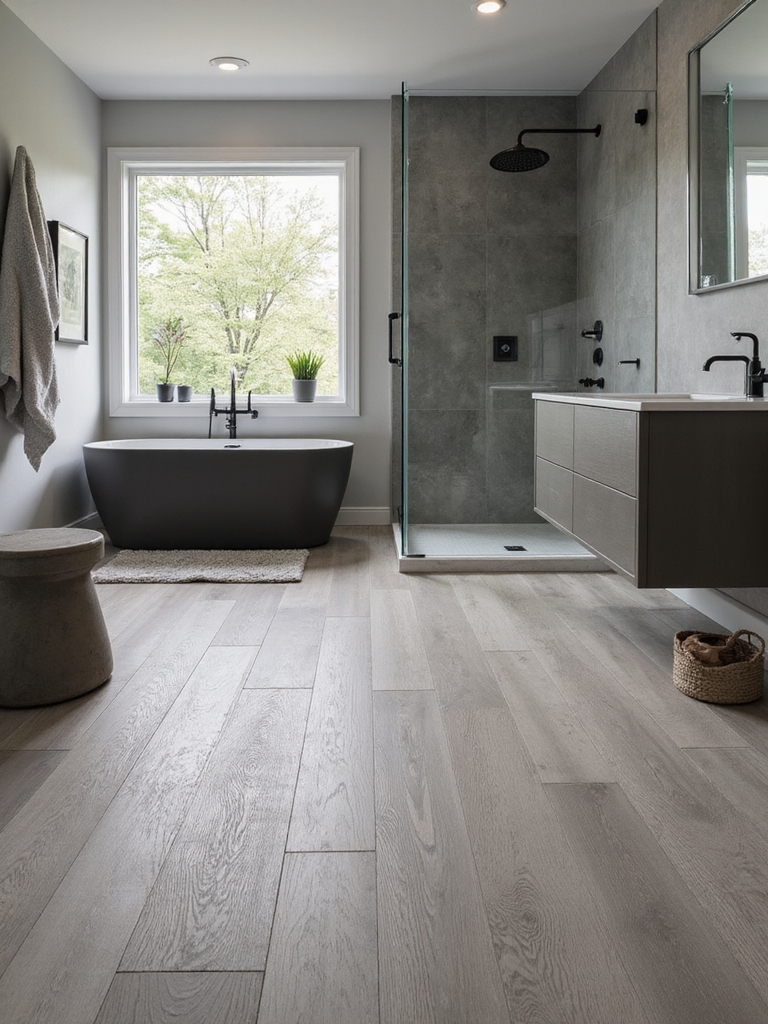
If I had to pick one floor for most basement baths, it would be rigid-core waterproof vinyl plank. It clicks together over a prepped subfloor, shrugs off standing water, and gives you a wood or stone look without the swelling real wood would suffer down there. Material runs about $2.50 to $5 a square foot, and a handy homeowner can lay a small bath in a weekend.
Why the Subfloor Decides Everything
The catch is that vinyl is only as flat as what is under it. A lumpy or damp slab telegraphs through the planks and stresses the seams, so the prep matters more than the brand you buy. The worst callback I ever got was a beautiful engineered-wood floor that cupped like potato chips by its first February, all because the client skipped the moisture test on the slab. I have since watched a budget floor outlast a premium one purely on better prep.
It also feels warmer and softer underfoot than tile, which matters in a room you walk into barefoot. For more on the look itself, these waterproof vinyl picks show how far the printing has come.
“The mistake I see most in basement baths is buying the prettiest floor first and the moisture barrier last. Flip that order. Decide your waterproofing and subfloor plan, then choose a look that fits the budget left over.”
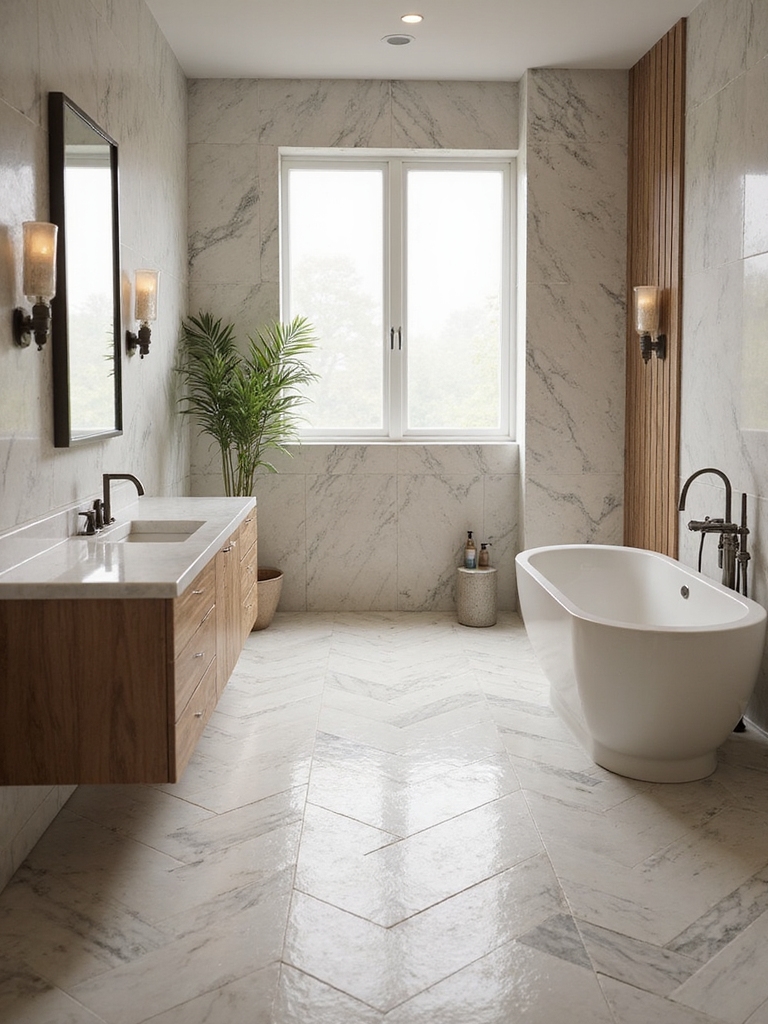
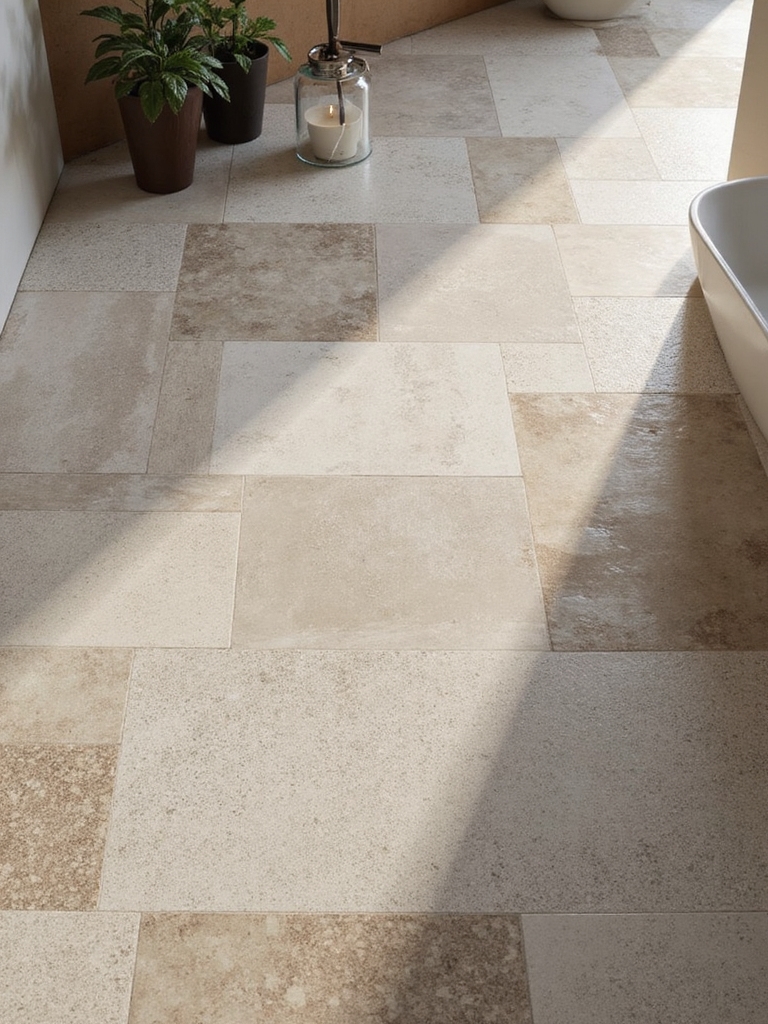
Porcelain Tile and the Moisture Barriers It Needs
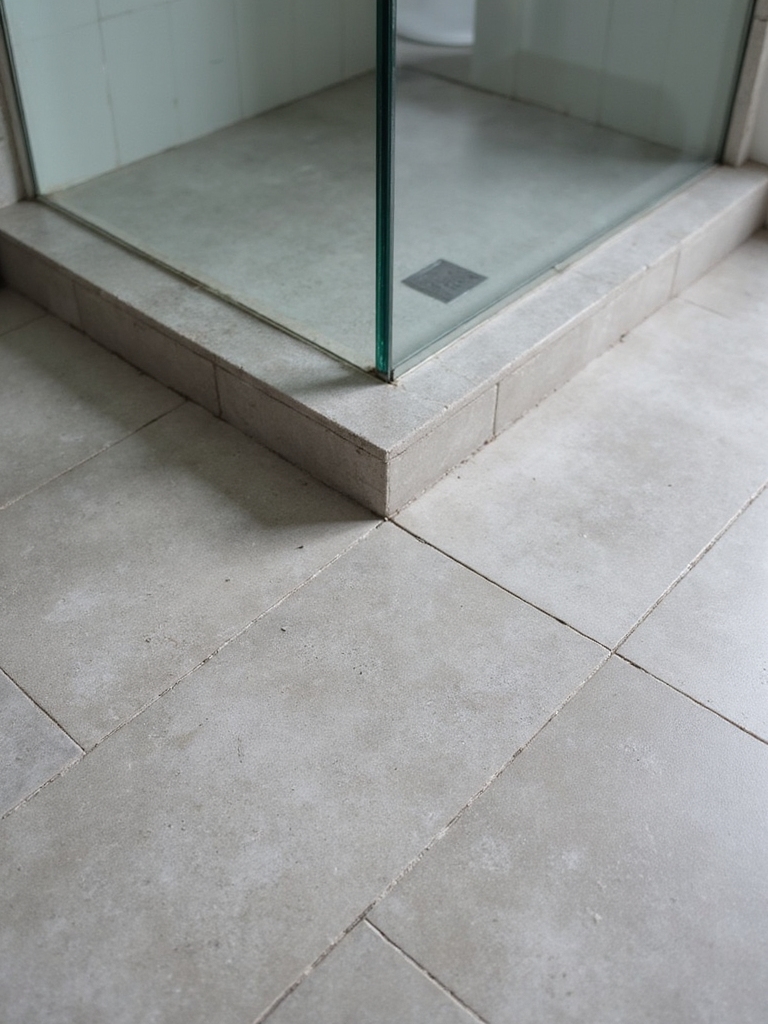
Porcelain tile is the most bulletproof surface you can put in a humid basement, full stop. It absorbs almost no water, it cleans easily, and it lasts decades. The reason it still fails sometimes is not the tile; it is what happens beneath and between the tiles. Without a proper uncoupling membrane and a sealed perimeter, moisture finds the gaps.
That is why porcelain is the one floor I send most people to a pro for, especially the waterproofing layer and the slab prep. Installed, expect roughly $8 to $15 a square foot, more for intricate patterns. It is the priciest option here, but in a room this hostile, it buys real peace of mind.
Style-wise, porcelain has no limits anymore. You can get convincing marble, concrete, or wood looks, and a slightly textured finish adds grip where damp tile would be slick. If you love the material, these floor tiles worth obsessing over are a good place to start collecting ideas.
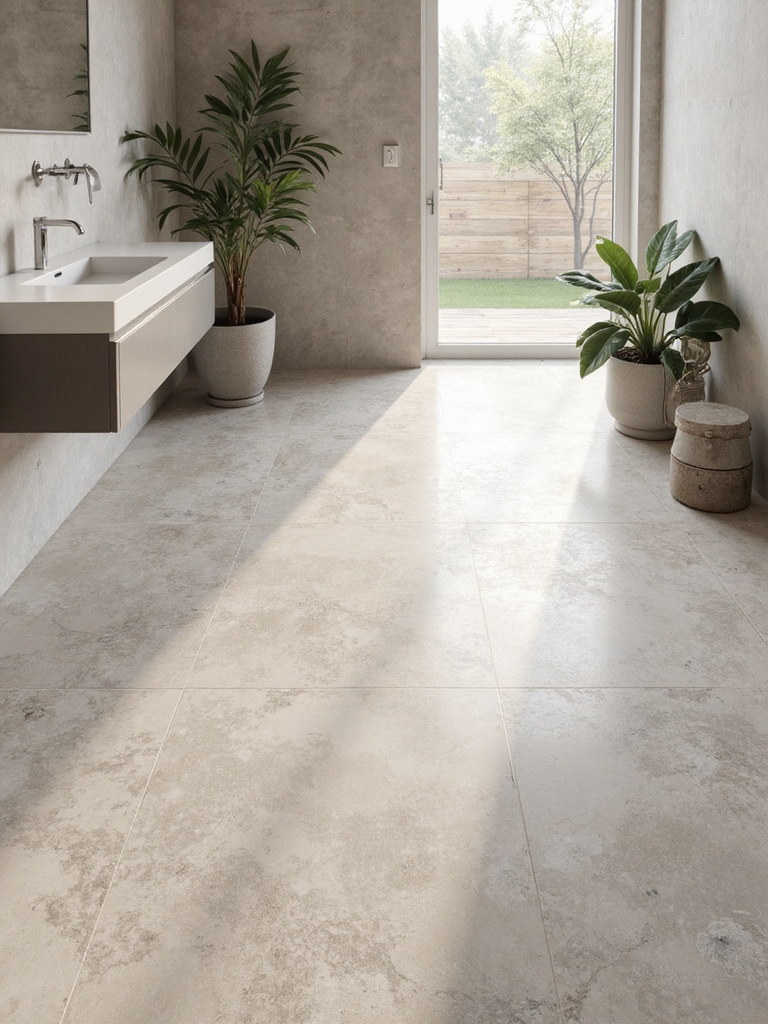
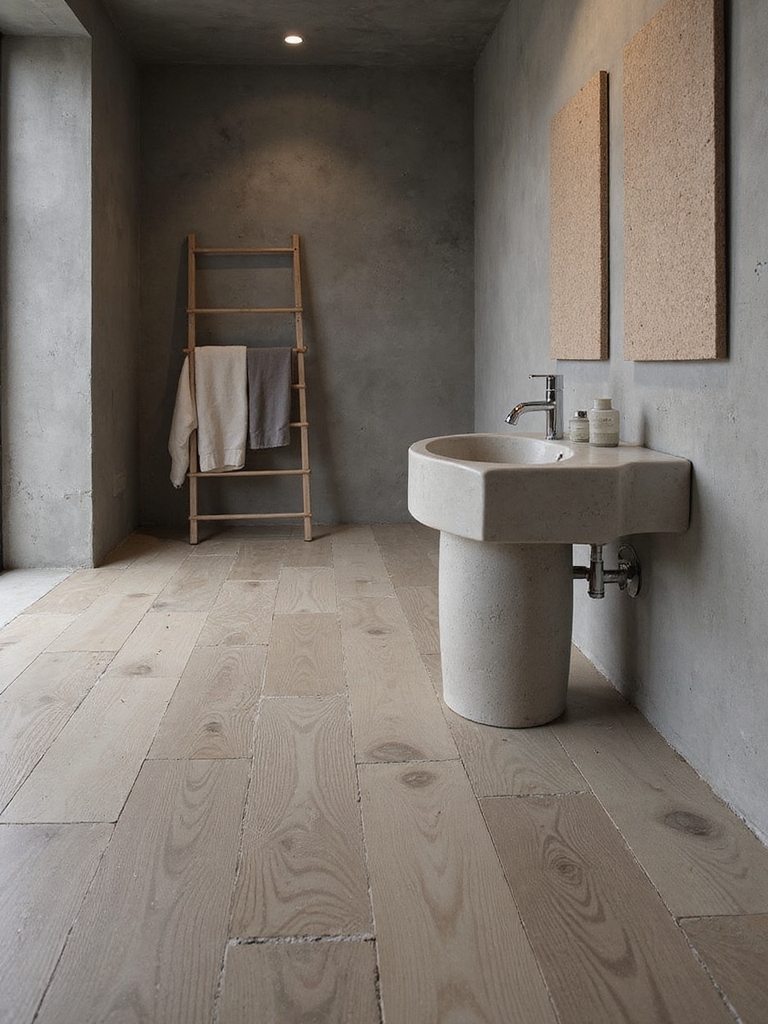
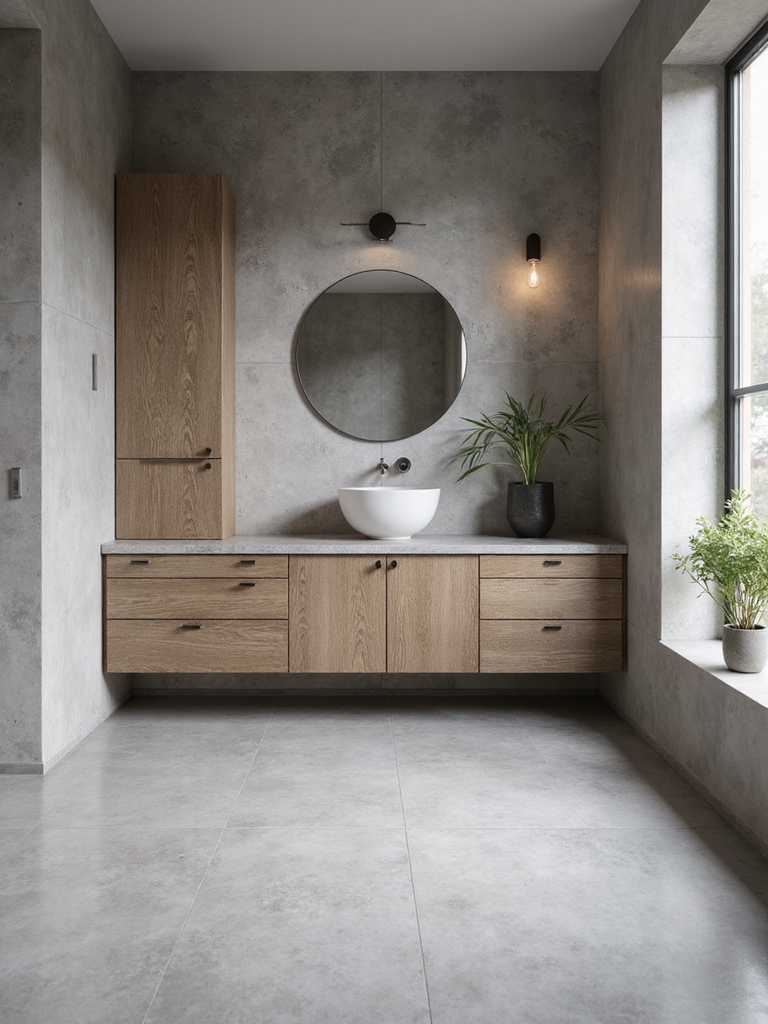
Sealed Concrete and Customizable Resin Surfaces
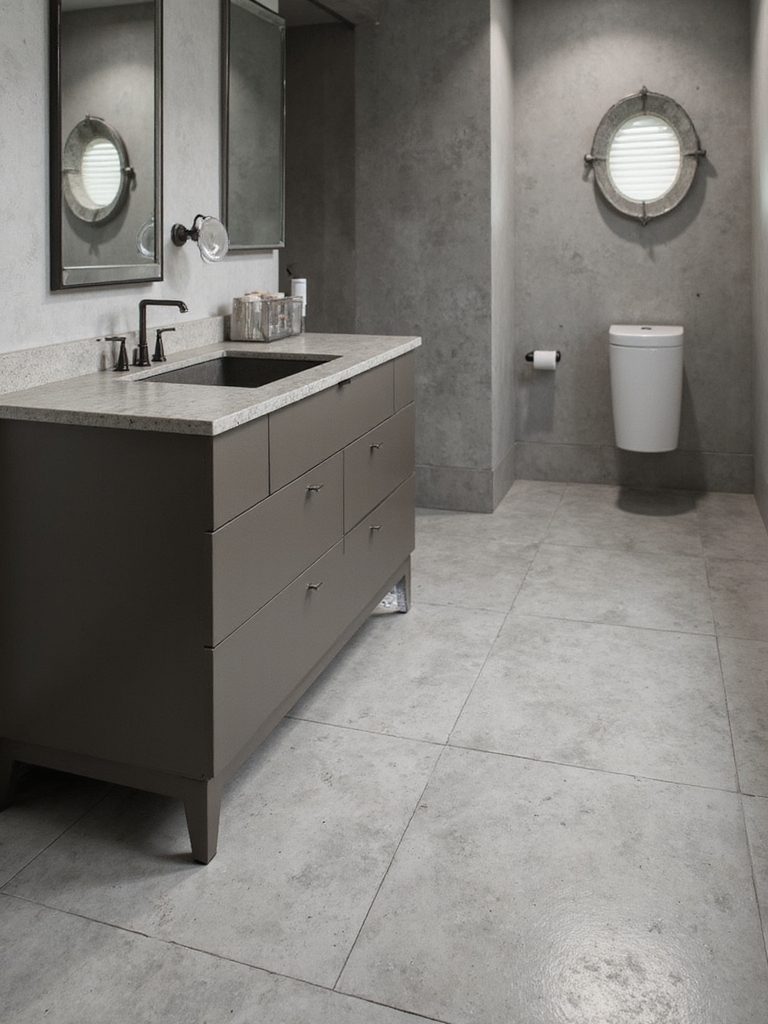
Sometimes the best basement floor is the slab you already have, dressed up. A polished or sealed concrete floor is naturally at home below grade, and a decorative microtopping or epoxy lets you customize color and sheen for roughly $4 to $8 a square foot. It has no seams, so there are fewer gaps for moisture to exploit. That matters more here than in any room upstairs.
The honest trade-off is comfort. Concrete is hard and cold underfoot, so I almost always pair it with a washable runner and recommend a radiant heat mat if the budget allows. Done right, it is one of the longest-lasting, lowest-drama surfaces you can choose.
- Choose a matte or lightly textured sealer so the floor is not slippery when wet.
- Plan to reseal every couple of years to keep moisture and stains out.
- Add a soft rug and warm lighting so the room never feels like a garage; sort fixtures by lighting tone first.
A quick moisture test before you buy any flooring:
1Tape down a sheet
Tape a two-by-two-foot square of clear plastic flat to the bare slab, sealing all four edges.
2Wait and check
Leave it 24 to 72 hours, then look for condensation or a darkened slab underneath.
3Read the result
Moisture under the plastic means you need a vapor barrier and likely a pro before flooring.
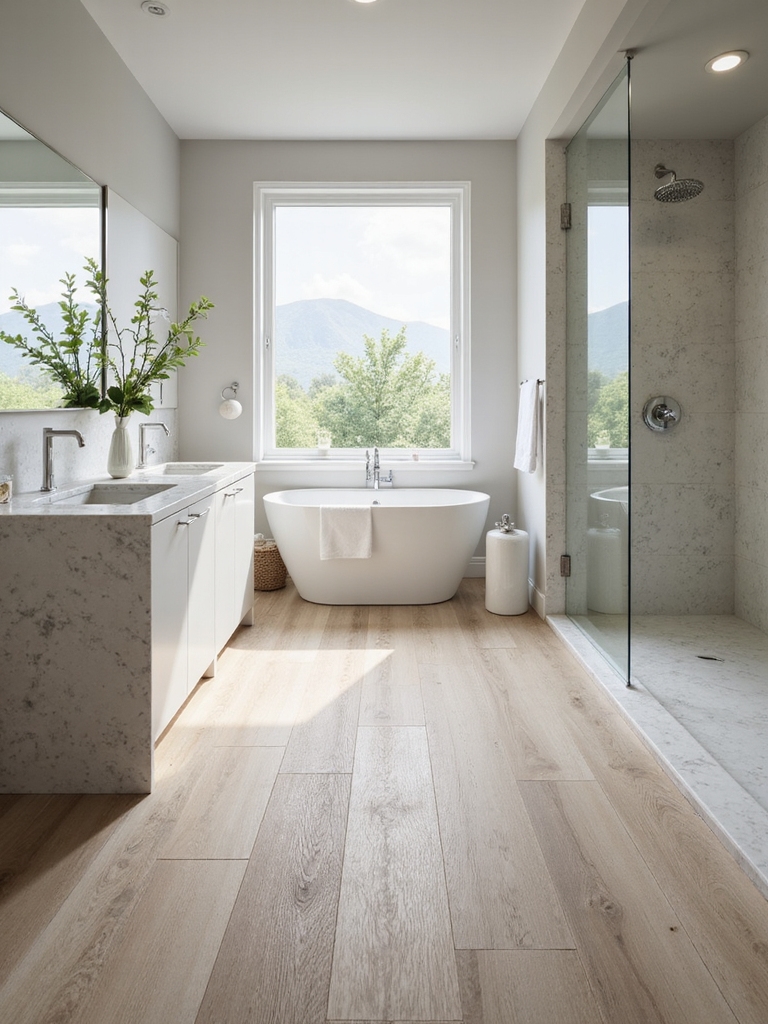
Comfortable, Low-Maintenance Hybrid Flooring
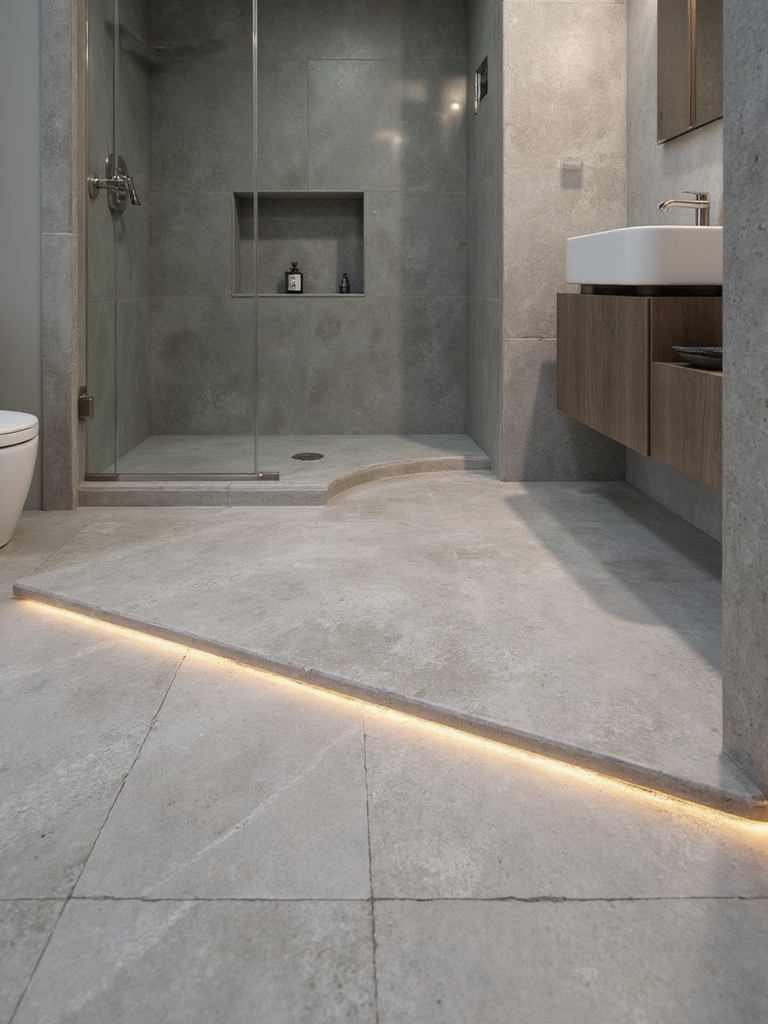
If your main complaint about basements is that they feel cold and unforgiving, hybrid and cushioned-back planks are the comfort upgrade. They layer a waterproof core with a softer backing, so the floor feels warmer and quieter than straight tile while still handling humidity.
It is the option I suggest for families who want a basement bath that small feet will actually use. I have specified it for a dozen kids’ baths now. Not one has called me back about a cold floor.
Cost sits between basic vinyl and tile, and most click systems install over a flat subfloor without glue. The softer feel does come with slightly less long-term hardness than porcelain, so it suits a guest or kids’ bath better than a high-traffic main one.
Sheet vinyl deserves a mention here too, because it is the budget hero. At $1 to $3 a square foot with almost no seams, it is the cheapest truly waterproof floor, and today’s prints look far better than the kitchens you remember. For more on stretching dollars, browse these budget flooring ideas.
Vinyl vs Tile: Which One Fits Your Basement
When people make me choose between vinyl plank and porcelain tile, I answer with questions, not a verdict. How much do you want to spend, how long will you stay, and how cold do you mind the floor being? Those three answers settle it almost every time.
Vinyl wins on cost, comfort, and DIY-friendliness. It is warmer underfoot, far cheaper to install, and forgiving if you want to swap it in five years. Tile wins on longevity and resale, because a well-laid porcelain floor can outlast the house and reads as a quality upgrade to buyers.
My rough rule: if this is a long-term home and the budget allows, tile the floor and walk away for twenty years. If it is a rental unit, a flip, or a first attempt, waterproof vinyl gives you ninety percent of the protection for a fraction of the price and stress.
Subfloor Prep and Moisture Barriers That Actually Work
Here is the part nobody photographs and everybody underestimates. The most expensive floor in the world will fail over a wet, uneven slab, so this layer is where your money quietly does its job. Before any floor goes down, the slab needs to be tested for moisture and leveled, and a vapor barrier rated for below-grade use has to go between the concrete and your floor.
This is also where I draw a clear line. Sealing a slab, installing a sump or drainage solution, or diagnosing active water intrusion is pro territory, not a weekend DIY, because getting it wrong invites mold and ruins everything above it. Spend on the right person for this step and the visible floor becomes the easy part.
- Run a simple plastic-sheet moisture test on the slab before you commit to any material.
- Use a vapor barrier or membrane rated specifically for below-grade concrete.
- If you find standing water or persistent damp, call a licensed pro before flooring anything.
Keeping a Basement Bathroom Floor Healthy
Once the floor is in, a little routine keeps humidity from winning. I learned this the hard way. In my own basement bath I squeegee or towel the floor after showers, run an exhaust fan during and after, and keep a small dehumidifier set to hold the room near 30 to 50 percent humidity. That single appliance does more for a basement bath’s lifespan than almost anything else.
Grout and seams are the weak points, so I reseal grout about once a year and check caulk lines for gaps every few months. Catching a cracked seam early is a five-minute fix; ignoring it is how water gets under a floor that was supposed to be waterproof.
Clean with gentle, non-abrasive products so you do not wear down sealers or finishes. The whole maintenance load here is maybe twenty minutes a month, which is a fair trade for a floor that stays dry and safe for years.
Matching the Floor to Your Basement
The right floor depends less on trends than on how you live. A young family wanting warmth and a soft landing should look hard at hybrid or cushioned vinyl. A long-term owner who wants to install once and forget it belongs on porcelain tile with a proper membrane. A renter or flipper gets the best value from rigid-core vinyl or good sheet vinyl.
Whatever you pick, let the floor set the tone for the rest of the room. Carry its undertone into your wall color by mood and vanity finish so the space feels designed, not just waterproofed. A basement bath can be a lovely room; it just has to be dry first.
Basement Flooring Questions, Answered
?What is the best flooring for a high-humidity basement bathroom?
Waterproof rigid-core vinyl plank and porcelain tile are the two strongest choices. Vinyl is cheaper, warmer, and DIY-friendly; porcelain lasts longer and adds resale value. Both only perform if the subfloor is prepped and a proper moisture barrier sits underneath.
?Can I install basement bathroom flooring myself?
The flooring itself, yes, especially click-together vinyl plank over a flat, dry slab. The waterproofing, slab sealing, and any active moisture problems are pro territory. Getting that hidden layer wrong is what causes mold and floor failure, so it is worth paying for.
?How do I stop moisture from ruining the floor over time?
Run an exhaust fan and a dehumidifier to hold humidity near 30 to 50 percent, squeegee after showers, reseal grout yearly, and check caulk for gaps. Most floor failures below grade come from skipped ventilation and a missing vapor barrier, not the flooring material itself.
Get the Floor Dry, Then Make It Beautiful
A humid basement bathroom is not a place to gamble on the wrong floor, but it is also not as scary as it sounds once you sort the order of operations. Handle the moisture and subfloor first, then choose between waterproof vinyl, porcelain tile, or a sealed slab based on your budget and how long you plan to stay.
Start with the moisture test before you shop for a single sample; it costs nothing and tells you everything. Which of these floors fits your basement, the foolproof tile or the warmer, friendlier vinyl?