Most people try to organize a bathroom cabinet by buying bins first. That is exactly backward, and it is why the bins end up half-empty and the chaos comes right back. The clever part is never the container; it is the order you do things in, starting with what you take out, not what you bring in.
These 14 clever bathroom cabinet organization ideas are really one repeatable system plus the small hacks that make it stick. I will walk you through the same steps I use on a client’s cabinet, from a five-minute inventory to a weekly habit that keeps the whole thing in order. No renovation, no special skills, just a smarter sequence.
The Clever System, in Short
- Edit before you organize: empty the cabinet and toss expired and duplicate products first.
- Group by how often you use something, then store daily items front and center, backups up high.
- Use clear bins, risers, and labels so you can see what you own and stop rebuying it.
- A five-minute weekly audit is what keeps the system from sliding back into a pile.
Why Organized Cabinets Reduce Daily Stress
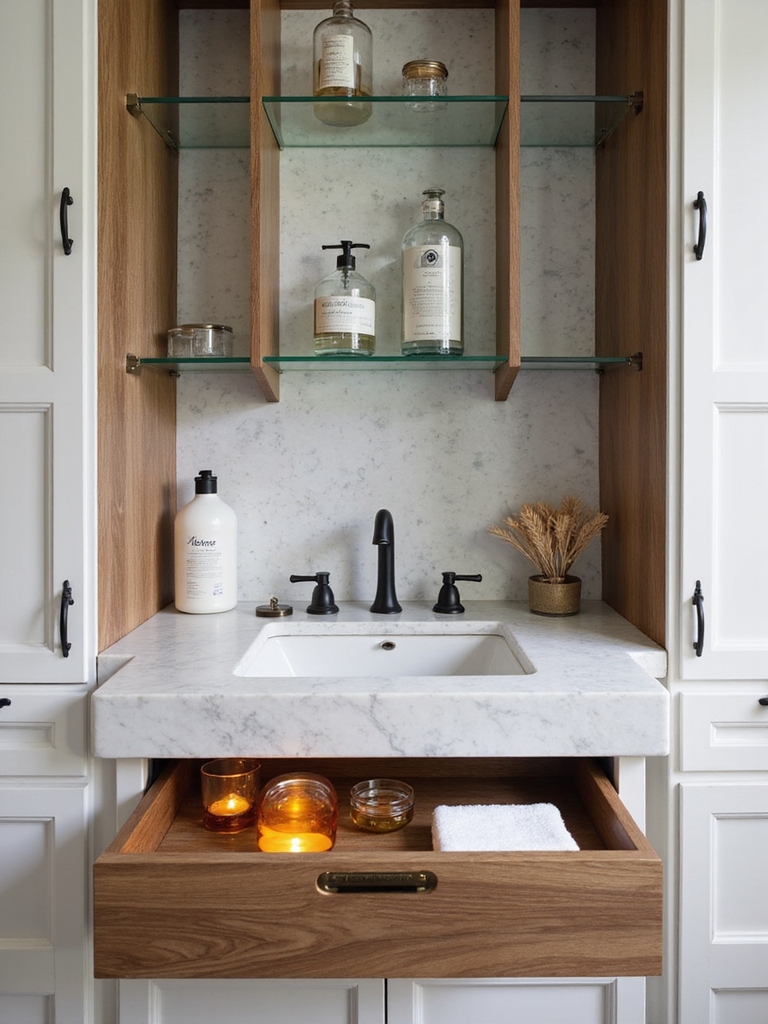
An organized cabinet is not about looking perfect; it is about losing fewer minutes to the morning scramble. When everything has a spot, you stop digging, stop rebuying things you already own, and start the day a little calmer. In my own bath, sorting the under-sink cabinet shaved real minutes off every morning, and I have watched the same shift land in client homes before 8 a.m. Here is what the payoff actually looks like:
- Less rummaging. You grab the thing you need on the first reach, not the fourth.
- Less waste. When you can see what you have, you stop buying a third backup deodorant.
- Less stress. An orderly cabinet sets a steady tone for everything that happens after it.
Start With a Clutter-Free Inventory
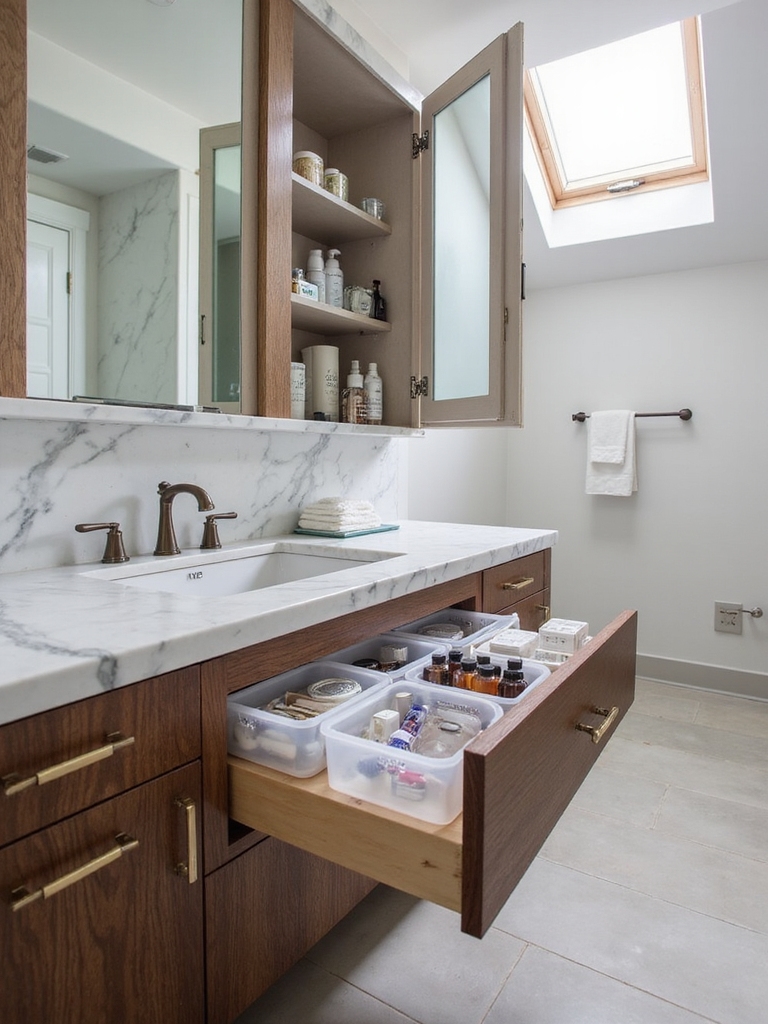
Before you buy a single organizer, empty the cabinet completely onto a towel. The cabinet I sort first for a client is always the one under the sink, and it is always the worst. This is the step everyone skips and the one that does most of the work, because you cannot organize what you have not actually seen. As you put things back, sort as you go, and you will be shocked how much of the cabinet was holding stuff you forgot you owned.
- Toss anything expired, dried up, or duplicated before it earns a spot again.
- Sort the keepers into three piles: daily, weekly, and rarely.
- Note the gaps now, so you buy only the bins and risers you truly need.
Quick check: is your cabinet costing you time?
1Do you own more than two of the same product right now?
If yes, you have a visibility problem, not a space problem. Clear bins fix it fast.
2Do you move three things to reach one thing each morning?
That is wasted vertical space. A riser or a pull-out will end the daily shuffle.
Sort Into Labeled, Categorized Storage
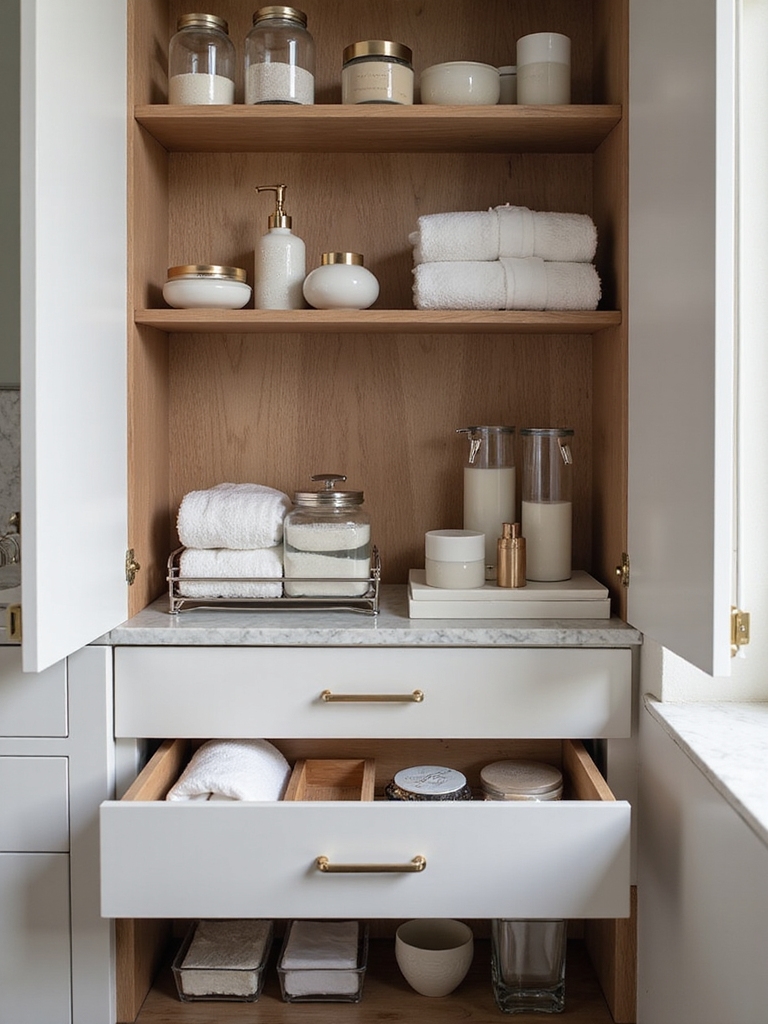
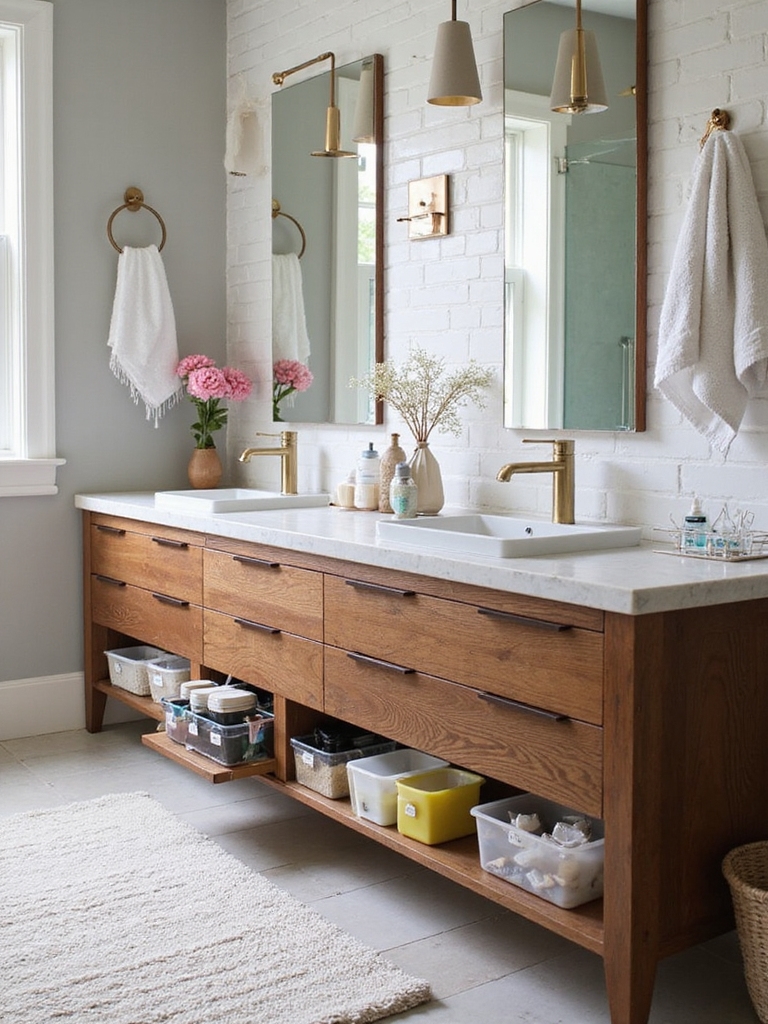
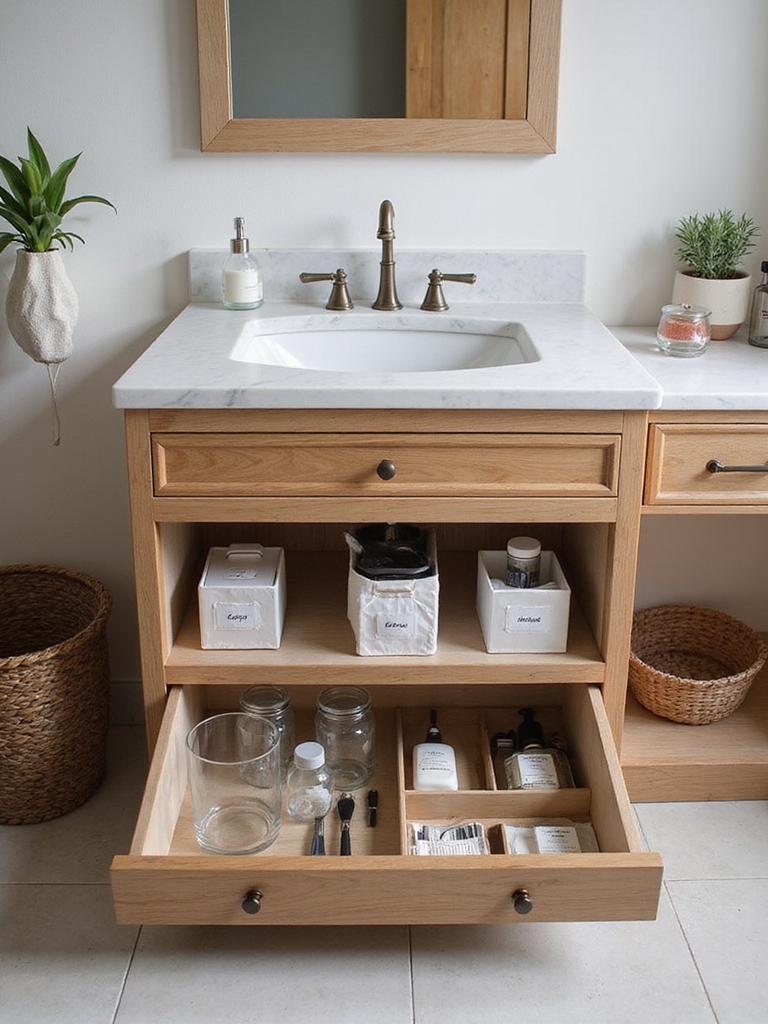
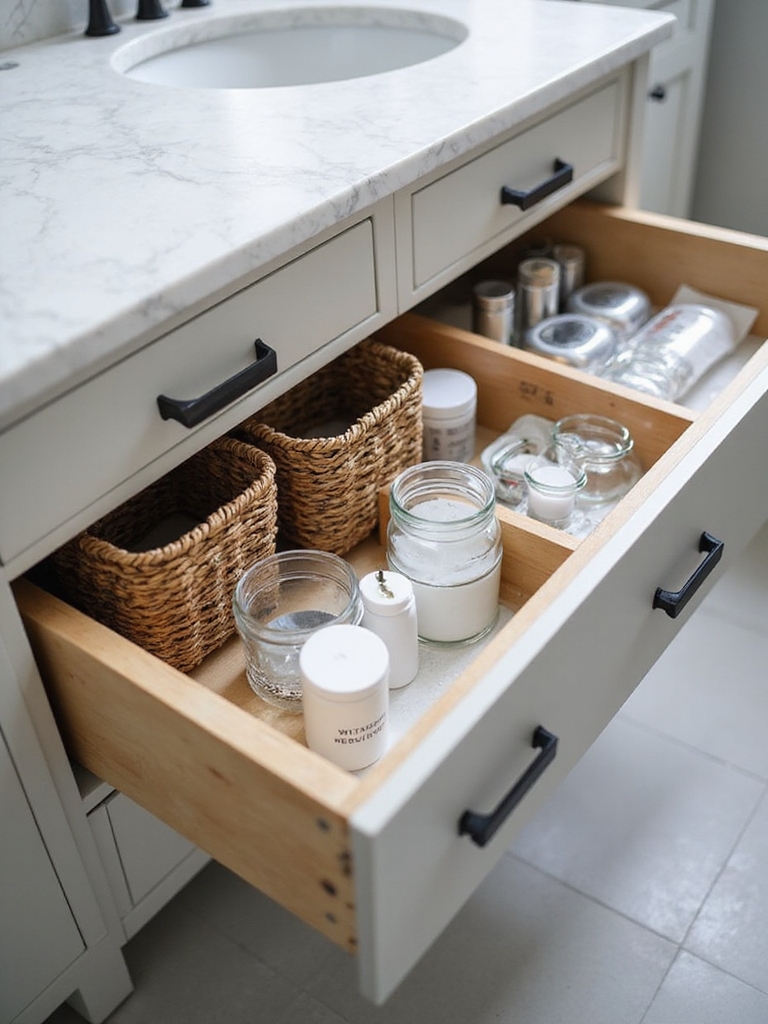
Once the editing is done, containers turn a tidy pile into a system you can maintain. Clear bins are the workhorse, usually $2 to $8 each, because seeing the contents is half the battle. Group like with like, then label the front so the system survives a busy week:
- Put each category in its own bin: hair, skincare, dental, first aid, backups.
- Choose uniform, clear containers so the cabinet looks orderly and you can read it at a glance.
- Label the front edge of every bin, and reevaluate each one monthly for expired items.
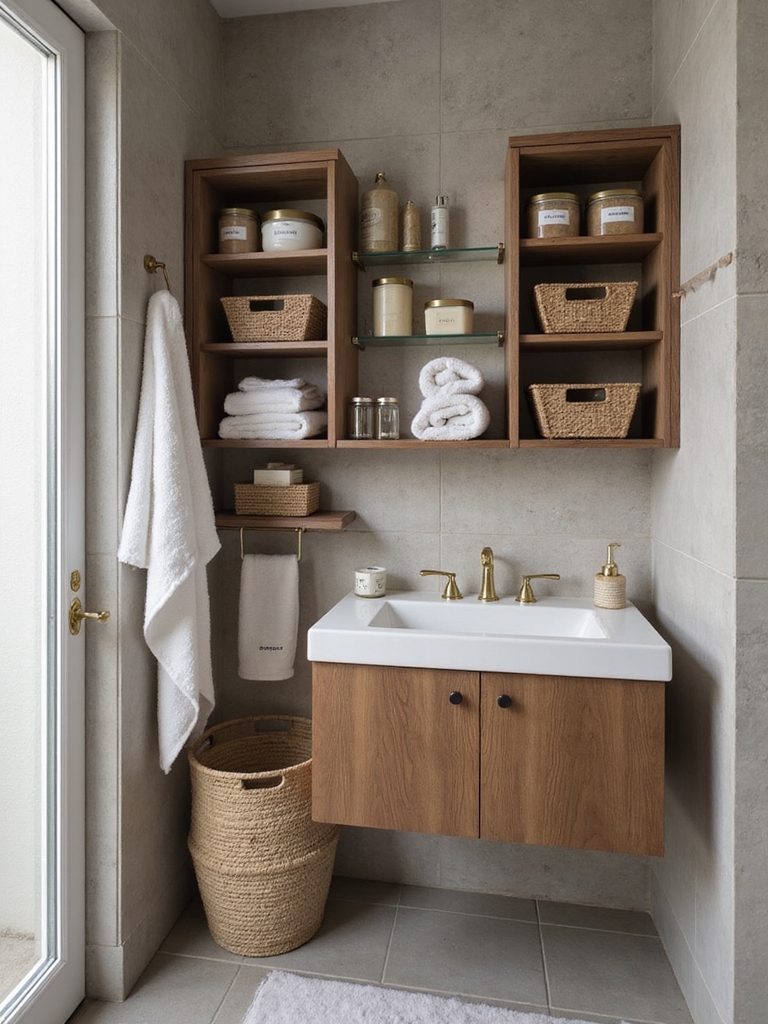
Maximize Vertical Space With Bins and Risers
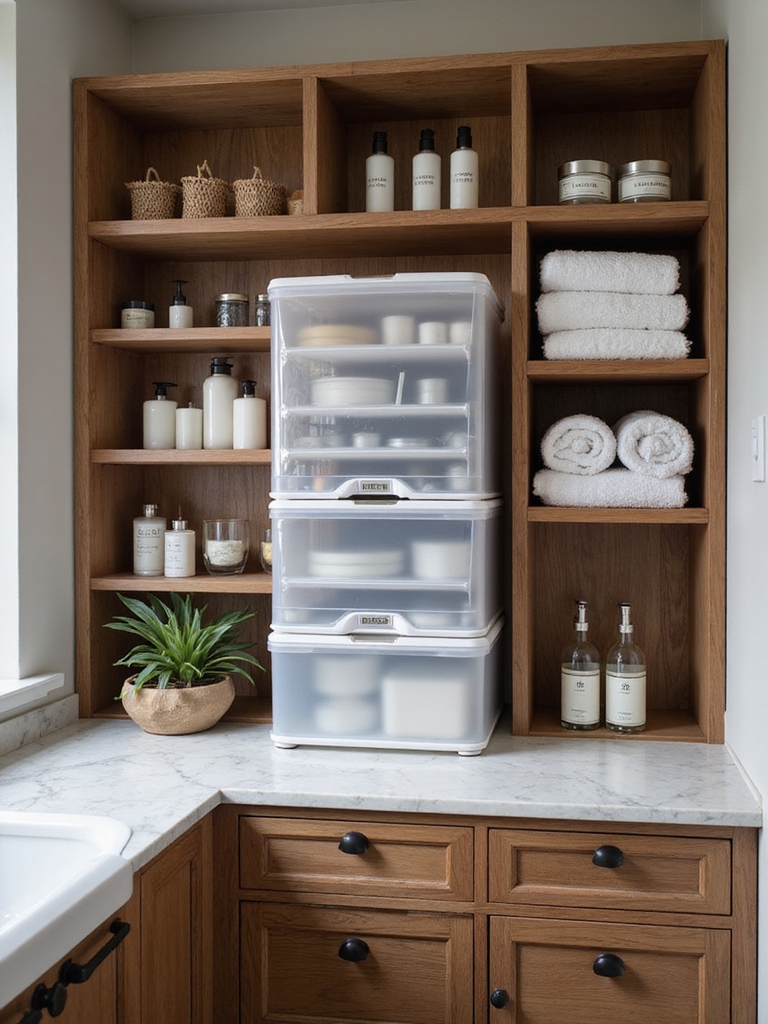
Most cabinets waste their best real estate: the empty air above the bottom shelf. A two-dollar riser or a stacking bin reclaims that vertical space and instantly doubles what a shelf can hold. I treat the inside of a cabinet like a tiny room and build upward, because the footprint is fixed but the height usually is not.
Match the tool to the item so nothing gets buried. Shallow bins suit small daily things, taller risers handle bottles, and a tiered step lets the back row peek over the front. Lean on a few small-space storage tricks and the same cabinet holds noticeably more.
- Add a shelf riser to split one tall shelf into two usable layers.
- Use stackable bins for backups so the daily row stays uncovered.
- Stand a tiered step organizer for bottles so you can read every label.
Good to Know
Most bathroom products have a small open-jar symbol with a number like 12M, meaning they are best used within 12 months of opening. A quick inventory is the easiest time to catch the ones that quietly expired in the back.
Clever Hacks for a Tiny Bathroom
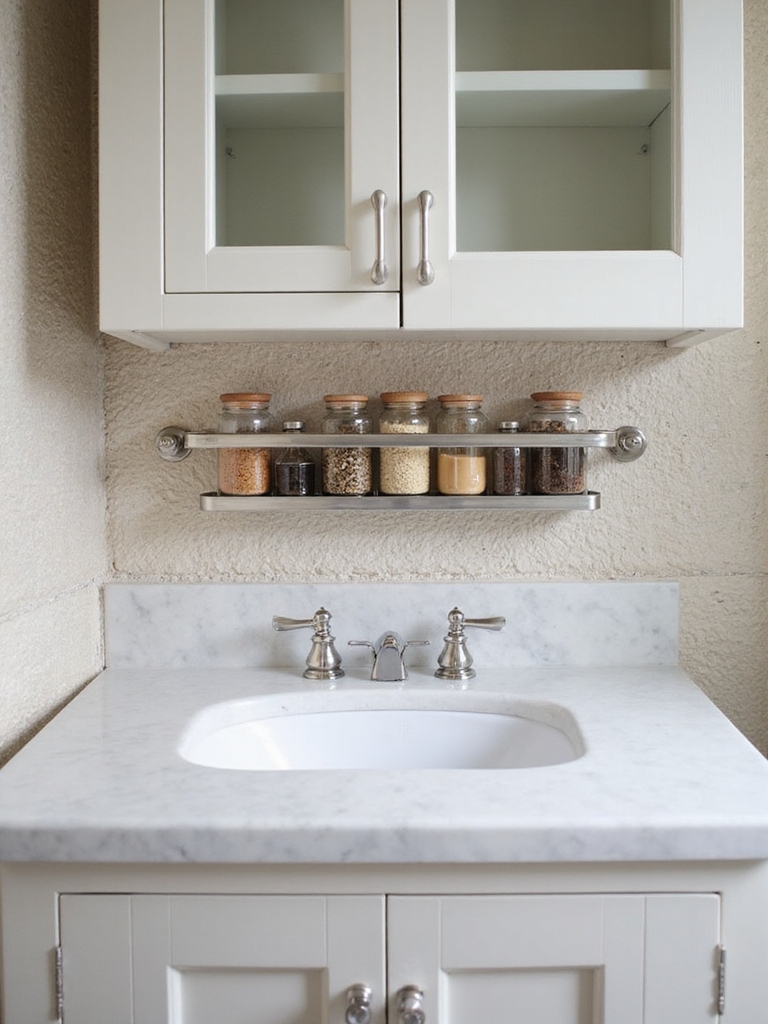
When the cabinet itself is tiny, the trick is to borrow space it does not technically have. The back of the door is the first place I look, since a slim adhesive or over-door rack turns a flat panel into a whole extra shelf for brushes and sprays. It costs little and uses a surface that was doing nothing at all.
Use the Back of Every Door
Magnetic strips are the other small-bathroom fix. A corrosion-resistant magnetic strip inside the door holds tweezers, clippers, and bobby pins that otherwise vanish to the bottom of a drawer. Stick-on cups and small bins handle the rest, keeping the counter clear in a room with no inches to spare.
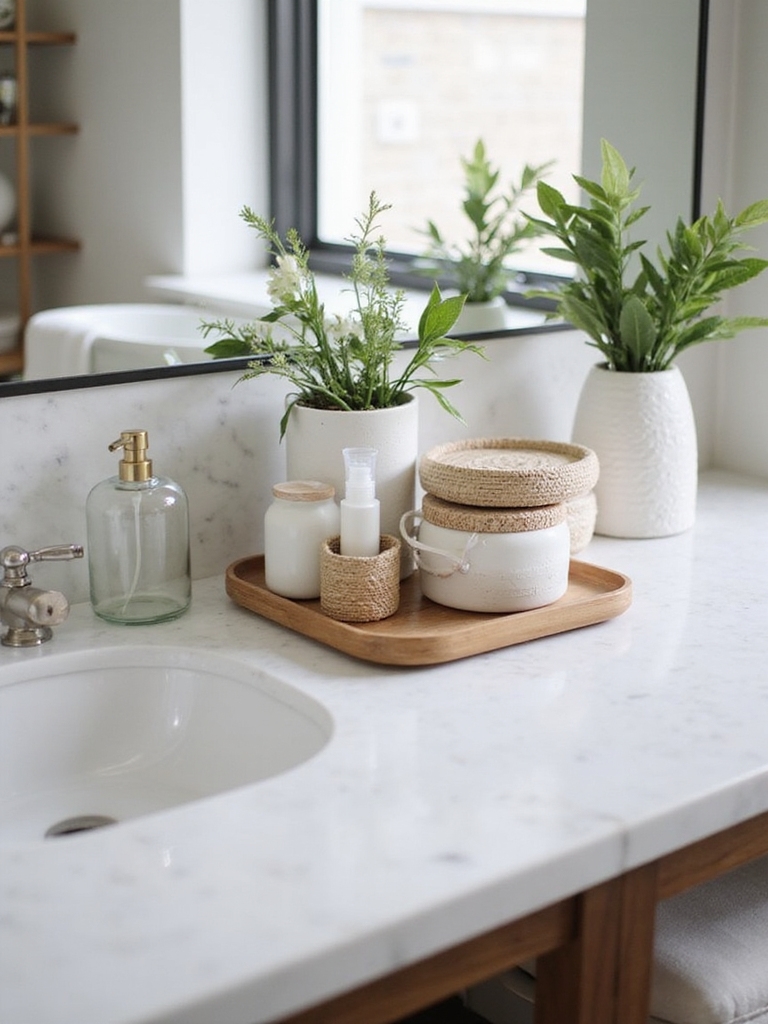
The mindset that makes tiny work is vertical and visible. Every wall, door, and side panel is potential storage, so I use all of it before declaring a cabinet too small. Keep the open surfaces styled the way you would any vanity counter so the whole room still feels intentional.
Zone the Cabinet by Person and Routine
A shared cabinet stays organized only when everyone has a lane. I split the space into zones by person and by task, so there is a clear his, hers, and kids’ section, plus a band for shared things like the first-aid kit. When people know where their stuff lives, they actually put it back, and a busy household stays civil because of it.
Kid zones earn their own rule: keep them low and reachable. A bottom shelf or a labeled bin at little-kid height teaches independence and keeps small hands out of the grown-up products up top. Picture labels work beautifully before kids can read.
Routine zones are the upgrade most people miss. Group by the moment you use something, so a morning band holds toothbrush, face wash, and serum together, ready to grab in one motion. Organizing by routine, not just by category, is what makes a cabinet feel custom to your actual day.
Label and Color-Code for Fast Finds
Labels are what keep a system honest after the first tidy week. Clients tell me the labeling step is the one that finally makes it stick. A simple label on every bin means anyone can return an item to the right home, so the order survives more than a few days. A basic label maker runs $20 to $40 and pays for itself in saved minutes and unbought duplicates.
Color-coding adds a layer of speed on top, especially in a family bath. Assign each person or category a color and the right bin jumps out before you even read the word. It sounds fussy, but for a shared cabinet it turns a morning hunt into a one-second grab.
- Make a quick legend so everyone knows the color system.
- Use durable, water-resistant labels that survive a steamy room.
- Pair colors with frequency: bright for daily, muted for backups.
Keep Chaos From Coming Back
Here is the honest part nobody likes: organization is a habit, not a one-time event. The systems above make tidy easy, but a tiny routine is what keeps the cabinet from drifting back into a pile. I do a five-minute audit every Sunday in my own bath, tossing anything empty and nudging stray items back to their zone.
Layer in a slightly bigger reset on a longer cycle. A monthly wipe-down keeps grime off the shelves, and a seasonal purge clears out the products you bought, tried once, and abandoned. Neither takes long when you stay ahead of it, and both stop the slow creep that undoes a good system.
Small and frequent always wins. A few minutes a week is painless, while a four-hour overhaul every spring is the thing you keep putting off forever. Pick the small habit and the cabinet basically maintains itself.
Containers and Materials That Hold Up
The container is the last decision, not the first, but it still matters, because a bathroom is brutal on cheap plastic. Steam warps it. Paper labels peel and curl. I default to clear acrylic or PVC bins with smooth, wipeable sides, since they handle humidity and let you see straight through to what you own.
A few I keep specifying for clients: stackable clear bins for backups, a small turntable for the awkward corner, and an expandable divider for the top drawer. Each one earns its spot by making the inside of the cabinet usable, not just full. I skip anything fabric or porous in a damp cabinet, because it holds moisture and grows musty fast.
Spend a little here once and you stop replacing warped bins every year. Smooth surfaces, rounded edges, and non-slip bottoms wipe clean in seconds and survive a steamy room for years. The cheapest bin is rarely the one that lasts, and in a wet cabinet that difference shows up quickly.
Make the System Stick
If you remember one thing, make it the sequence: edit, group, contain, label, maintain. Buying organizers before you edit is what leaves people with a drawer full of empty bins and the same old mess. Do the steps in order and even a cramped, dated cabinet turns into something that quietly runs itself.
Start with the cabinet that frustrates you most and finish it completely before touching another. One fully sorted cabinet builds the momentum to do the rest, and the daily calm it gives back, those few unhurried minutes at the sink before the morning starts pulling at you, is the real reward that keeps the whole habit alive. For the cabinet hardware side of the equation, these storage-obsessed cabinet ideas pair perfectly with the system here.
Cabinet Organization Questions, Answered
?What is the first step to organizing a bathroom cabinet?
Empty it completely and edit before you buy anything. Toss expired, dried-up, and duplicate products, then sort the keepers by how often you use them. Organizing what is left is easy; the mistake is buying bins for clutter you should have thrown out first.
?How do I organize a bathroom cabinet on a budget?
Start with what you have and add cheap tools as needed. Clear bins at $2 to $8, a $2 riser, an over-door rack, and a magnetic strip cover most needs for well under fifty dollars. Editing first means you buy fewer organizers, which is the real savings.
?How do I keep a bathroom cabinet organized long-term?
Build a tiny routine. A five-minute weekly audit to toss empties and reset zones, a monthly wipe-down, and a seasonal purge keep it from sliding back. Labels help everyone return items to the right spot, which is what makes the order survive a busy household.
?How should I organize a shared or family bathroom cabinet?
Zone it by person and routine. Give each person a labeled section, keep a low, reachable kid zone with picture labels, and group daily items by the moment you use them. Color-coding each person or category makes the right bin obvious at a glance.
Edit First, Then Everything Gets Easy
The single takeaway is that clever cabinet organization starts with subtraction, not shopping. Empty it, toss what is dead, group what is left, contain and label it, then protect it with a five-minute weekly habit. Every clever hack here hangs off that simple backbone.
Pick one cabinet this week and run the steps in order, and you will feel the difference the very next morning. Which will you start with, the chaotic one under the sink or the medicine cabinet you can barely close?