Here are 16 shower ideas I’d recommend for a practical, stylish reno that stays maintenance-free. Start with a clear wet and dry zone, size fixtures for easy movement, and choose a shower enclosure you actually like—frameless, framed, or soft-close doors all work if the finish fits. Add smart storage, niches in smart spots, and accessible tech that’s simple. Favor grout substitutes, durable materials, and layered lighting. If you keep going, you’ll uncover even more budget-friendly tricks and setup tips.
Key Criteria for a Practical, Enjoyable Shower Renovation
When you’re planning a shower renovation, the key criteria are simple: it has to be practical, enjoyable, and durable.
I focus on reliable fixtures, easy cleaning, and maintenance-free surfaces, so you won’t waste time.
I’ll balance form and function, choosing water-efficient options that feel luxurious.
Practical decisions today save headaches tomorrow, and that clarity keeps the project energizing, not exhausting.
In small spaces, incorporating stylish shower inspirations can maximize both utility and aesthetic appeal.
Start With a Functional Layout: Wet Zone, Dry Zone, and Size
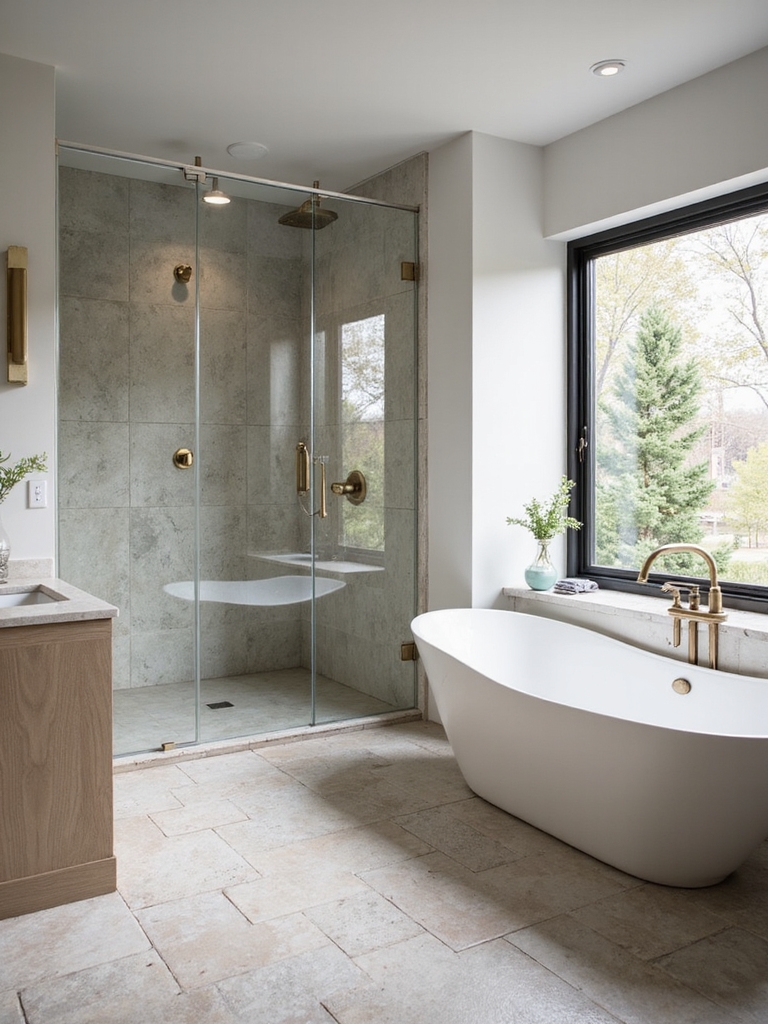
We should start by smartly planning the layout, placing a clear wet zone for the shower and a dry zone for the vanity and storage.
I’ll map out how the space supports the wet area, keeps water contained, and preserves room for movement, then size things so the flow feels natural.
Let’s keep the zones distinct and talk through practical allocations for the wet, dry, and overall footprint.
In compact ensuite bathrooms, using smart solutions can maximize every single inch effectively.
Functional Zone Planning
Getting your bathroom layout right starts with a clear functional plan: separate wet and dry zones, sized to fit how you use the space.
Here’s a practical guide:
- Define wet vs. dry zones early
- Size fixtures for movement and traffic flow
- Prioritize storage where it’s used
- Keep pathways free of obstacles and clutter
Wet Zone Allocation
A wet zone should be defined first, so you know exactly where water will gather and where it won’t.
I map measurements to prevent splashes and leaks, deciding on a sensible span for the shower floor and splash walls.
Then I align soap, shampoo, and towels nearby, streamlining routine access without crowding the space.
Clarity beats guesswork here.
Dry Zone Separation
Starting with a clear layout, I separate the wet zone from the rest of the bathroom to keep dry areas truly usable.
I focus on practical size, flow, and accessible storage.
- Create a distinct boundary between zones
- Choose non-slip, durable flooring
- Position towels, mirrors, and shelves within reach
- Use doors or curtains that don’t trap moisture
Choose Your Shower Enclosure: Framed, Frameless, or Soft-Close Doors
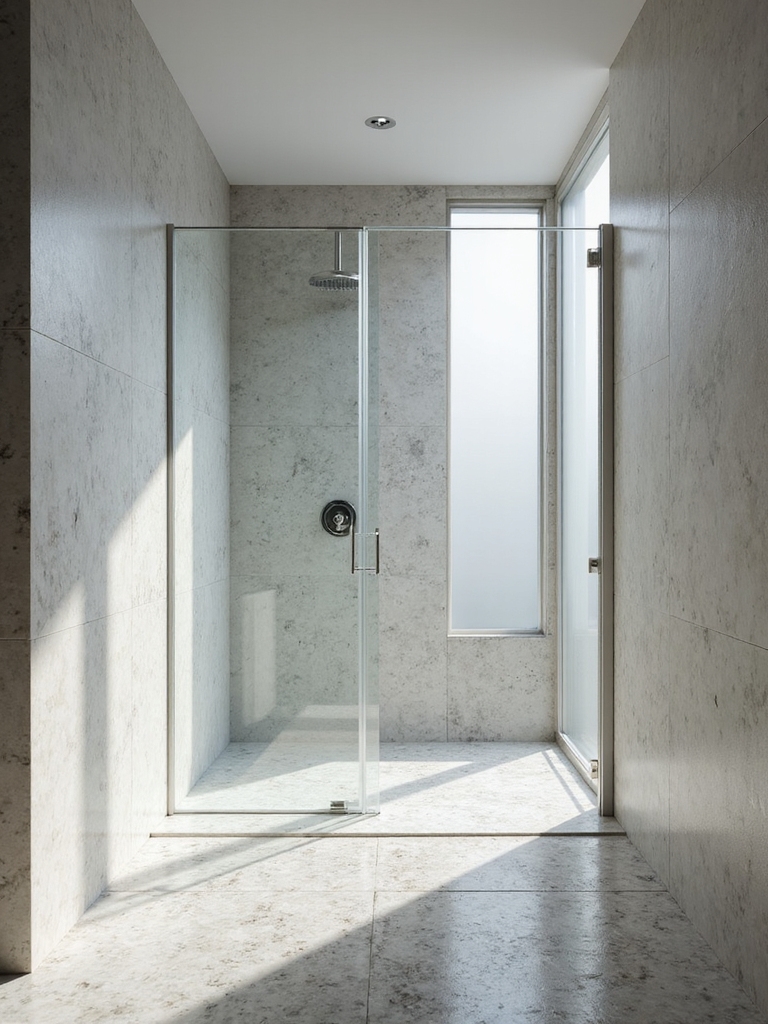
Choosing between framed and frameless hinges on your style and maintenance tolerance, because the look shifts from sturdy to seamless with just a choice.
I’ll also flag soft-close doors as a simple upgrade that quietly reduces slamming and protects delicate tiles.
Let’s weigh the trade-offs so you get the enclosure that fits your bathroom vibe and daily rhythm.
For smaller spaces, consider walk-in shower inspirations that maximize style while maintaining coziness and functionality.
Framed vs Frameless Choice
When it comes to shower enclosures, the choice between framed and frameless comes down to look, maintenance, and budget—and I’m here to help you decide.
- Visual weight: framed feels solid, frameless looks cleaner.
- Cleaning: frameless has fewer tracks, easier wipe-down.
- Durability: framed tolerates rough use; frameless relies on sturdy glass.
- Cost: framed saves money upfront, frameless adds value long-term.
Soft-Close Door Advantages
Soft-close doors add a quiet, premium feel to any shower, and they’re surprisingly practical.
I love how they prevent slams and pinched fingers, especially for kids and guests. They reduce cabinet-like noise, and maintenance is minimal when installed correctly.
You gain consistency in openings, smoother cleaning, and a calmer bathroom rhythm.
Consider soft-close for lasting comfort and value.
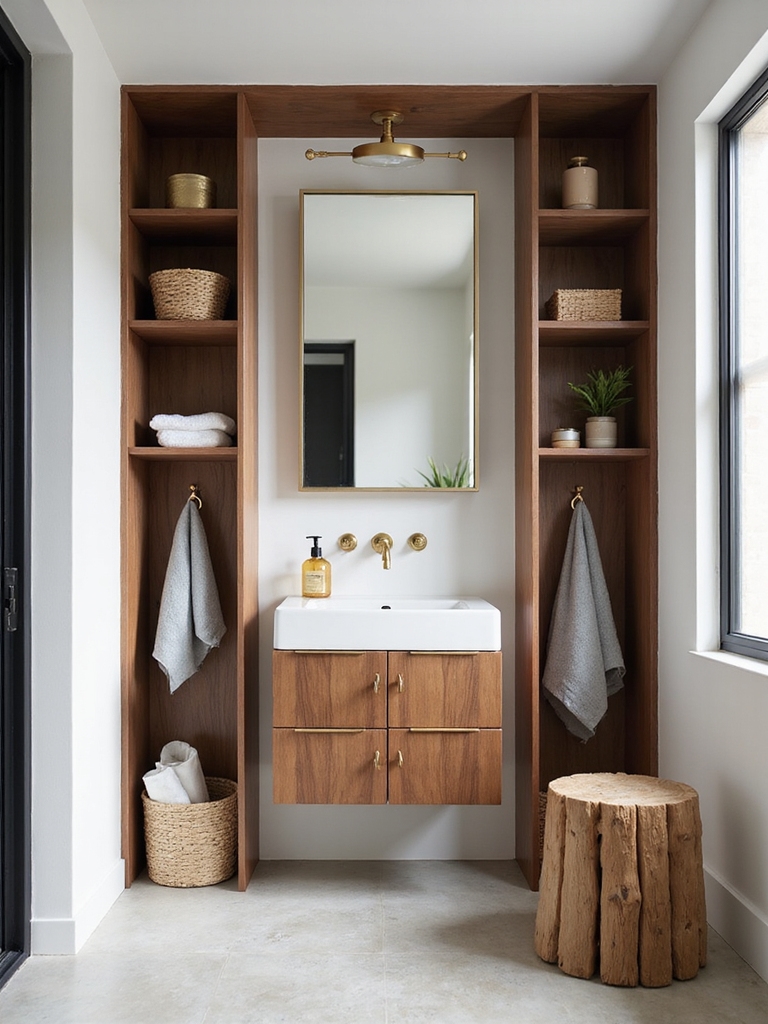
Smart Storage for a Clutter-Free Shower
Smart storage in a shower isn’t just nice to have—it keeps every bottle, razor, and scrubby in its place, so nothing trips you up mid-rinse.
- Install wall-mounted caddies
- Use removable suction shelves
- Hang a lightweight shower rod organizer
- Label containers for quick grabs
Trust me, neat basics save time, reduce mess, and make daily routines calmer. Incorporating creative bathroom storage solutions can transform your shower into a more functional and stylish space.
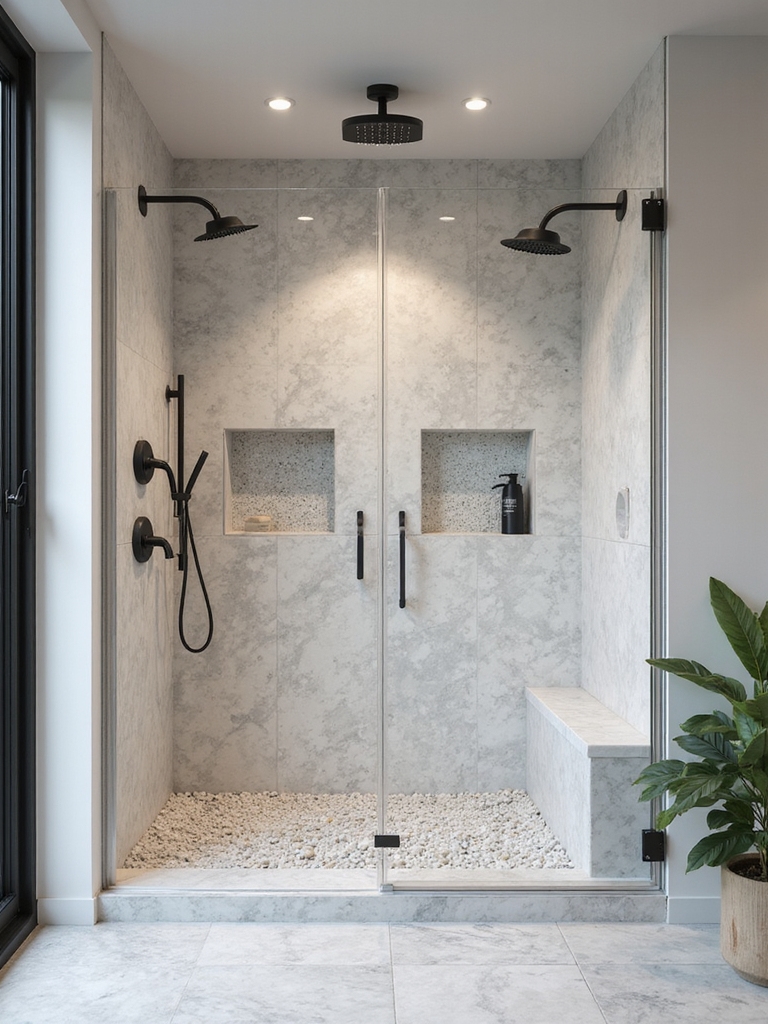
Corner Shelves and Niches: Best Locations and Sizes
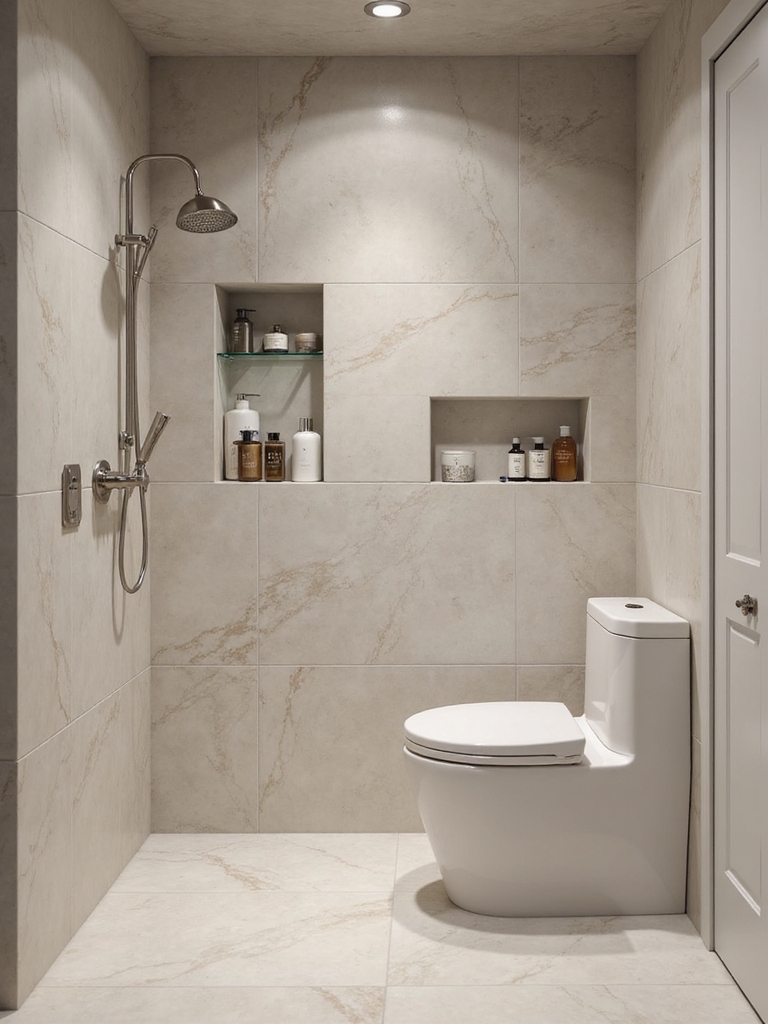
Corner shelves and niches aren’t just pretty details—they’re where smart storage meets real-life use in a shower.
I’ll share practical spots and sizes I trust: waist-high corner shelves for shampoo bottles, knee-level niches for soaps, and a tall niche for razors.
Keep edges rounded, moisture-free, and accessible from both showering and cleaning.
Practical, sturdy choices trump flashy trends.
In small bathrooms, incorporating a walk-in shower design with a pony wall can maximize space while maintaining functionality and style.
Accessibility Essentials: Grab Bars, Thresholds, and Reach
I’m thinking through grab bar placement, so you’ll have sturdy support where you need it most.
We’ll also cover threshold accessibility needs to keep steps smooth and safe, plus keep reach in mind with a shower design that minimizes strain.
Let’s map concrete options for a more usable, comfortable tub or shower space together.
Consider incorporating walk-in showers and luxurious tubs to enhance both safety and style in your bathroom remodel.
Grab Bar Placement
Grab bars aren’t just an add-on—they’re a safety staple you’ll rely on daily. I place them where leverage is strongest and reach is natural, not awkward. You’ll notice balance boosts, fewer slips, and confidence to move freely.
- Position between 34–38 inches high for most users
- Install on the sidewall where you stand most
- Pair a vertical and horizontal bar for varied grips
- Guarantee secure mounting into studs, not drywall
Threshold Accessibility Needs
Threshold thresholds can make or break a bathroom’s accessibility, so I start by sizing them up early.
I evaluate height, rim thickness, and edge shifts, noting if a ramp or beveled edge is needed. I plan grab bar proximity and slip resistance, then map a simple, one-visit fix checklist.
Clear communication, safe paths, and practical, budget-friendly choices guide my approach.
Reach-Friendly Shower Design
Designing a reach-friendly shower starts with practical placement and simple, sturdy essentials. I’ll share how to stay safe while staying stylish, with grab bars within easy reach, a low threshold, and reachable shower controls.
- Plan bars at chest height for gripping
- Use a zero-threshold entry
- Position knobs within arm’s reach
- Choose non-slip surfaces and a handheld shower head
Water-Saving Showerheads and Precise Temperature Control
Water-saving showerheads are more than a sustainability checkbox—they’re a practical upgrade that changes how you start and end your days.
I pick a model with a simple flow dial and a dedicated temperature control, so mornings stay calm. Quick, precise adjustments prevent scalds, conserve water, and keep the routine efficient.
You deserve comfort without waste or fuss.
Top stylists often emphasize how thoughtful bathroom decor can enhance both functionality and style, making your shower experience truly inspiring.
Minimal Finishes That Stand Time and Shine
Minimal finishes aren’t glamorous, but they’re where durability and daily ease live.
I steer you toward simple, proven choices that age gracefully and clean easily.
Here’s a quick guide:
- Porcelain tiles
- Stainless steel fixtures
- Solid surface countertops
- matte neutrals for longevity
Trust the basics, maintain them, enjoy the calm, lasting shine. Stunning bathroom floor tile designs can truly inspire your renovation and elevate the overall aesthetic.
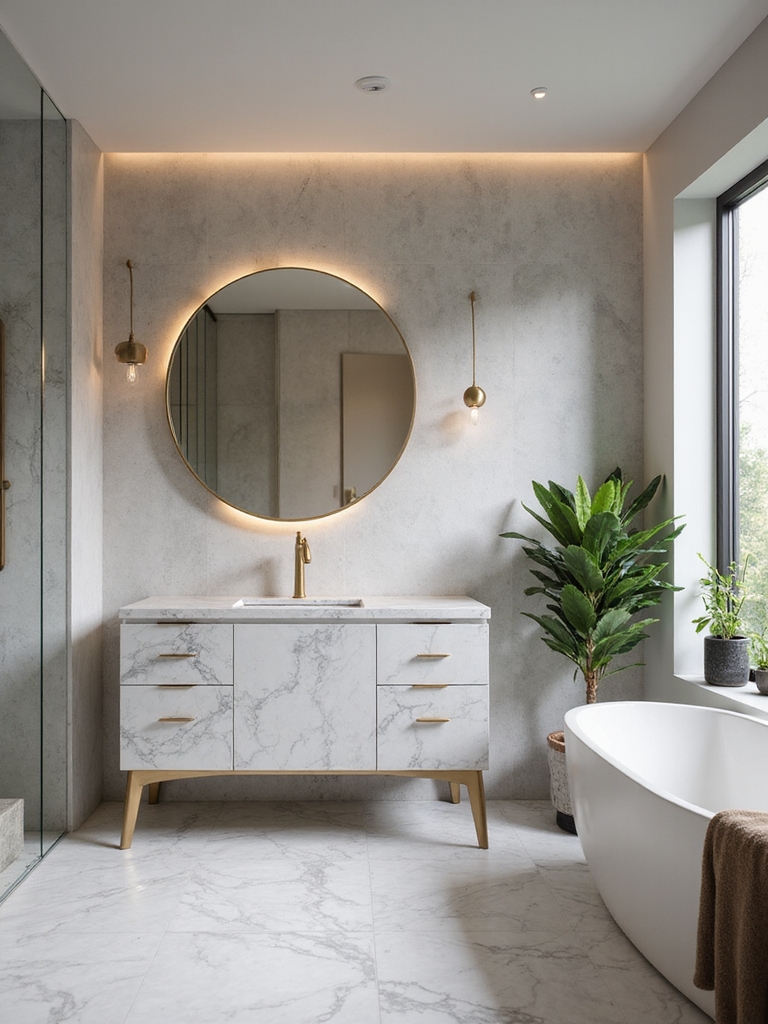
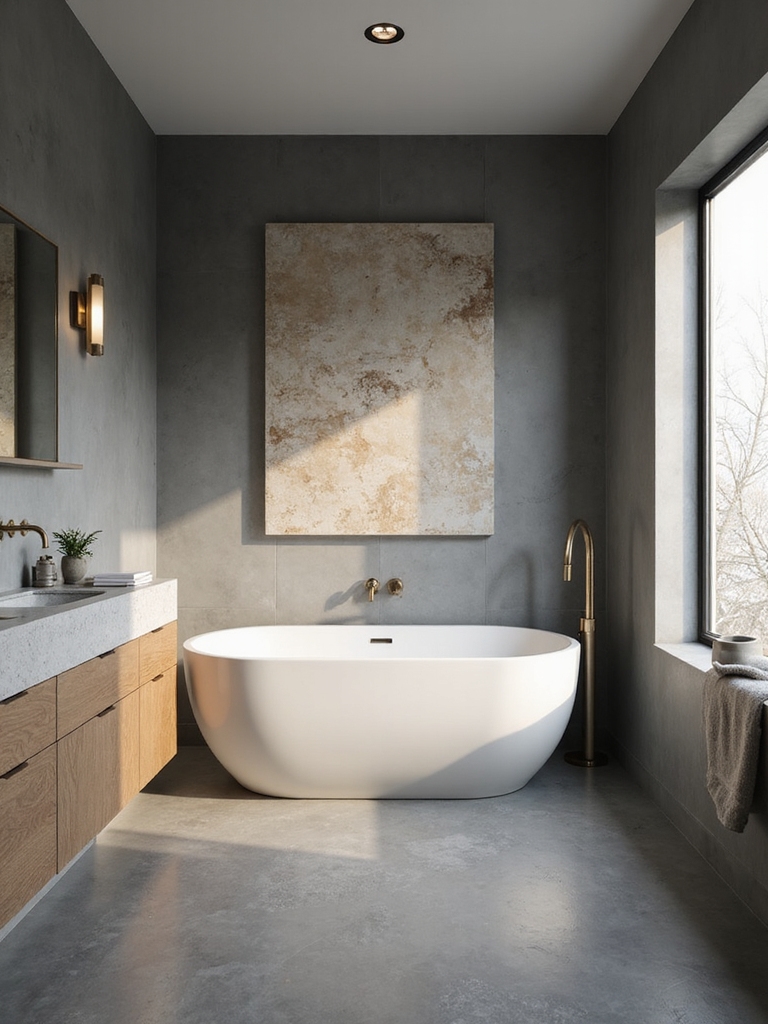
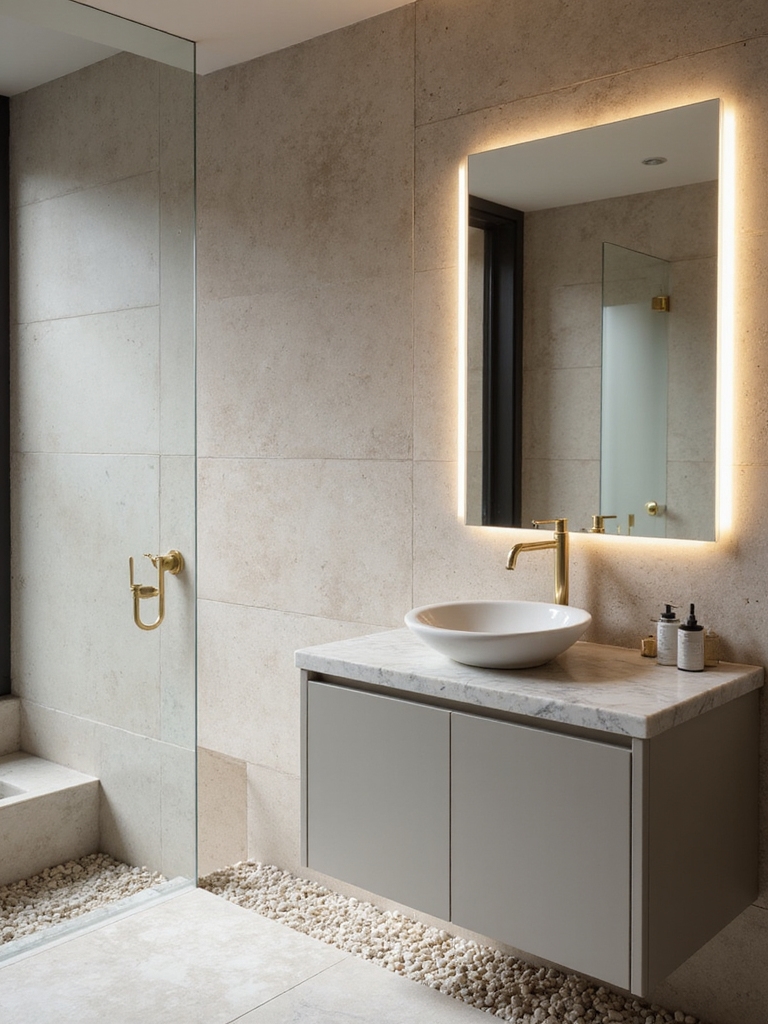
Texture and Material Pairings for Spa-Like Calm
I love pairing natural stone textures with warm wood to create a spa-like calm that feels timeless.
I’ll show you how these contrasts soften edges and add tactile richness, from slate and granite to walnut or thermally treated oak.
Let’s talk through practical mixes that stay cohesive, durable, and beautifully understated.
Transforming your bathroom with these elements can help you create pure calm and turn the space into a spa oasis.
Natural Stone Textures
- Pair honed marble with glass for soft reflection.
- Mix slate with large-format porcelain for consistency.
- Use travertine accents against charcoal grout for warmth.
- Balance bold veining with light, matte wall tiles.
Choose quality, feel the calm.
Warm Wood Pairings
Warm wood is the heart of a spa-like bathroom, so start by choosing textures that feel tactile and inviting.
I pair warm timber with cool stone or porcelain to balance heat and calm.
Keep finishes matte, not glossy, and vary grain directions for depth.
I favor simple silhouettes, moisture-friendly coatings, and practical storage to preserve calm.
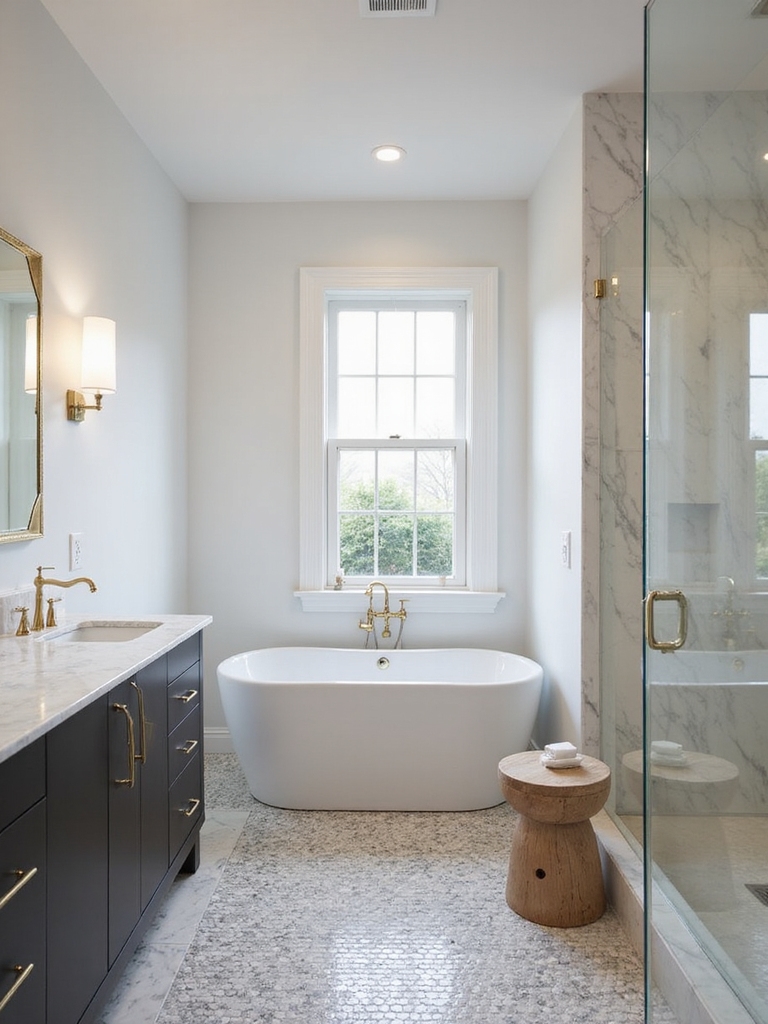
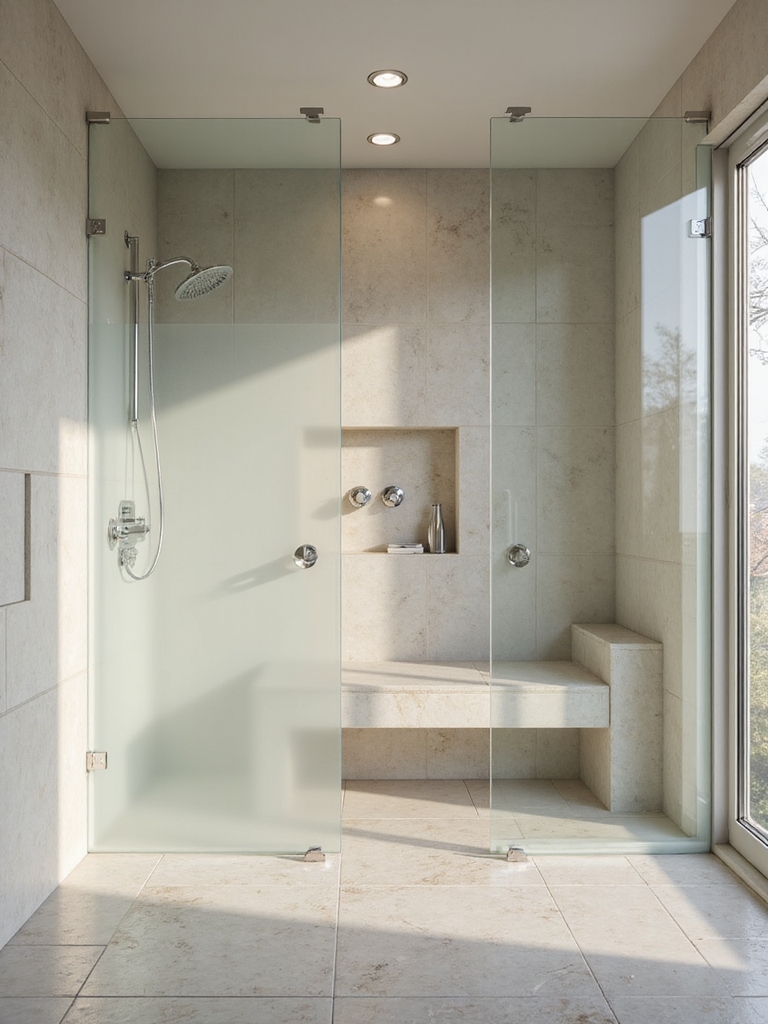
Glass Options: Clear, Tinted, Frosted, or Patterned Panels
Are you choosing glass options that balance light, privacy, and style? I’m with you, weighing clear, tinted, frosted, and patterned panels to fit your shower.
Here’s a quick guide:
- Clear: bright, minimal frames, shows space.
- Tinted: reduces glare, warm tone.
- Frosted: privacy without heaviness.
- Patterned: texture, personality, design focal.
For a cohesive look, consider how your glass choice complements stylish bathroom mirrors in double sink vanities.
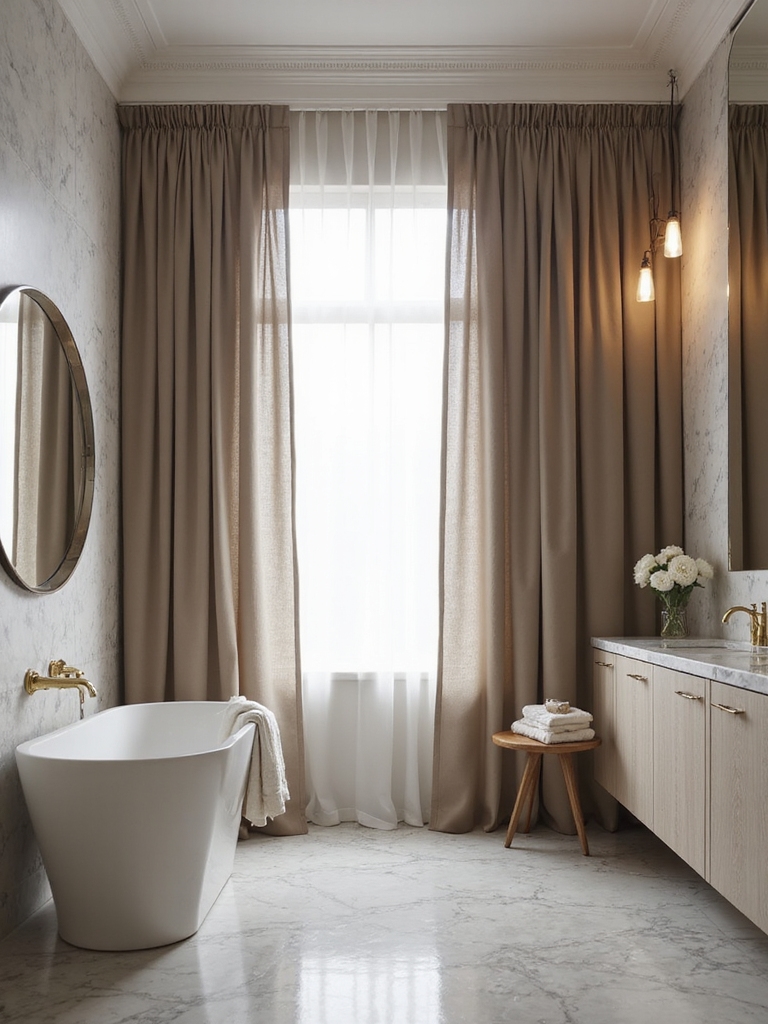
Lighting for Safety and Ambience in the Shower
Shining a light on your shower isn’t just about visibility—it’s about mood, safety, and getting ready without waking the entire house.
I suggest layered lighting: a bright overhead for tasks, soft diffused wall lights for ambiance, and a waterproof dimmer to shift mood.
Use cool white for clarity, warm tones for relaxation, and protect switches with GFCI-rated fixtures.
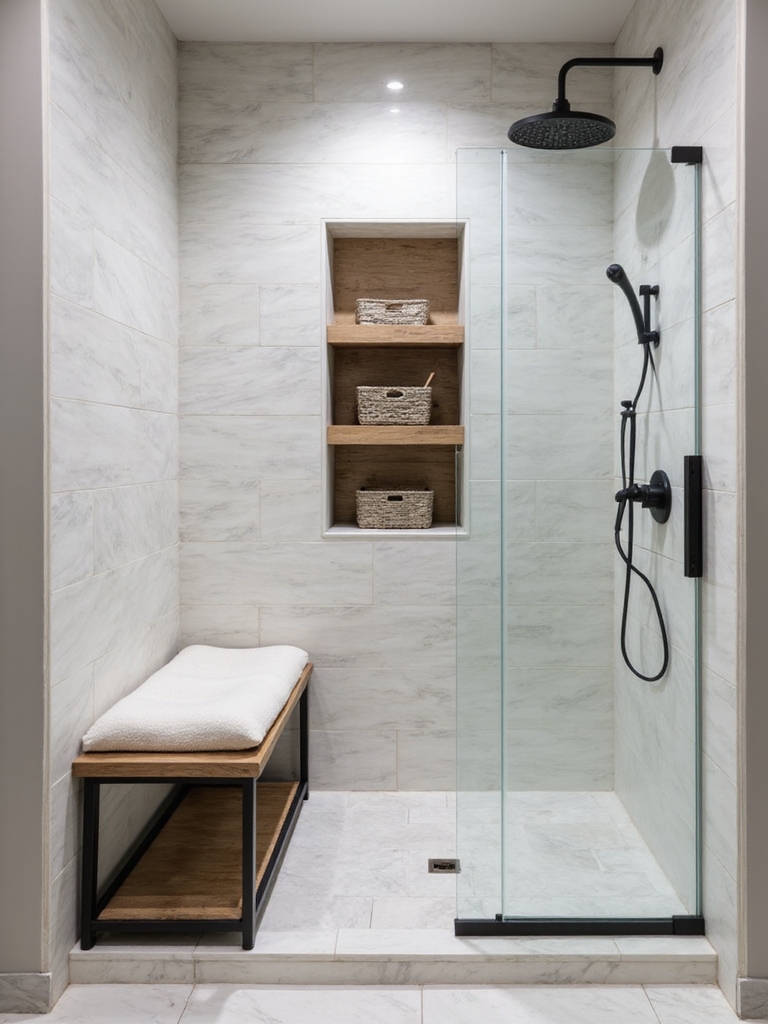
Shower Seating: When to Include a Bench or Seat
If you’re rebuilding a shower, a bench or built-in seat is a smart, long-term win that pays off in comfort and accessibility, not just luxury.
I keep it simple:
1) Plan height for easy sitting
2) Use water-resistant materials
3) Install grip-worthy surfaces
4) Position near showering area for convenience
Accessible Tech That Still Feels Simple: Digital Mixing Valves and Monitoring
Digital mixing valves and monitoring bring accessible tech into a bathroom that still feels simple.
I’m sharing how these systems let you set exact temperatures, reduce scald risk, and check leaks without fuss.
You’ll wire in a smart valve or two, pair a sensor, and enjoy consistent comfort.
It’s practical, not flashy—quiet automation that respects your daily routine.
Maintenance-Proof Choices: Grout Alternatives and Sealants
When you’re choosing a shower wall and floor materials, maintenance needs should drive the decision, not just aesthetics.
I recommend:
- Opting for epoxy grout substitutes
- Sealing stone and porcelain with breathable, long-lasting sealants
- Choosing solid-surface panels over cracked tile
- Focusing on seamless, easy-clean intersections for fewer crevices
Budget Tiers: Big Impact Without Breaking the Bank
Budget doesn’t have to mean boring or limited. I’ll show budget tiers that punch above their price tag.
Start with solid essentials, then layer upgrades that matter—lighting, glass, and texture details—so you feel a real upgrade without overspending.
Reuse smart anchors, like grout lines and fixtures, while picking high-impact materials sparingly.
Small, deliberate choices create authentic, noticeable progress fast.
Before-After Pass/Checklist: What to Confirm During Renovation
Three things I check off every renovation day: safety, scope, and schedule.
Here’s my Before-After Pass checklist you can borrow:
1) Confirm permits and codes are up to date
2) Verify measurements, materials, and drainage before install
3) Document changes with photos and notes
4) Test final function, waterproofing, and seals before closing up
Conclusion
I’ll close with a moment of symbolism: a shower is a small, steady tide—each choice a pebble that shapes the shore. Start with function, let water flow into a calm wet zone and a clear dry zone. Choose doors that whisper, storage that hugs the corners, and tech that’s friendly, not fussy. Keep grout simple, plans honest, budgets realistic. When you step in, you’ll hear the rhythm of progress and feel home in the glow of a well-loved, easy-clean sanctuary.