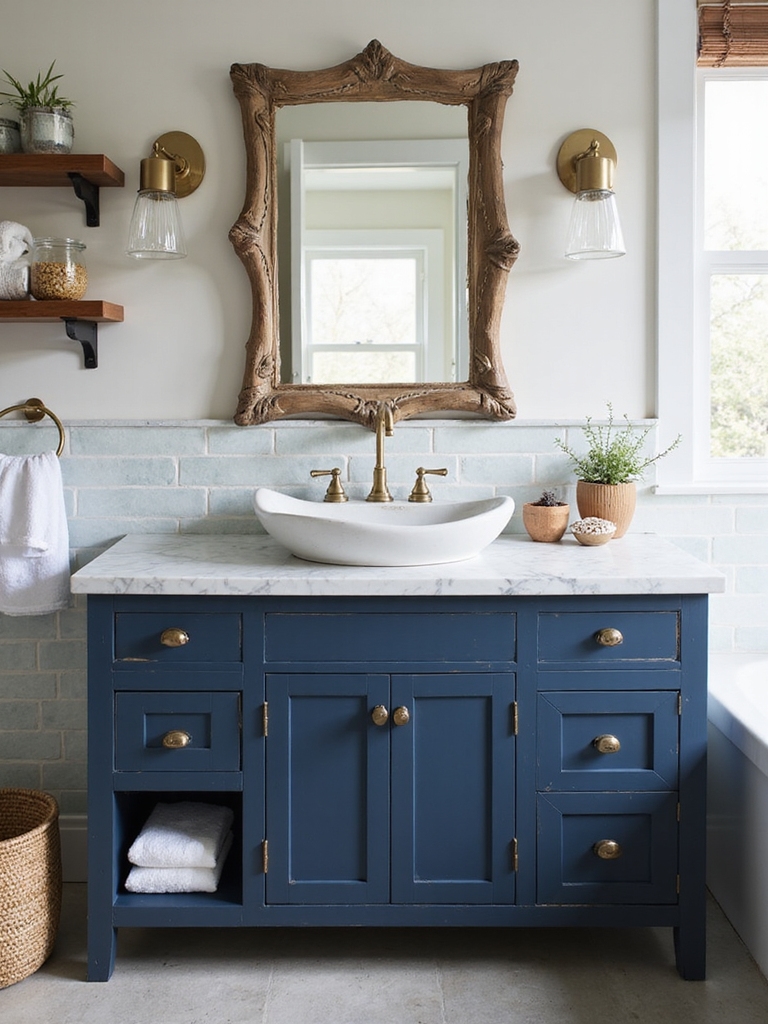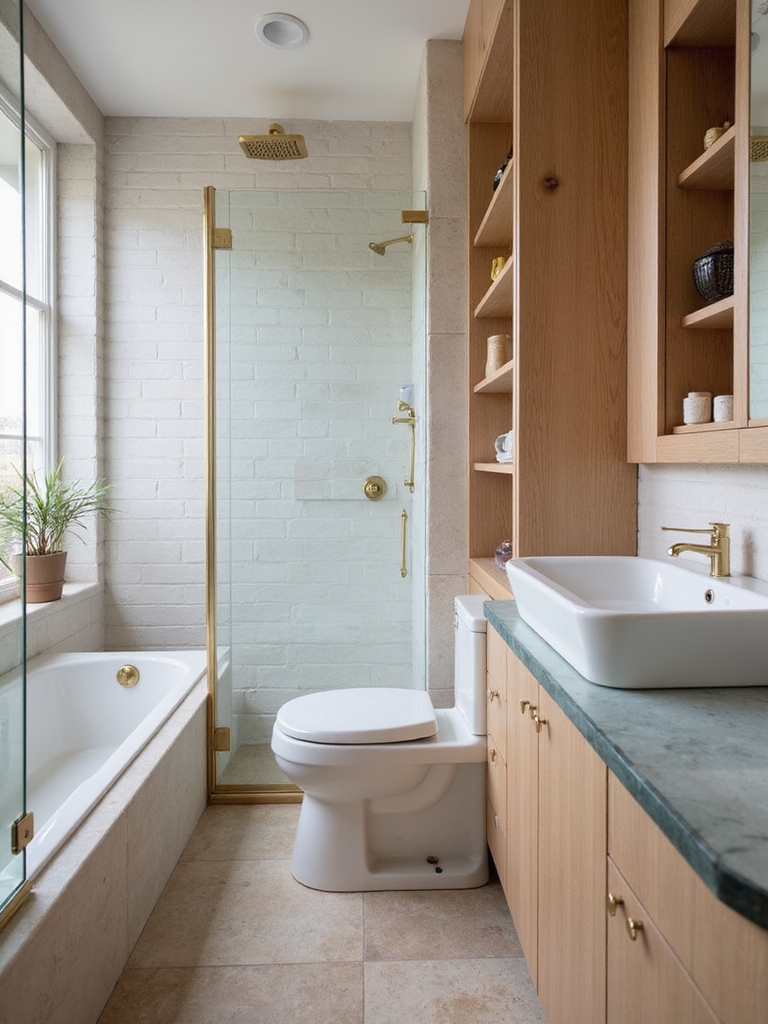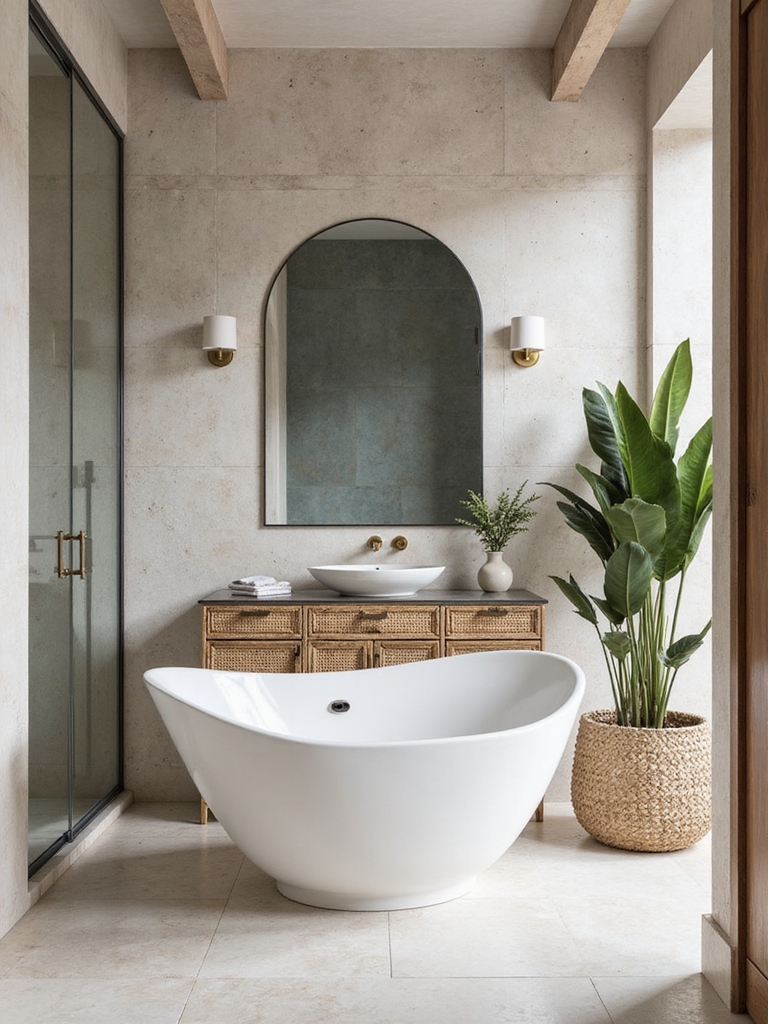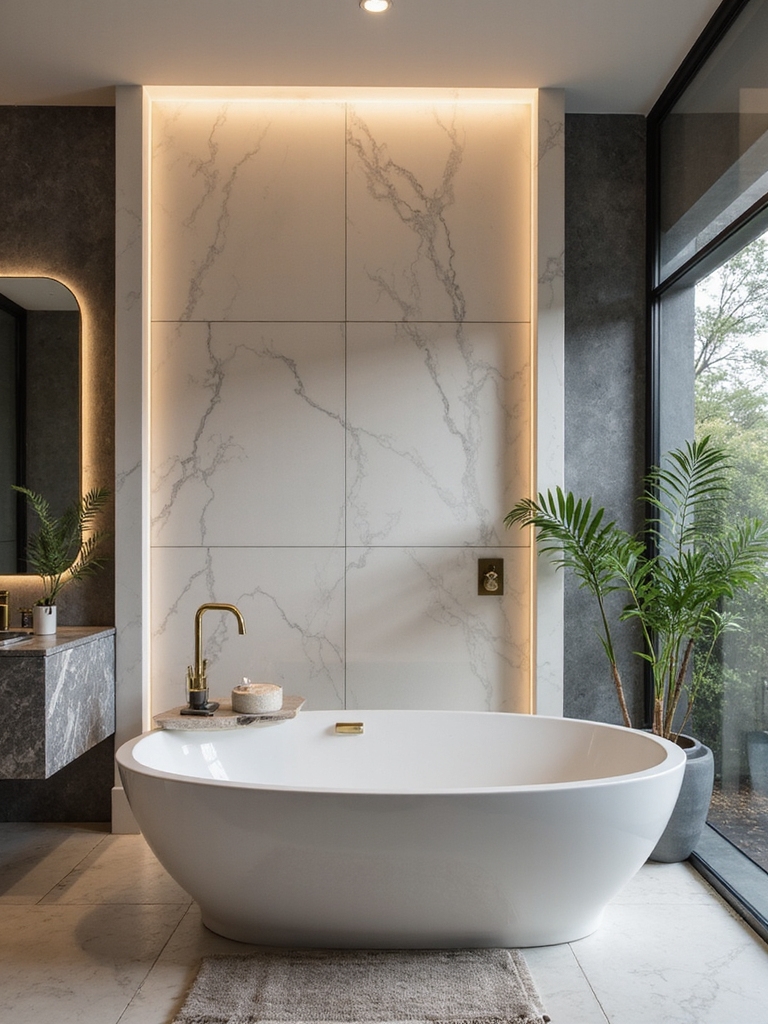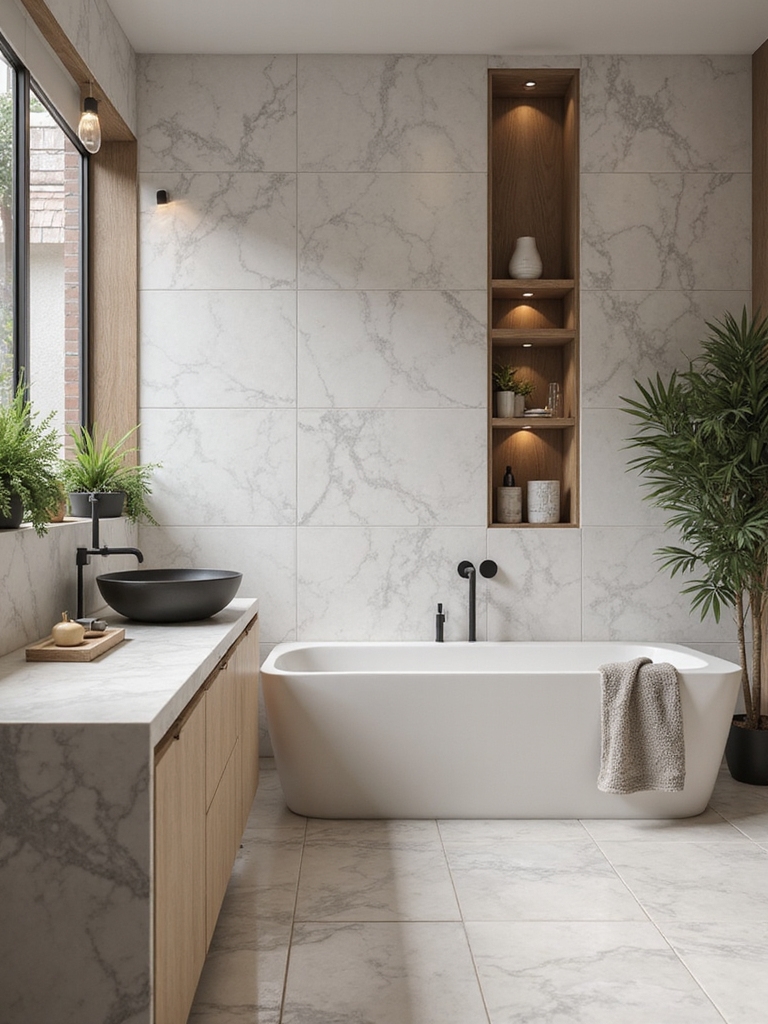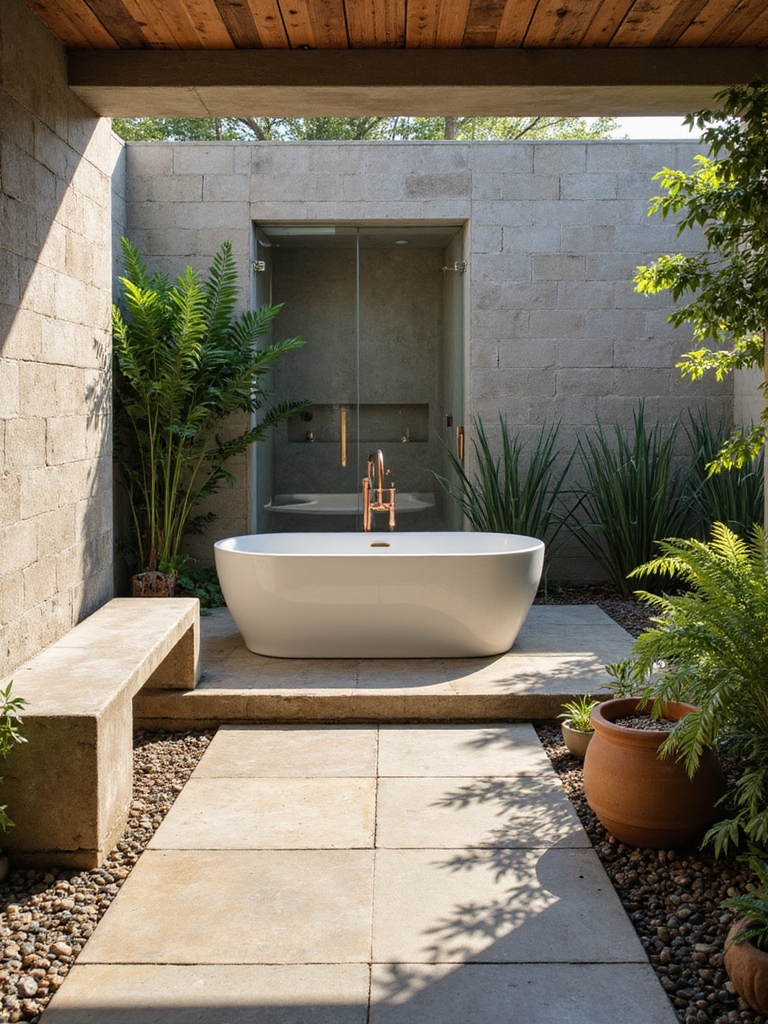
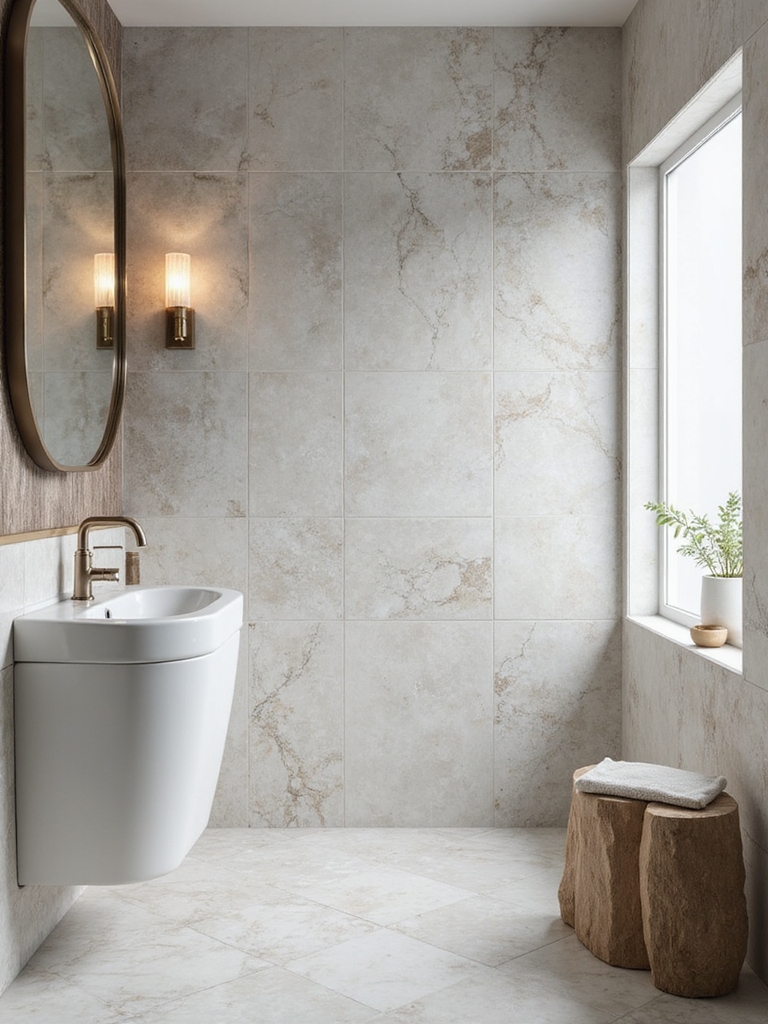
Here are 16 practical bathroom tile ideas for small spaces that brighten and unify the room. I’ll show you how reflective, large-format, and subway patterns create depth, while accent mosaics add personality without clutter. Monochrome schemes keep calm, and cohesive tile layouts extend walls and ceilings for a bigger feel. Grout color, maintenance tips, and budget-friendly choices help you stay practical. Stick with it, and you’ll uncover even more tips to maximize every inch.
How to Make a Tiny Bath Brighter With Reflective Tiles
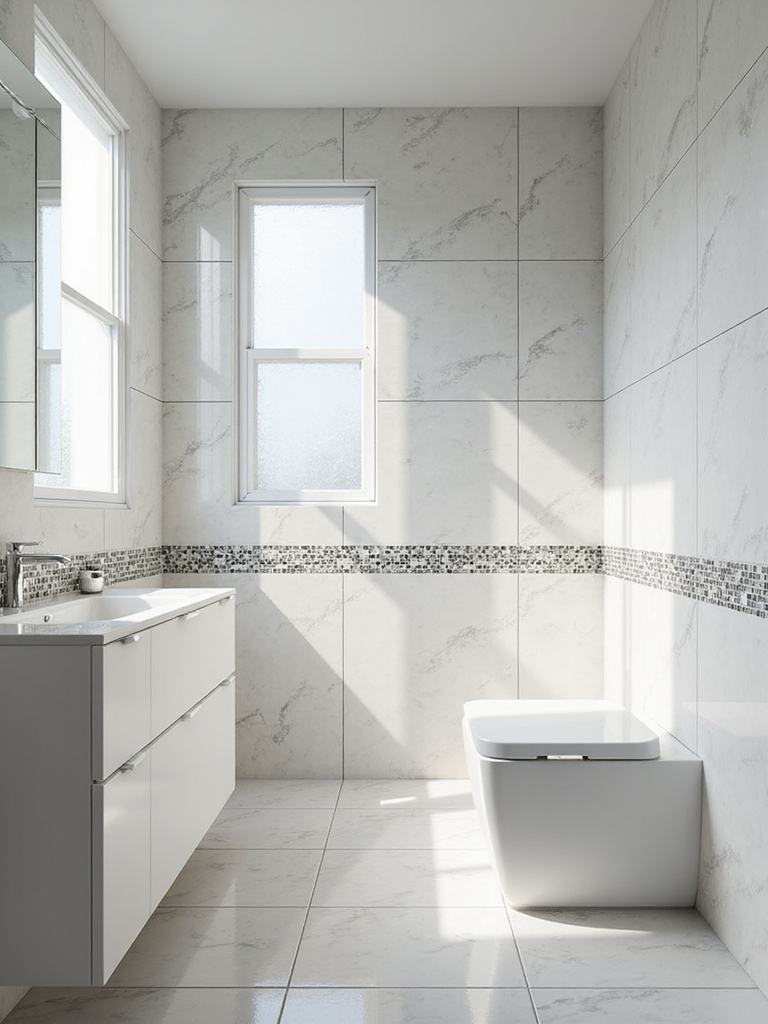
Natural light can bounce around a small bathroom, but you can boost that brightness even more with reflective tiles.
I’ll show you how: choose large, glossy surfaces to maximize light catch, pair with pale grouts to avoid breaks in reflection, and install mirrors strategically to “double” the space.
Practical tips, clear steps, and results you’ll notice daily.
For added style and functionality, consider incorporating stylish bathroom tile inspirations that blend design with brightening effects.
Choose Tile Shapes That Read as Larger in Small Bathrooms
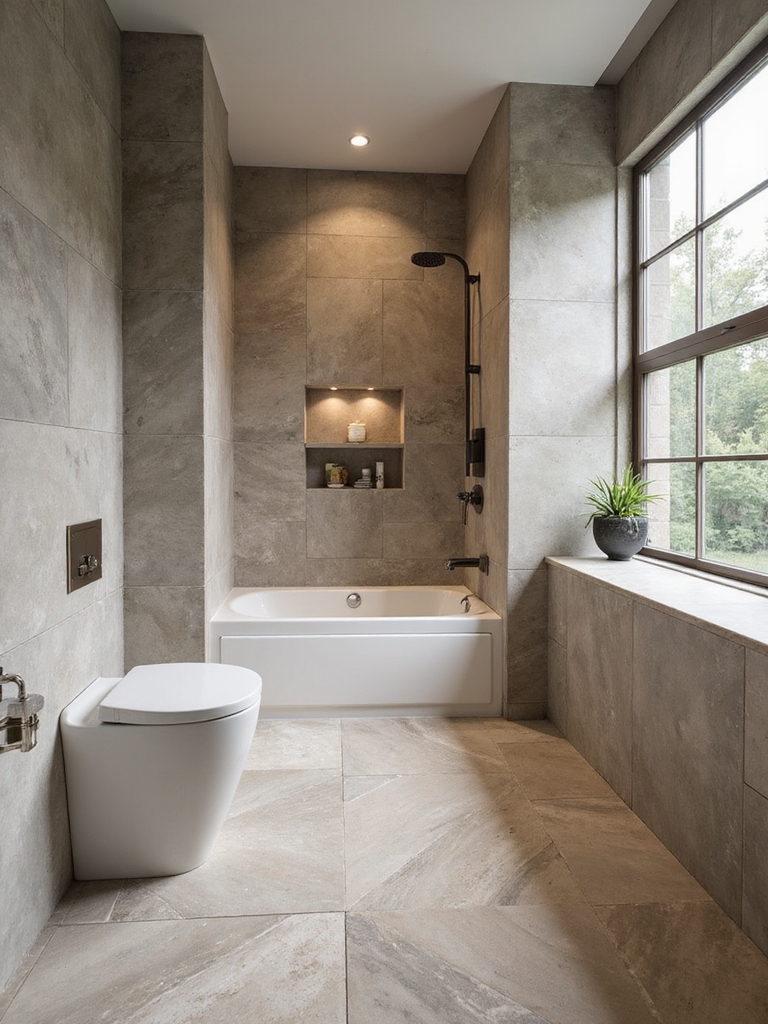
I’ve found that choosing tile shapes with a larger visual footprint can make a small bathroom feel bigger.
I’ll look for layouts that create a smooth visual flow and reflect light to amplify the space. Reflective tile surfaces and cohesive shapes help the eye travel further, making the room read as more expansive.
Incorporating stunning bathroom floor tile designs can also enhance the overall aesthetic while contributing to a sense of spaciousness.
Larger Visual Flow
To make a small bathroom feel larger, pick tile shapes that read as bigger than they are.
I guide you toward visual flow that unifies walls and floors, avoiding busy patterns.
Here are key ideas:
- Favor large-format tiles
- Run grout lines longways
- Use consistent grout color
- Extend tile to the ceiling where possible
Reflective Tile Surfaces
I choose elongated or diagonal formats to create motion and depth, while neutral tones prevent chaos.
I pair glossy finishes with clean grout for seamless reflection, then balance with functional storage.
You’ll notice the space feels breathable, practical, and surprisingly generous.
Subway Tile Patterns to Open Up Narrow Spaces
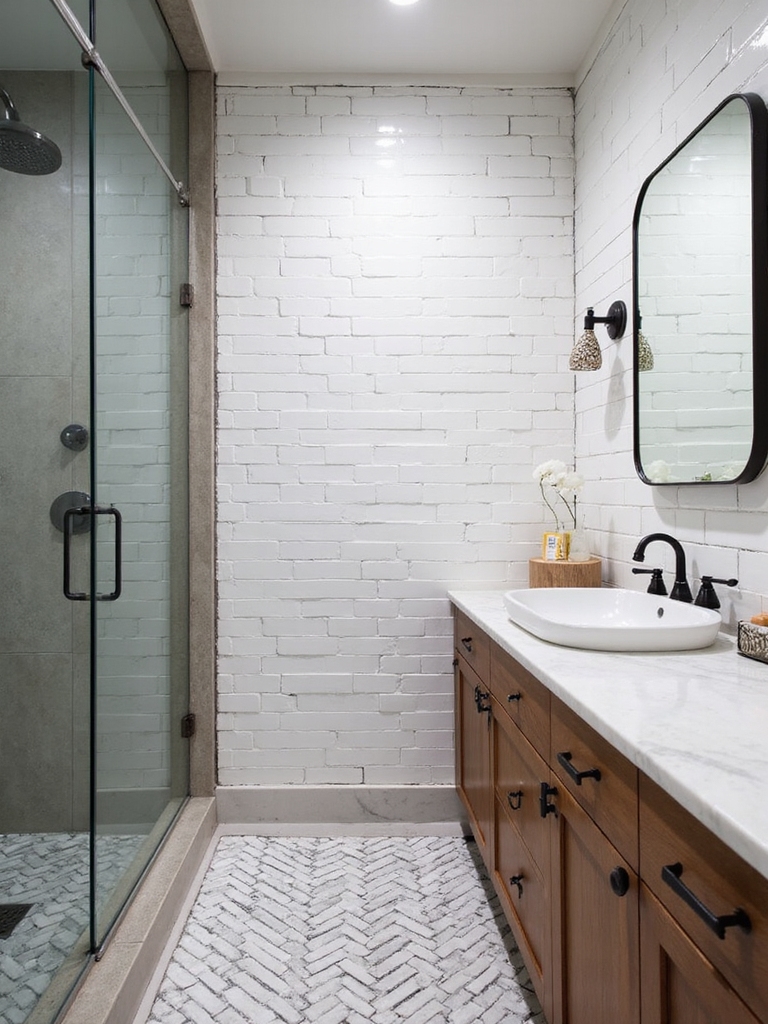
Subway tile patterns can dramatically change how a narrow bathroom feels, and choosing the right layout is a quick win for opening up space.
I share practical ideas to keep lines clean and proportionate:
- Classic stacked for seamless length
- Horizontal offset to hide corners
- Vertical stack to boost height
- Diagonal for dynamic expansion
Incorporating modern bathroom tiles design can further enhance the style and functionality of your space.
Bold Yet Playful: Accent Mosaic Ideas for Tiny Baths
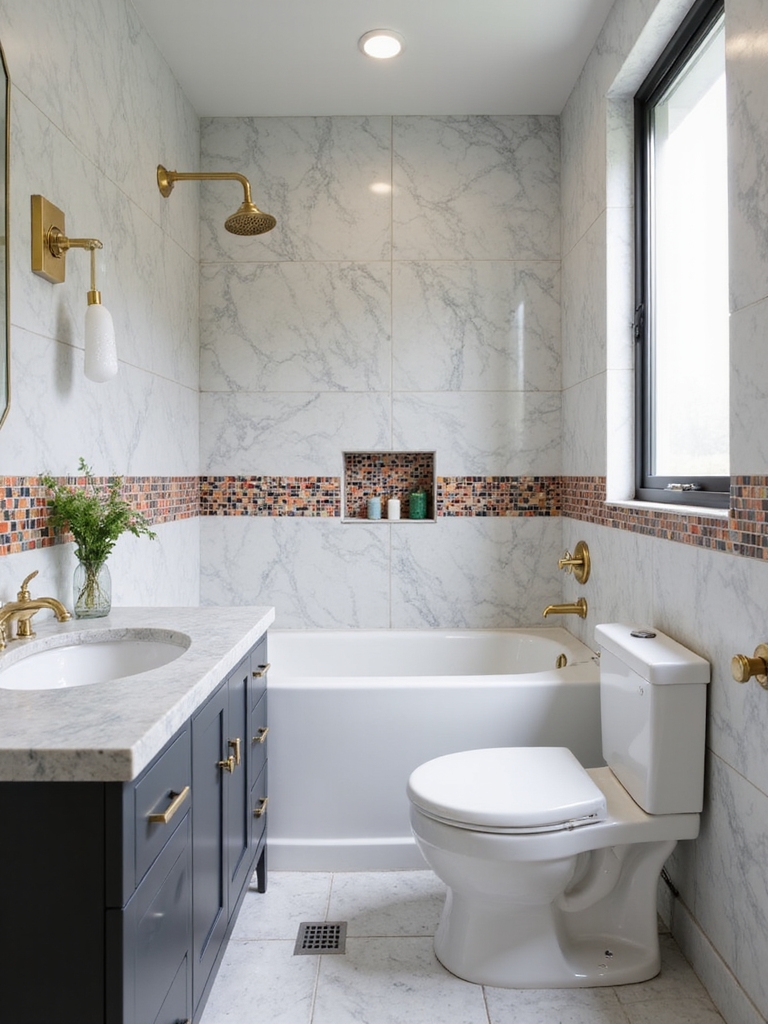
Bold yet playful accent mosaics can instantly punch up a tiny bath, giving it personality without overwhelming the space.
I suggest choosing a small, high-contrast focal area—like a shower niche or vanity backsplash—and repeating a simplified motif across nearby tiles.
Keep grout light to enhance brightness, and balance bold colors with neutral surroundings for lasting charm.
For a truly transformative look, consider incorporating stunning mosaic tiles to add instant drama and elevate your bathroom’s style.
Monochrome Schemes for a Calm, Expansive Look
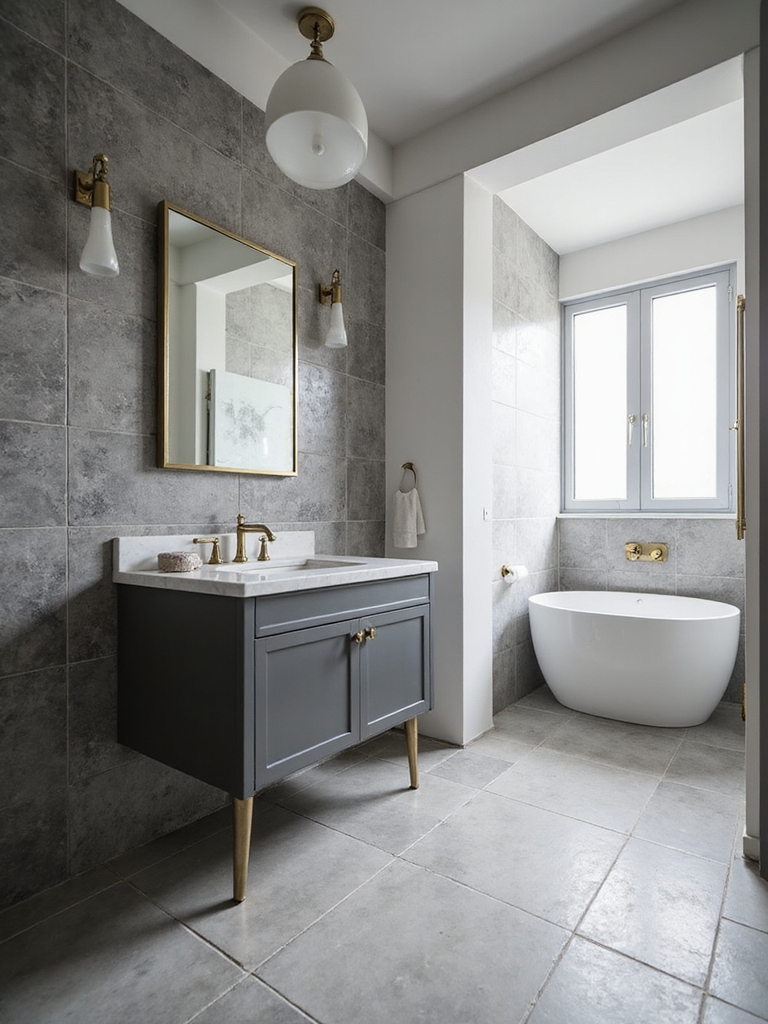
I’m drawn to monochrome schemes for a calm, expansive bathroom, where Soft Gray Accuracy guides the palette without shouting.
I’ll show you how High-Contrast Calm can feel open and intentional, using light and shadow to define space.
We’ll explore Texture With Tone to add depth while keeping the overall look serene.
Choosing the right floor tile size and pattern can significantly maximize space and enhance the feeling of openness in small bathrooms.
Soft Gray Accuracy
Soft gray is the backbone of a calm, expansive bathroom, and the beauty lies in its quiet versatility.
I guide you toward precise, lasting choices that elevate small spaces without shouting.
- Embrace soft gray tiles as a cohesive canvas
- Pair with warm white accents for balance
- Introduce subtle textures to add depth
- Choose matte finishes to reduce glare and blur seams
High-Contrast Calm
Monochrome schemes can feel calming and expansive by using high-contrast pairings that stay gentle, not harsh.
I’d mix black, white, and soft gray surfaces in controlled ratios, letting large tiles balance finer details.
I keep patterns sparse, edges clean, and reflections bright with strategic lighting.
This approach feels organized, approachable, and timeless—perfect for small bathrooms seeking space and serenity.
Texture With Tone
I guide you to blend finishes thoughtfully, keeping calm impact at the core.
Here are quick notes:
- Vary textures, not colors.
- Mix matte and satin surfaces.
- Use gentle grout lines.
- Repeat tones across accessories.
Subtle Grout Choices That Elevate the Whole Room
Choosing the right grout color can quietly transform a bathroom tile layout, because subtle choices blend or highlight patterns without shouting for attention.
I favor midtone grout to unify varied tiles, while a darker shade defines edges for contrast. If tiles are busy, opt light to brighten; if calm, go deeper for depth.
I keep lines clean, joints consistent, results polished.
Incorporating innovative storage solutions can complement your tile design while maximizing space and maintaining a sleek look.
Large-Format Tiles in Small Rooms: Benefits and Pitfalls
I’ll share how large-format tiles can make a small bathroom feel bigger, by reducing grout lines and creating a seamless look.
I’ll also point out the trade-offs, like precise cutting and potential weight or installation challenges in tight spaces.
If you’re weighing pros and cons, I’ll outline where this choice shines and where it can trip you up so we can decide together.
Additionally, exploring stylish tile inspirations can help you choose designs that maximize space and aesthetic appeal in small bathrooms.
Large-Format Pros and Cons
Large-format tiles can make small bathrooms feel more open because fewer grout lines create a sleeker, continuous look.
I’ve weighed the pros and cons so you don’t guess.
- Visual spaciousness
- Installation speed and cost
- Subfloor and surface requirements
- Maintenance considerations
Choosing wisely, I keep your space practical, durable, and stylish without overdoing it.
Suitability in Tight Spaces
Tight spaces can actually benefit from large-format tiles, if you plan carefully.
I like using them to reduce grout lines and create a seamless look that visually enlarges a room.
Practical note: check your layout, guarantee precise cutting, and verify substrate stability.
Pitfalls include awkward access for installation and potential density issues in tiny showers.
Thoughtful choices yield roomier, cleaner results.
Diagonal and Herringbone Layouts for Visual Interest
Diagonal and herringbone layouts add dynamic motion to any bathroom tile design.
I’ll show you how these patterns enlarge perceived space, add rhythm, and guide the eye toward focal points.
- Plan a strict align/offset grid to prevent chaos.
- Use, or mimic, large-format tiles for fewer joints.
- Consider a border to define zones.
- Maintain grout color for cohesion and polish.
Incorporating these layouts can create a harmonious bathroom tile effect that balances walls and floors beautifully.
Subtle Pattern Tiles for Texture Without Overload
Subtle pattern tiles add texture and depth without shouting for attention, making your bathroom feel layered and sophisticated.
I pick restrained motifs and soft tones to avoid busy floors or walls. You’ll notice dimension through tonal shifts and light play, not loud graphics.
I mix sizes sparingly, rotate accents, and keep grout narrow for a seamless, timeless finish. Choosing stylish bathroom floor tile ideas can inspire creative and functional design choices.
Ceramic vs. Porcelain: Which Holds Up in Tiny Bathrooms
So, which holds up better in tiny bathrooms: ceramic or porcelain? I’ll keep this practical and direct for you. Here’s the quick clarity you need:
- Durability: porcelain is denser, wear-resistant.
- Absorption: ceramic absorbs more water, less ideal for wet areas.
- Care: both are easy, but porcelain cleans a touch faster.
- Cost: ceramic cheaper, porcelain longer-term value.
For an added touch of elegance, consider incorporating luxurious bathroom tile inspiration to elevate your small space.
Niches and Shower Benches: Maintaining Tile Continuity
I’ll show how niche tile continuity and bench-integrated surfaces keep your bathroom’s look seamless.
We’ll talk through matching materials, grout, and edge details so niches and benches feel like part of the whole design.
Let’s map practical steps to integrate these elements without drawing attention to them.
Niche Tile Continuity
When you’re planning niches or shower benches, keep tile continuity front and center so the design reads seamless rather than choppy.
I focus on aligning patterns across connections to avoid breaks.
- Match grout lines
- Extend motifs through niches
- Use the same tile series
- Plan edge joints with care
Bench-Integrated Surfaces
I design these features to blend, not interrupt, the wall pattern. By selecting the same tile, grout, and edge details, I create a cohesive flow.
This approach saves space, looks polished, and enhances durability in daily use.
Floor-First Thinking: Align Wall Tiles for Cohesion
Floor-first thinking means choosing the floor tile first and letting it set the rhythm for the rest of the room, including the wall tiles.
I guide you to align walls with the floor for cohesion and calm.
- Start with a single motif
- Mirror grout lines for harmony
- Use a consistent color family
- Vary tile sizes sparingly for balance
Accent Walls Without Dominating the Space
Accent walls can elevate a bathroom without stealing the show.
I suggest a single accent panel, like a narrow stripe or a partial wall, so the rest remains light and airy. Choose a calm color or subtle texture that echoes the tile palette.
Keep the finish matte to reduce glare, and balance with simple hardware for a cohesive, generous feel.
Grout Color Strategies to Expand Perception
Grout color is more powerful than you might think: picking the right shade can subtly widen a room or make it feel cozier.
I share practical tips to guide your choice:
1) Opt for light grout with light tiles to visually expand
2) Use contrast strategically for accents
3) Match grout to dominant tile color for cohesion
4) Consider darker grout in small areas for depth
Maintenance Tips to Preserve Light and Color
Maintaining light and color in tile spaces comes down to consistent care and smart habits. I suggest quick daily wipe-downs to prevent soap film, and a gentle weekly scrub with a non-abrasive cleaner to keep grout bright.
Open windows when possible, seal high-traffic areas, and touch up chips promptly. Regular routines save shine, reduce staining, and simplify future refreshes.
Budget-Smart Tiling: High Impact on a Small Budget
If you’re on a tight budget but want a big impact, smart tile choices can stretch dollars without sacrificing style.
I’ll share practical, affordable moves that elevate small baths efficiently:
- Mix high-contrast accents with affordable field tiles
- Use large slabs to cut grout lines
- Pick faux-wood or stone looks for lasting value
- DIY install where feasible for extra savings
Conclusion
I hope these ideas spark big changes in your tiny bathroom. Quick stat: small spaces benefit from reflective tiles by up to 20% more perceived light, making them feel roomier without adding square footage. Focus on brighter tones, larger shapes, and strategic grout choices to widen the visual field. If budget’s tight, start with a bold accent mosaic or a single accent wall to punch up character while keeping maintenance simple. You’ve got this—your compact bathroom can shine.