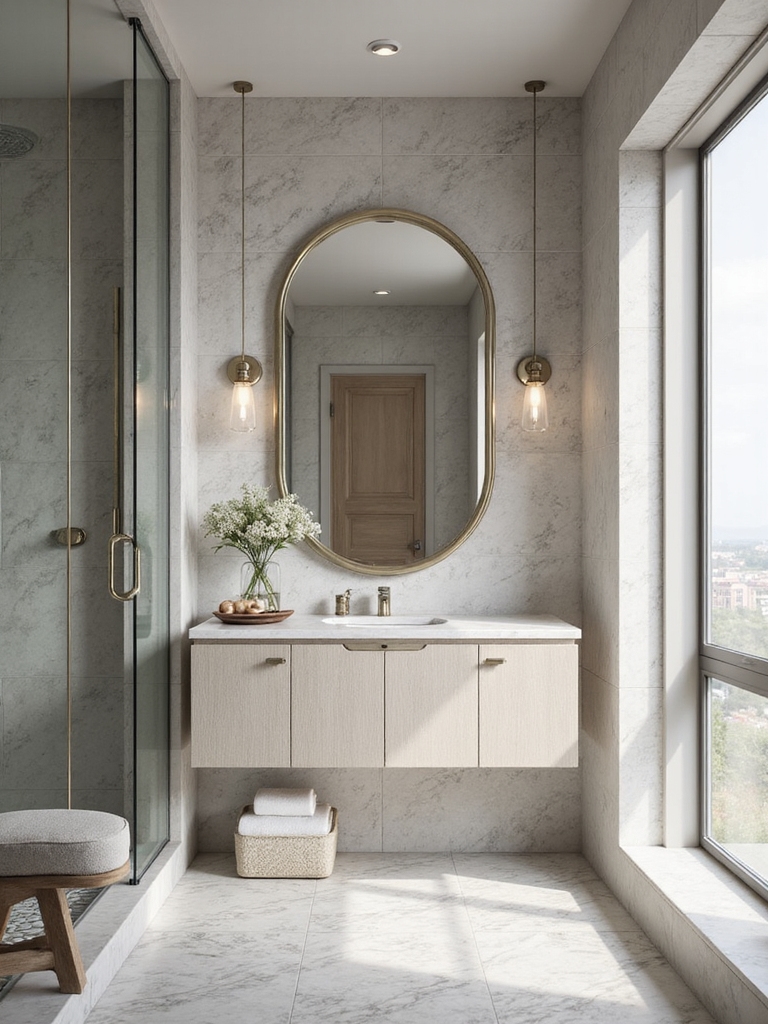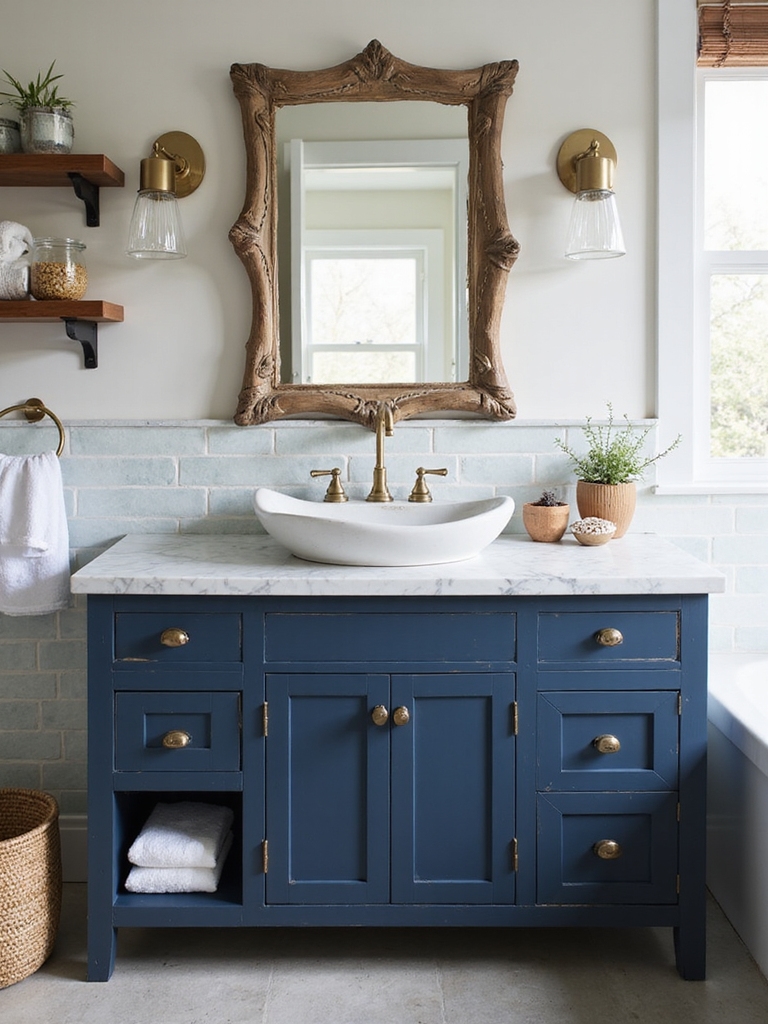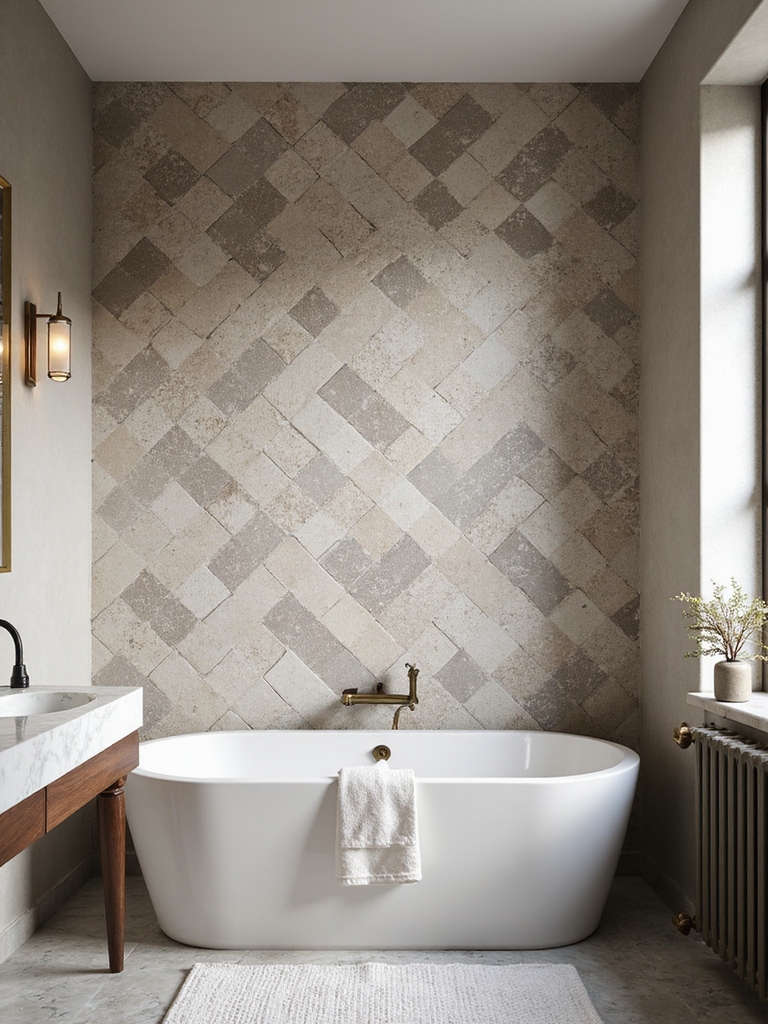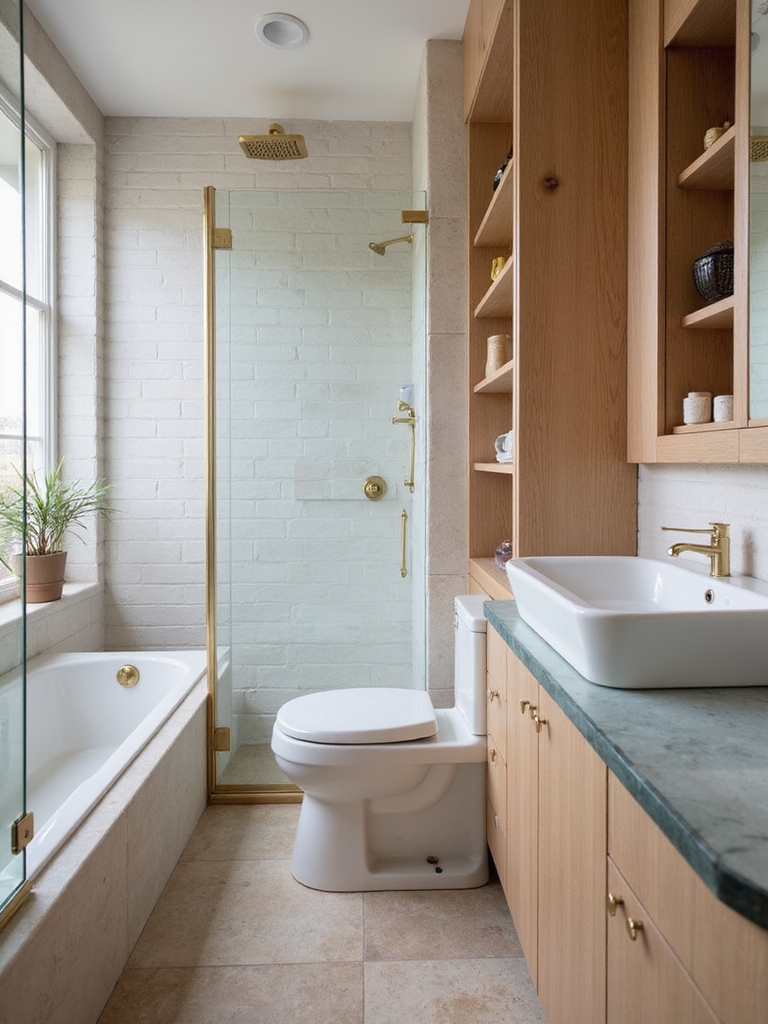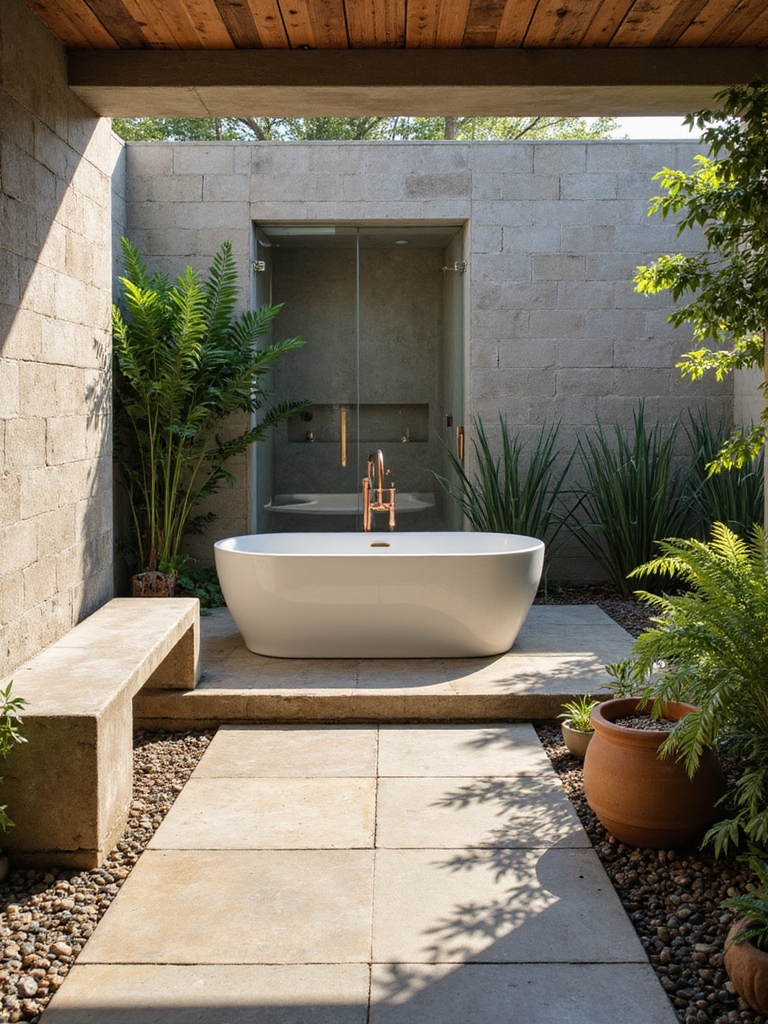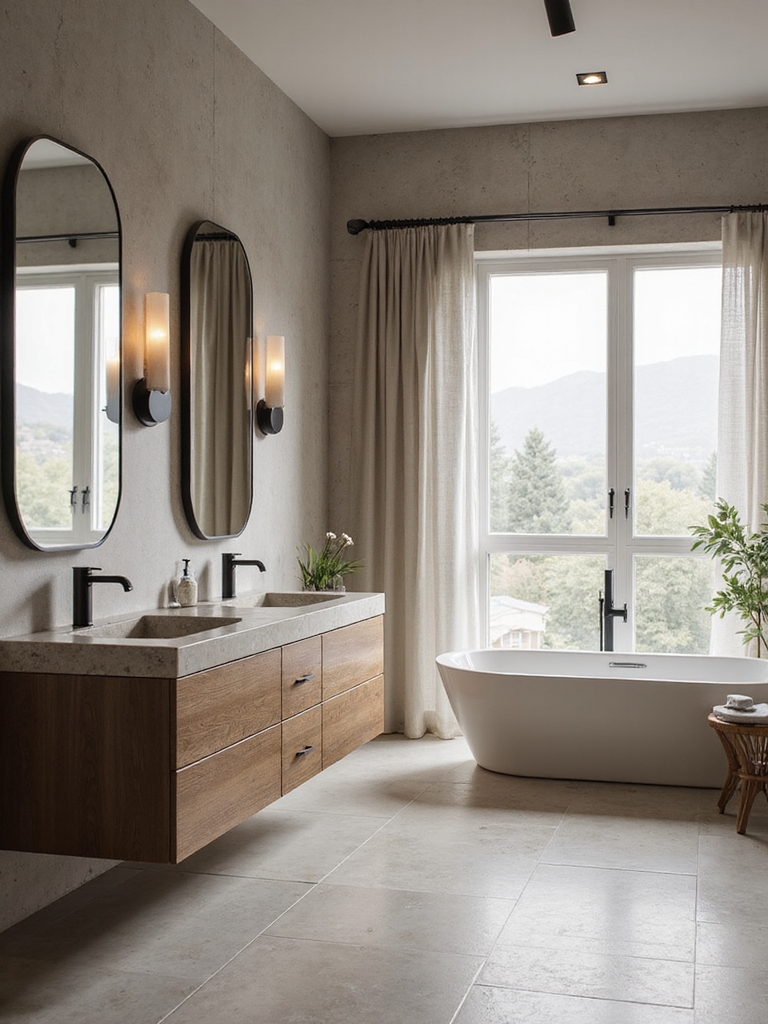
The most expensive-looking bathrooms hold the least. They are the ones designed to last, where every material ages well and nothing looks like an afterthought, the kind of quiet, considered room where you cannot point to a single thing and call it cheap.
After years of planning baths on every budget, I have learned that durability and luxury look the same to the eye. A floor that still gleams in ten years simply looks costly, because cheap things wear out and show it.
These 17 bathroom design ideas focus on the choices that make a space look expensive for good, not just for the photo. Below you will find the durable materials, integrated lighting, hidden storage, and small metal upgrades that signal real quality. For the decorative and budget side, pair this with these expensive-look decor ideas; this one is about designing it to last.
Design It to Look Expensive, in Short
| Design move | Why it looks costly | Worth it? |
|---|---|---|
| Durable materials | Quality ages well; cheap wears out fast | Invest here first |
| Integrated lighting and storage | Hidden function looks custom and calm | High payoff |
| Warm-metal hardware | The finishing touch that lifts the room | Small spend, big lift |
Timeless Design With Real Durability
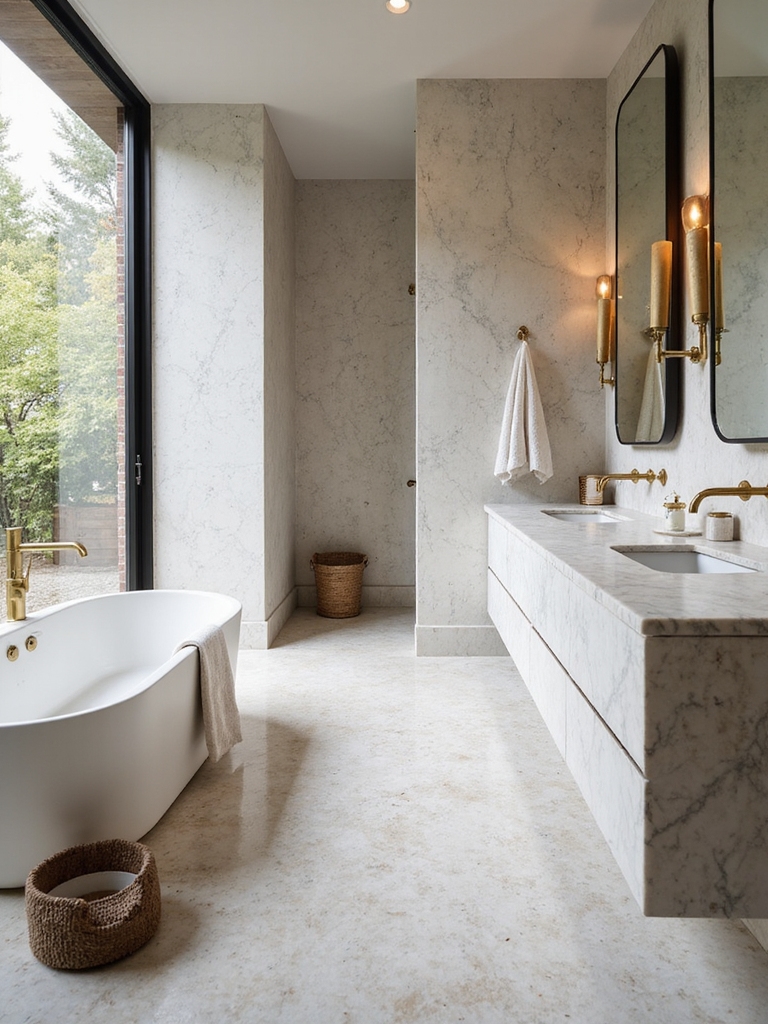
The first rule of an expensive-looking bathroom is to choose materials that wear well, because nothing looks cheaper than something that has aged badly. Chipped laminate, yellowed grout, and a pitted faucet drag a whole room down. Quality surfaces hold their finish for years, and that lasting polish is what the eye registers as luxury.
Buy Quality Where You Cannot Swap It
Porcelain tile and quartz are my go-to durable luxuries. Porcelain shrugs off water and traffic and comes in convincing marble and stone looks, usually $5 to $15 a square foot. Quartz counters resist stains and scratches and bring the marble feeling without the upkeep. Both cost more upfront and pay it back in years of looking new.
Spend the quality budget where water and hands hit hardest: the floor, the shower, and the faucet. The honest answer on where to splurge is always the surfaces you cannot easily swap later. Get those right and the room looks costly for a decade.
Integrated Layered Lighting
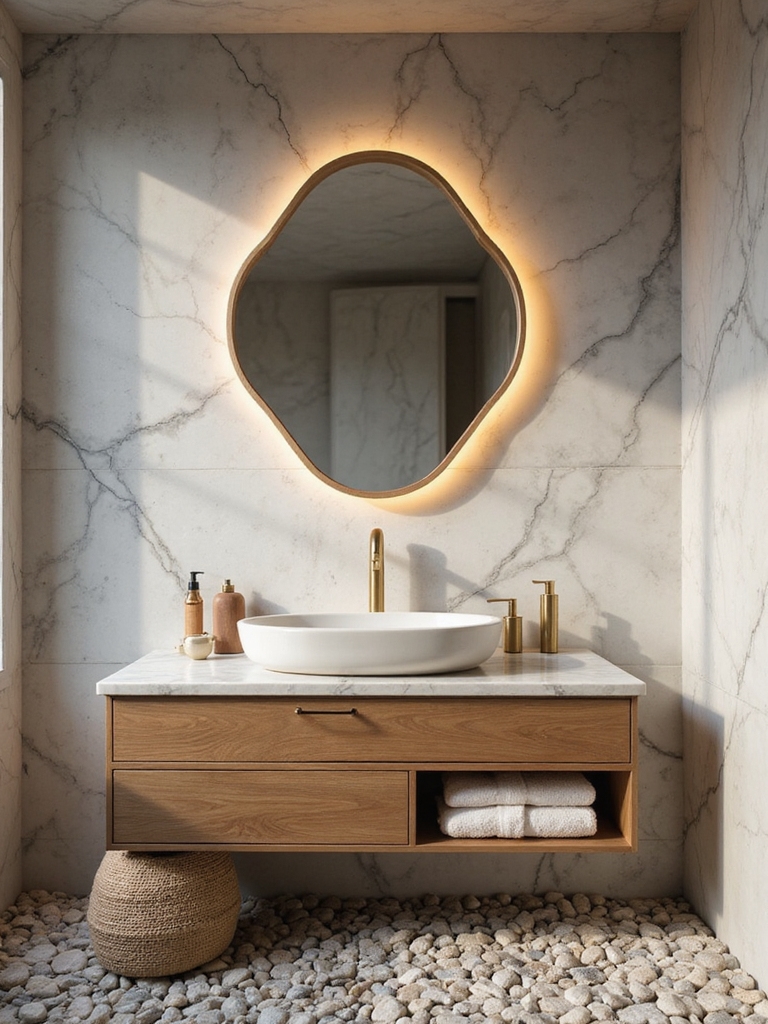
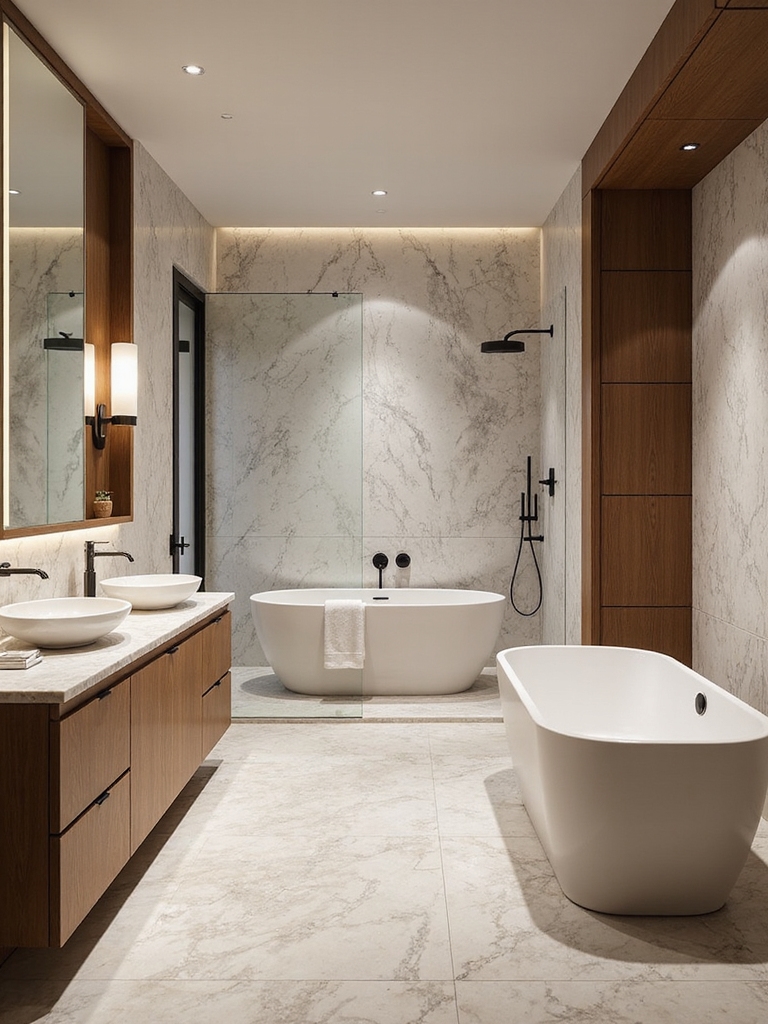
Built-in lighting is one of the clearest signals of a designed, expensive bathroom, because the light feels architectural and built into the room. A strip of cove lighting along the ceiling, an under-vanity glow, or a backlit mirror makes a room look custom even when the bones are basic. The fixtures hide; only the effect shows.
Hide the Fixture, Show the Glow
Layering is what makes it feel luxurious. I plan three jobs, ambient, task, and accent, and keep them warm, so the room can shift from bright to spa-soft on a dimmer. LED tape for a cove or under a floating vanity runs about $15 to $40 a roll and installs without major work.
Warmth ties the whole scheme together. Cool, bluish light cheapens even costly finishes, so I spec warm 2700K to 3000K bulbs throughout. Coordinate everything by lighting tone first, and the integrated glow makes the whole bathroom feel designed.
A design myth, cleared up:
❌ Myth: Looking expensive means spending a lot.
✅ Reality: Not really. It means spending well, concentrating quality on the few surfaces and fixtures that take abuse and show wear. A modest budget put into durable floor tile and a good faucet outlasts and outshines a large one spread thin across cheap everything.
❌ Myth: You need real marble to look high-end.
✅ Reality: No. Porcelain and quartz mimic marble convincingly, resist stains and scratches, and cost a fraction of the real thing. They often look better in five years, since they do not etch or stain the way natural marble does in a busy bathroom.
Tiny Hardware Upgrades With Big Impact
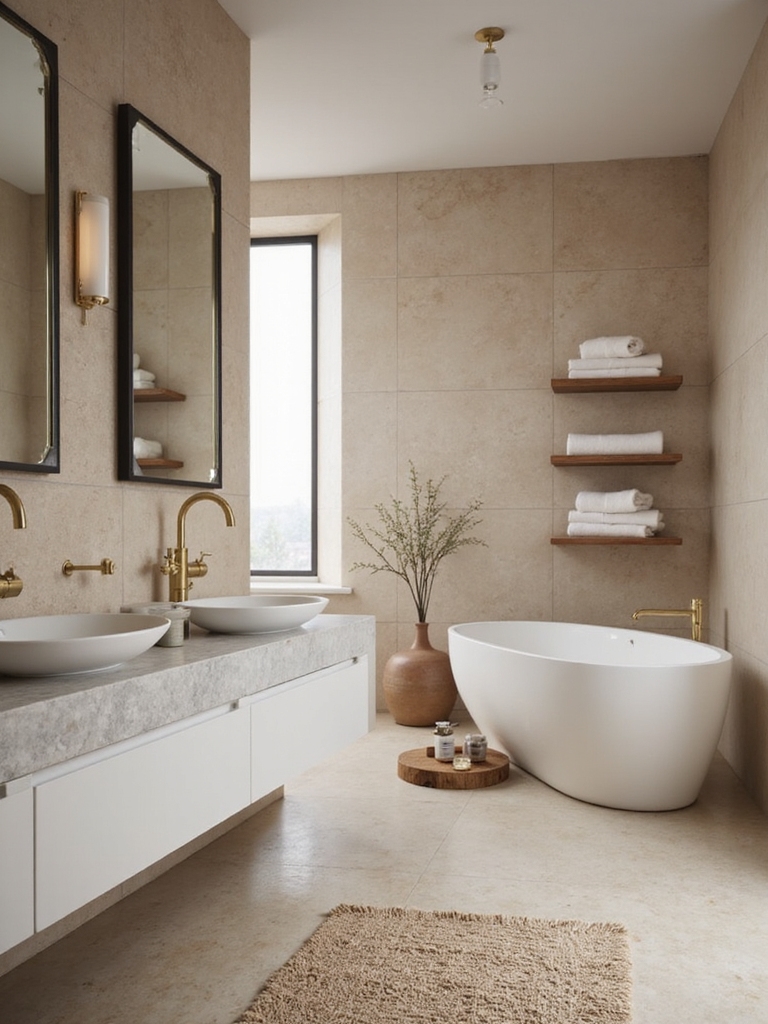
Hardware is the cheapest design upgrade that looks the most expensive, because it is the jewelry of the bathroom. Dated chrome and builder-basic pulls quietly age a room, and trading them for one warm, current finish lifts everything around them. I tell every client to treat the metals as a single design decision across the whole room.
Pick one finish and carry it everywhere. Brushed brass, matte black, or warm bronze on the faucet, the knobs, the towel bar, and the light fixtures makes the room look intentional and custom. A few dollars per knob and a coordinated faucet do more for a luxe look than almost any pricier change.
- Swap knobs and pulls to one warm finish for a few dollars each.
- Match the faucet, bar, hooks, and lighting to that single metal.
- Choose solid, weighty hardware, since cheap, hollow pieces give themselves away.
Concealed Organizers for a Serene Bath
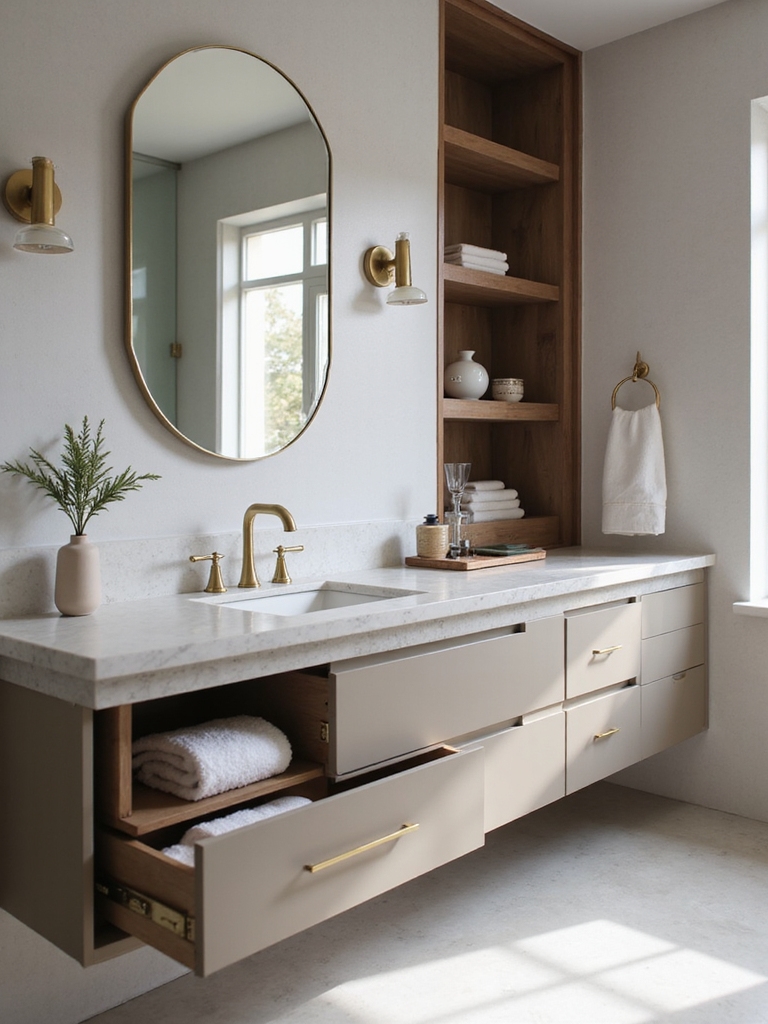
Nothing signals luxury like a bathroom with no visible clutter, and that calm comes from concealed, built-in storage. Hidden function is the design move that makes a room feel custom and serene. Here is how I build storage that disappears:
- Set a recessed niche into the shower wall so bottles vanish from the tub ledge.
- Choose a vanity with deep drawers and integrated organizers to clear the counter.
- Add a recessed medicine cabinet so storage gains depth without projecting into the room; these cabinet storage ideas go deeper.
👍Invest in durable materials
- +Holds its finish for years, so it keeps looking costly
- +Lower upkeep than cheap surfaces that wear and stain
- +Adds real resale value to the home
👎What to know
- –Higher cost upfront than budget materials
- –Best chosen early, since surfaces are hard to swap later
- –Worth a pro for tile and stone installation
Warm Brass Accents That Signal Luxury
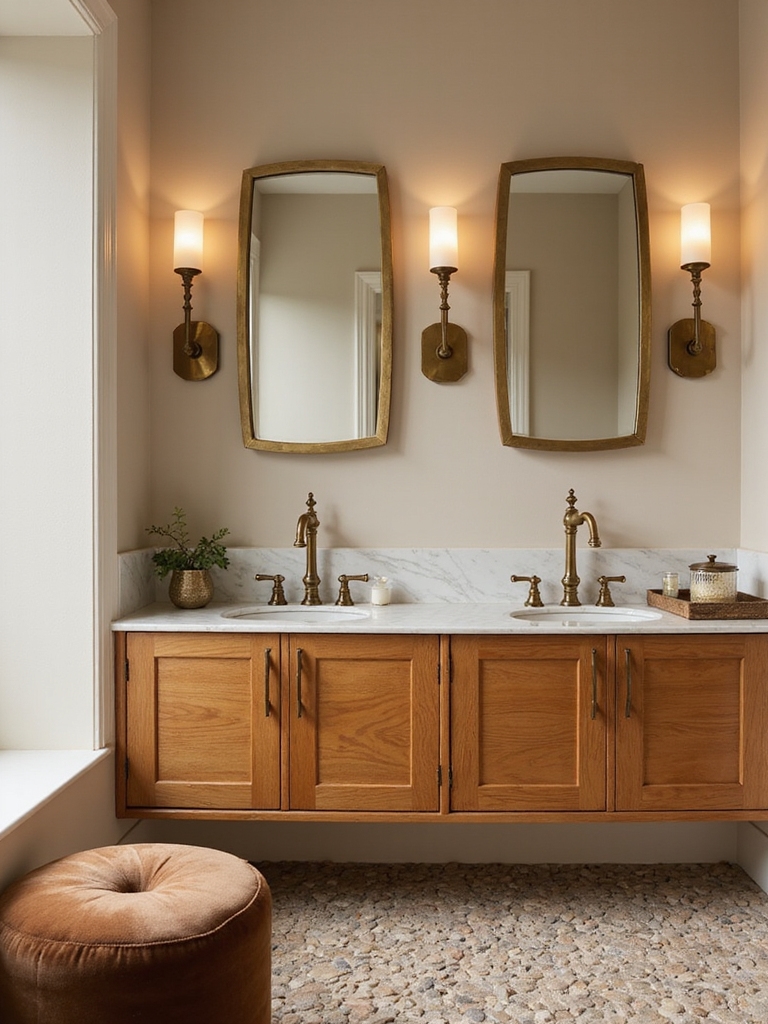
Warm brass is the accent that quietly says expensive, because it adds a glint of jewelry without shouting. A brass faucet, a brass mirror frame, or a brass shelf bracket brings warmth and richness to a cool tile palette. The key is restraint: one warm metal, repeated in two or three spots, looks designed and intentional.
Choose the right brass for a lasting look. Brushed and satin finishes hide water spots and age gracefully, while a living, unlacquered brass develops a patina that only looks more expensive over time. Keep it to accents so the warmth feels deliberate, and let the rest of the palette stay quiet around it.
- Add brass in two or three spots, like the faucet, frame, and a bracket.
- Pick brushed or satin brass to hide spots and age well.
- Keep one warm metal throughout so the glint looks intentional.
Invest Where It Counts, Save Where It Doesn’t
A design that looks expensive is really a smart budget in disguise, with the money concentrated where quality shows. I put the budget into the surfaces and fixtures that take abuse and cannot be swapped easily: the floor tile, the shower, the faucet, and the vanity. Those carry the lasting, costly look more than anything else.
Then save freely where the difference never shows. Builder-grade but clean drywall, budget accessories in a good color, and a painted rather than replaced vanity all disappear into a cohesive whole when the hero pieces are quality. A budget mat goes completely unnoticed next to a beautiful stone floor and a solid brass faucet.
The rule I give every client is to invest in a few lasting pieces and let them anchor the room. A single quality surface outlives and outshines a pile of cheap upgrades that all wear out at once. Spend the design budget in three or four lasting places, keep the rest simple, and the bathroom looks far more expensive than it cost.
Continuous Surfaces and Clean Lines
Continuity is the design principle that reads as custom, because flowing surfaces feel planned as a whole. Running the same large-format tile from the floor up a wall, or carrying one stone from the counter into the backsplash, makes a bathroom feel intentional and smooth to the eye. Fewer breaks and fewer grout lines look calmer and more costly.
Clean lines finish the effect. A wall-hung vanity, a frameless glass shower panel, and a hidden-tank toilet keep the silhouette simple and architectural. The fewer fussy edges and visible fittings, the more designed and expensive the room feels. Borrow tile and stone ideas from these luxe tile combinations.
- Run large-format tile across surfaces for fewer grout lines and a flowing look.
- Choose wall-hung and frameless pieces for clean, architectural lines.
- Carry one stone or tile from counter to backsplash for a custom feel.
The Small Details That Quietly Say Expensive
The last few percent of a designed look lives in details most people overlook. Matched grout color, a sealed and crisp caulk line, and symmetric sconces flanking the mirror are the quiet marks of care that separate a costly-looking bath from a sloppy one. None of them cost much, and together they signal that someone designed the room on purpose.
Thick, folded towels, a single sculptural object, and decanted bottles in matching containers finish the picture. These hotel touches land instantly and cost almost nothing. What usually keeps a bathroom feeling a little cheap is one of these small overlooked details, not a big-ticket item at all.
Keep the details edited and consistent. Three considered touches beat ten random ones, and one repeated metal across them holds the look together. The discipline to stop adding is what keeps a designed bathroom feeling calm and expensive rather than busy.
Keep the Designed Look Lasting
Quality materials only keep looking expensive if you protect them, and the upkeep is small. I reseal natural stone and grout about twice a year, wipe the metals a couple of times a week so they stay bright, and run a one-minute nightly reset to keep the counter clear. That little routine keeps the whole design reading new for years.
Catch small problems early, since a designed bath shows wear sharply. Refresh caulk the moment it yellows, fix a dripping faucet before it spots the surface, and buff hard-water marks off glass and metal before they set. A few minutes of care a week is the cheapest way to make an expensive look actually last.
Expensive-Design Bathroom Questions, Answered
?What bathroom materials look expensive but are durable?
Porcelain tile and quartz lead the list. Porcelain handles water and traffic and mimics marble or stone for $5 to $15 a square foot, while quartz resists stains and scratches with the marble feeling and almost no upkeep. Both age far better than cheap laminate or natural marble in a busy bath.
?Where should I spend money for a high-end bathroom design?
On the surfaces and fixtures that take abuse and cannot be swapped easily: the floor, the shower, the faucet, and the vanity. Concentrate quality there, then save on accessories, paint, and anything decorative. Buying fewer, better things beats spreading a budget thin across cheap everything.
?How does lighting make a bathroom look expensive?
Integrated, layered, warm light reads as custom and architectural. Hidden cove lighting, an under-vanity glow, or a backlit mirror makes a room look designed, and warm 2700K to 3000K bulbs keep every finish glowing. Cool, single overhead light is what makes even costly finishes look flat and cheap.
?What makes a bathroom look cheap even after a remodel?
Usually cool lighting, mismatched or hollow hardware, visible clutter, and choppy, broken surfaces with too many grout lines. Fix the light, match the metals to one finish, conceal the storage, and run materials continuously, and even a modest remodel reads far more expensive.
?Is it worth paying more for quality bathroom fixtures?
For the pieces you touch and that take water, yes. A solid, well-finished faucet and quality hardware hold up and look costly for years, while cheap versions pit, drip, and date quickly. Save on decorative extras, but invest in the fixtures and surfaces that have to last.
Design for the Long Haul, Not the Photo
An expensive-looking bathroom is one designed to last: durable materials on the surfaces that matter, integrated light and hidden storage that feel custom, one warm metal carried throughout, and clean, continuous lines. Spend the budget where quality shows and wears, save where it never does, and the room looks costly for a decade rather than a day.
If you remember one thing, make it this: put your money into the few things that last and let them set the tone. Bookmark this for your next project, start with the durable surfaces you cannot easily change, and build the rest around them. Good design is the most expensive-looking choice you can make, and it lasts.