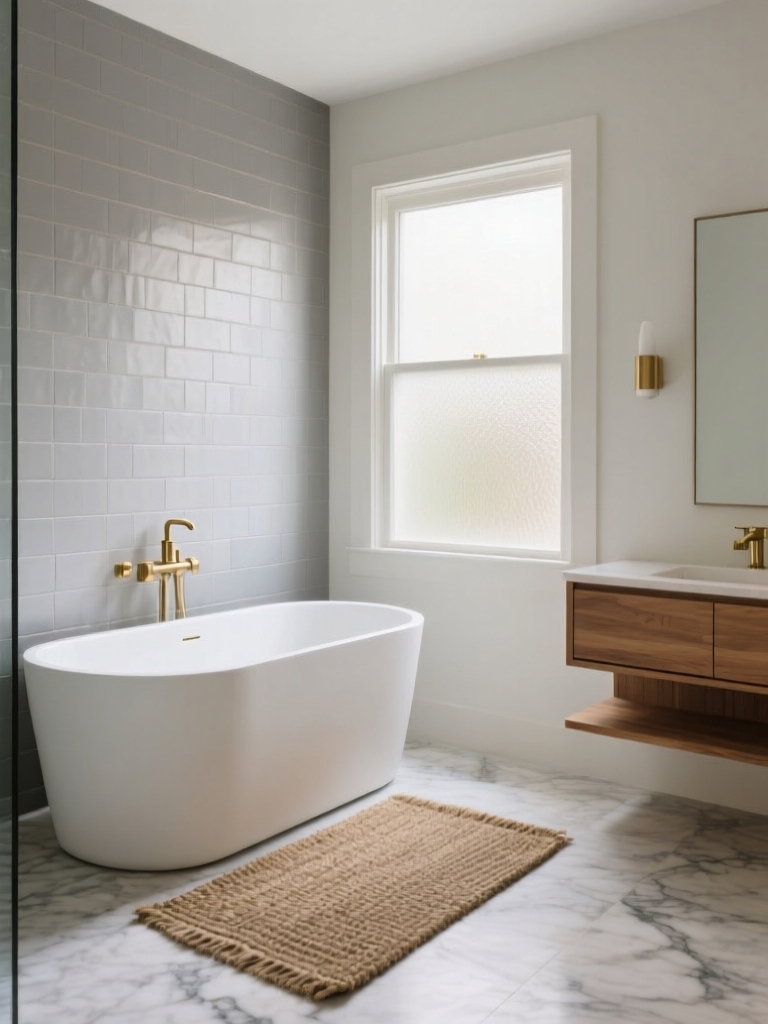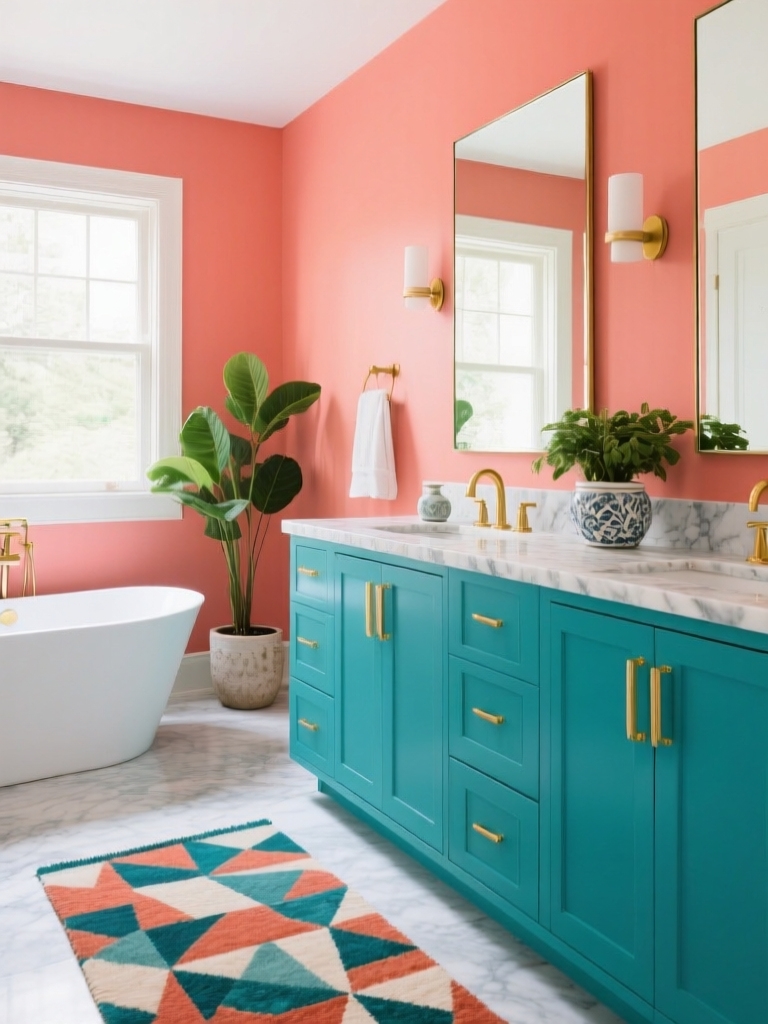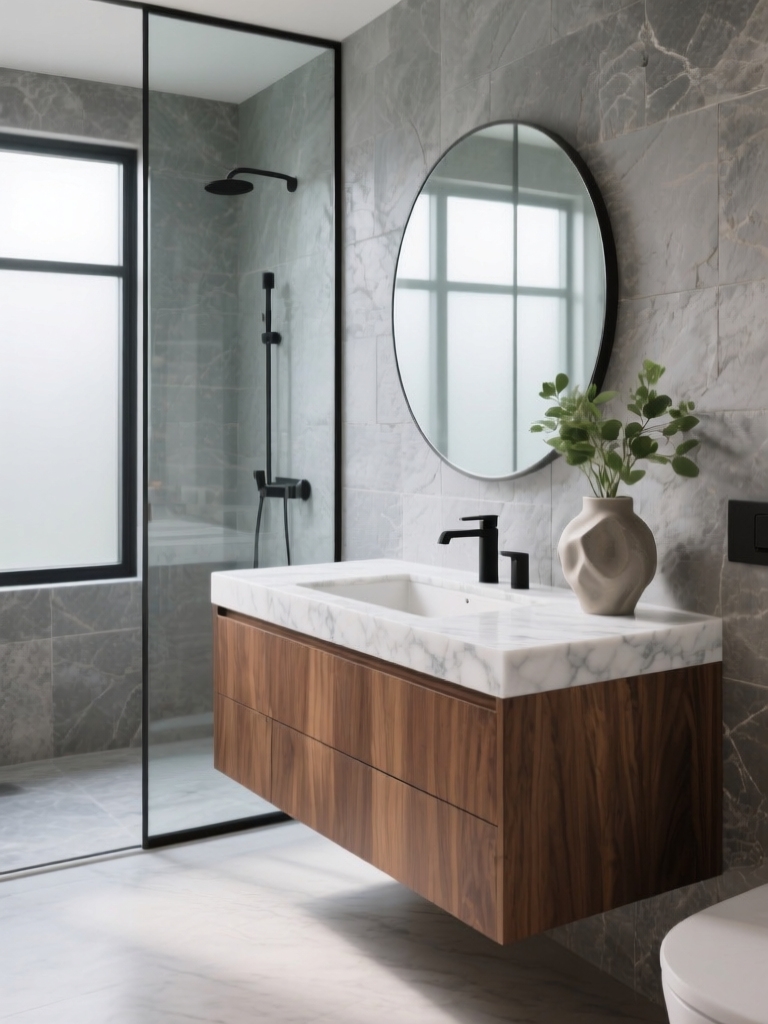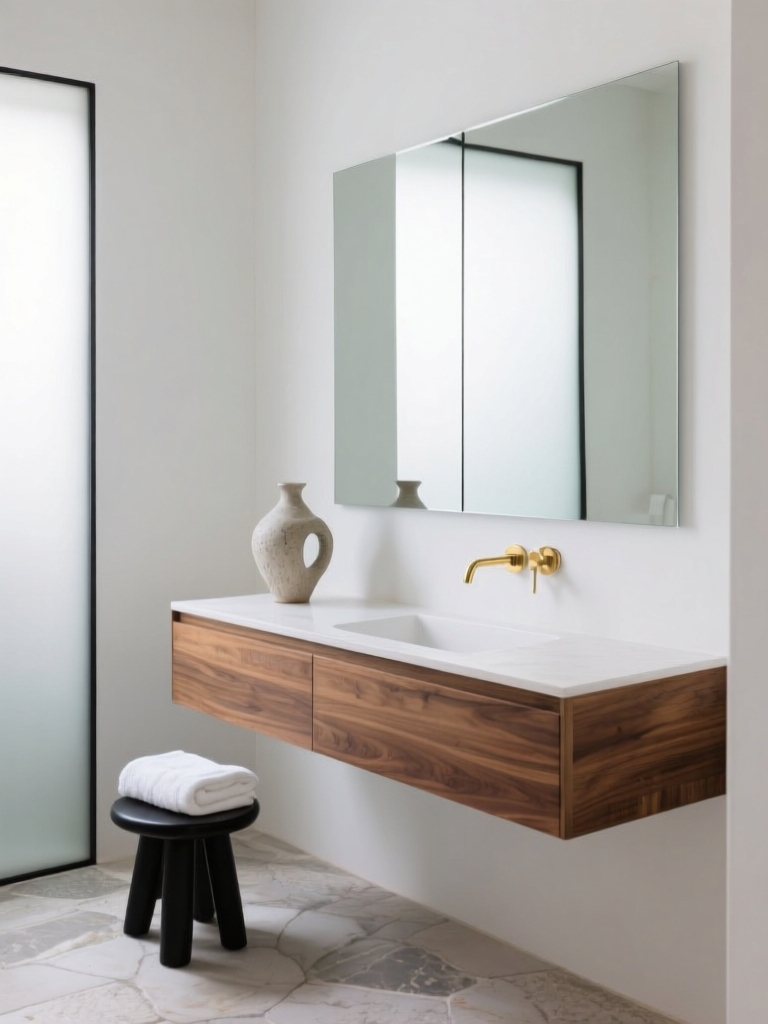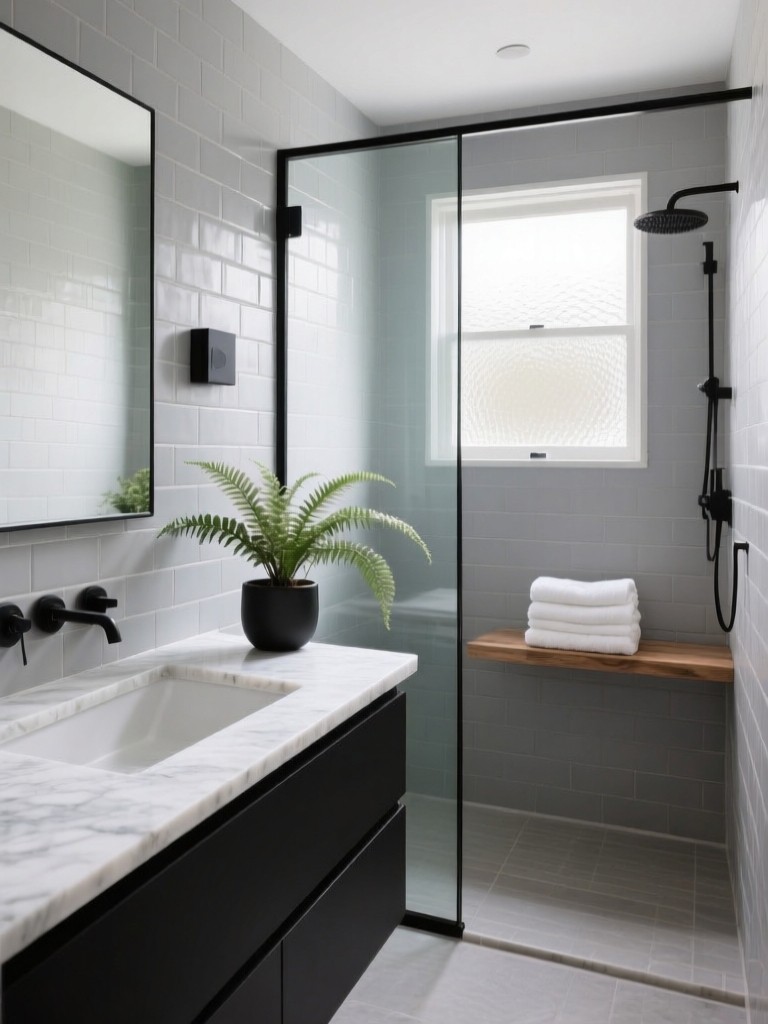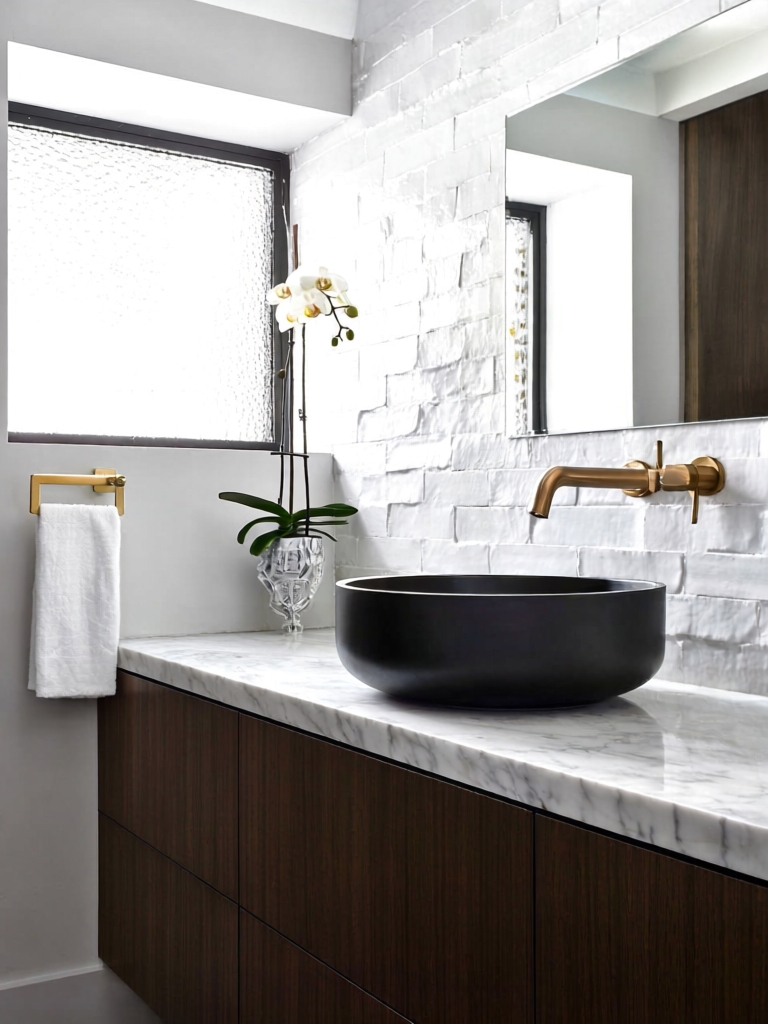

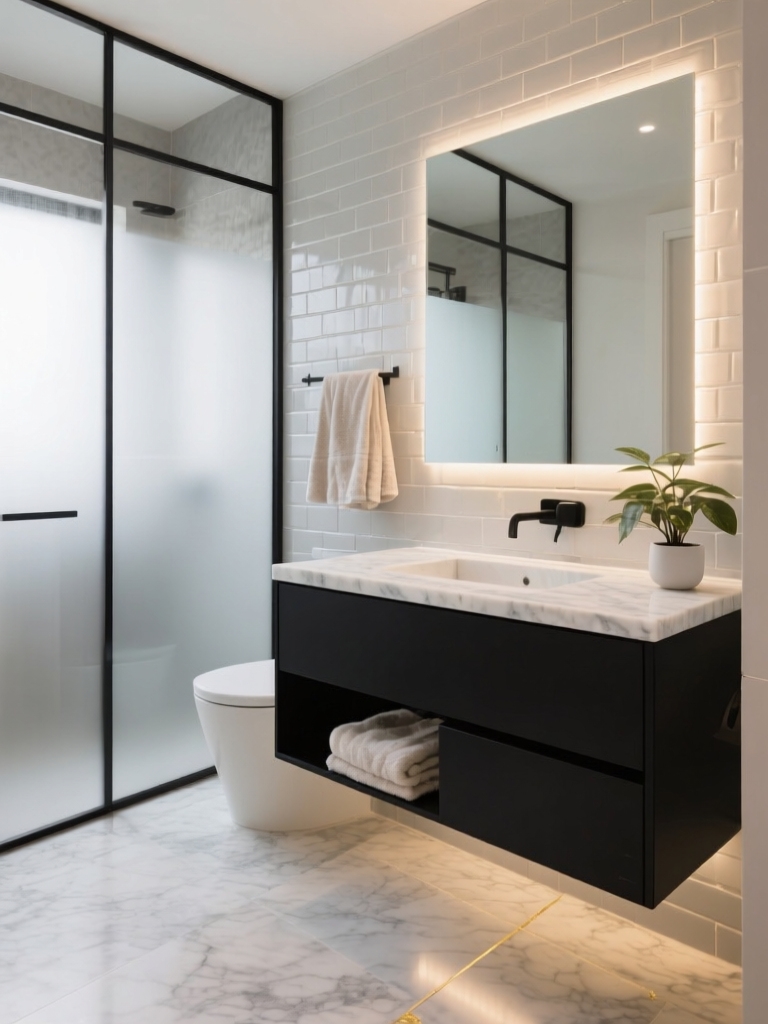
My first apartment bathroom was a windowless box the size of a coat closet, with a beige vanity I was not allowed to touch and a lease clause that spelled out exactly what touching it would cost me.
So I learned to decorate sideways: everything reversible, nothing permanent, deposit untouched. These apartment bathroom decor ideas for renters are the swaps I keep going back to. They look like a real makeover, then peel, unclip, or pack into a tote on moving day.
What I want you to take away right now is that a rental bath can feel considered without one hole in the wall. Choose pieces that do double duty, look intentional, and leave zero trace behind, and the room comes together fast. That is the whole game.
Renter Bathroom Decor at a Glance
- Reversible beats permanent: adhesive, tension-mounted, and friction-fit pieces give you style with no deposit risk.
- Budget a realistic $120 to $300 for a full refresh, spread across hardware, textiles, lighting, and storage.
- Lighting and color are the fastest mood shifts you can make, and both come out clean when you leave.
- Write your move-out teardown plan before you decorate, not the week you pack.
What You Can Upgrade Without a Renovation or a Lost Deposit
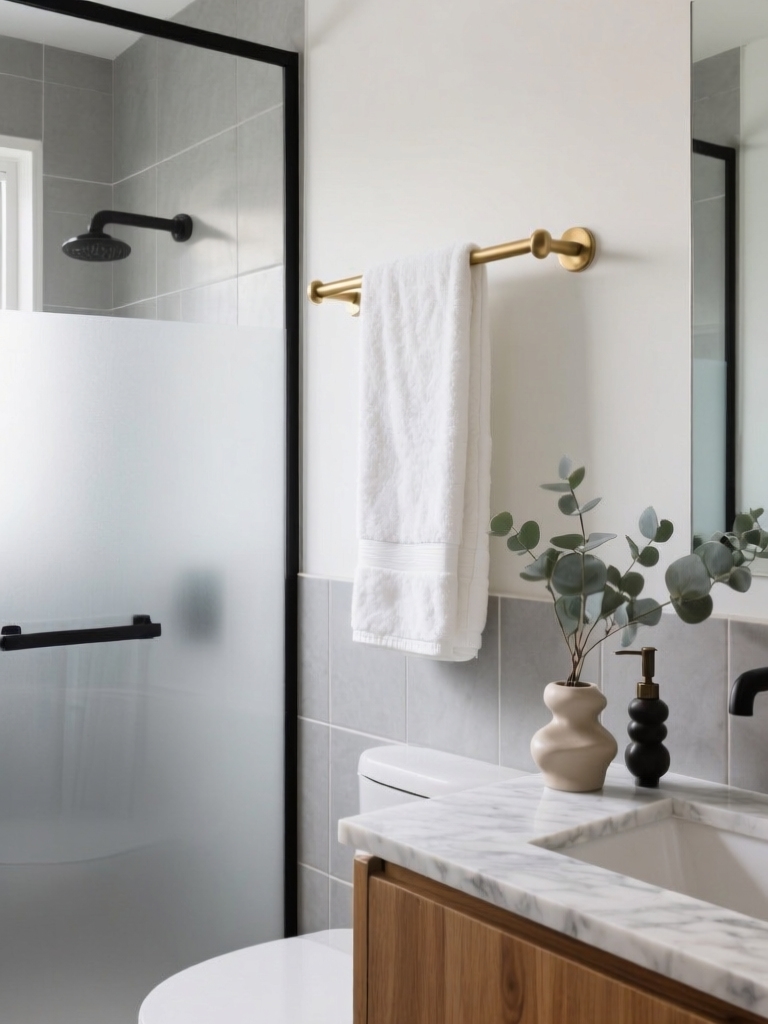
The first thing I do in any rental bath is separate what is mine from what belongs to the landlord. Anything bolted, wired, or plumbed stays put. Everything else, the towels, the shower curtain, the hardware you can unscrew and re-screw, the lighting that plugs in, is fair game. Once you draw that line, a beige builder-grade box stops feeling like a dead end. It becomes a blank canvas you happen to be borrowing.
My rule is simple: if I cannot return it to original condition in under an hour, I do not install it. That single filter keeps a refresh fully reversible and keeps your security deposit where it belongs. Start with the swaps below, then build out from there with bathroom counter decor that you can box up later.
- Swap the shower curtain and rings first, since it is the largest patch of color in the room.
- Trade the hardware you can unscrew, then bag the originals labeled by drawer.
- Layer in plug-in lighting and textiles before you spend on anything semi-permanent.
Wall Decor That Leaves Surfaces Damage-Free
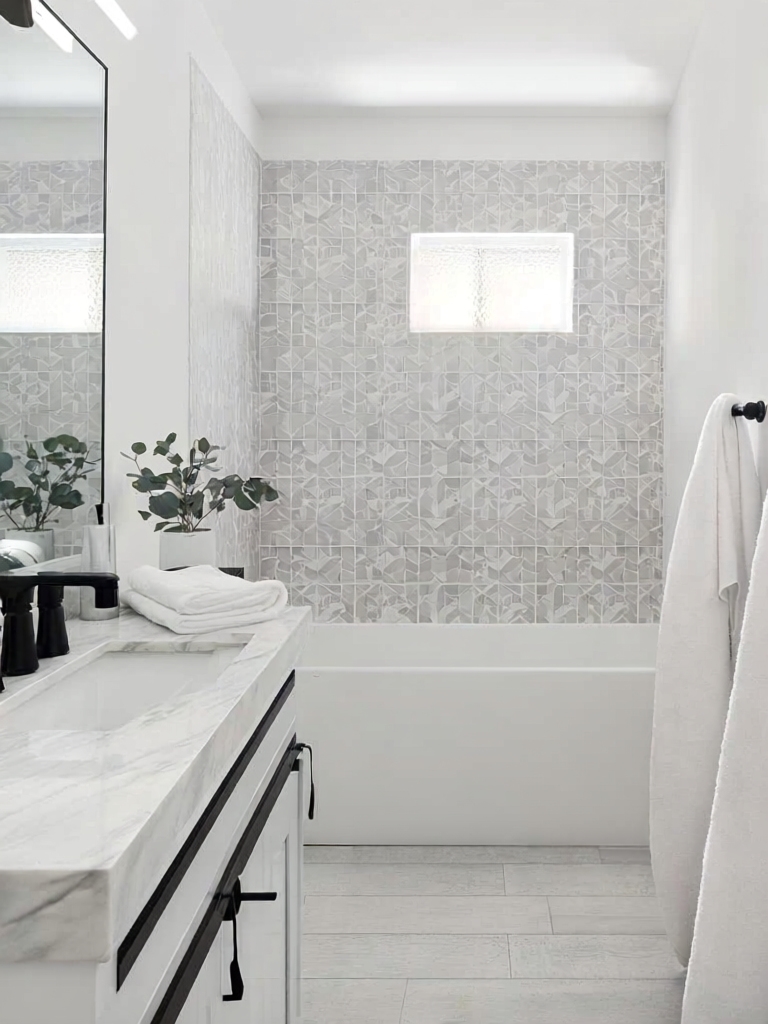
Bare rental walls are the giveaway that nobody really lives there yet, but the fix has to come off clean. I lean on no-residue adhesive options: removable vinyl decals, peel-and-stick tile panels behind the sink, and damage-free hooks rated for the weight you actually hang. A run of decals or a single peel-and-stick panel usually costs $15 to $40, which is less than one nice candle and far more visible.
The mistake I watch renters make is skipping the patch test. Press a small piece onto an inconspicuous spot, leave it a few days, then pull. If the paint is fresh or low-quality, even gentle adhesive can lift it, and that is a charge you do not want on your final walk-through. Two minutes of testing saves you a deposit deduction.
For art, I skip nails entirely and prop framed prints on a tension shelf or lean a larger piece against the wall on top of the toilet tank. It looks propped and collected, and there is nothing to spackle when you go. Nothing to patch, either. If you want more wall-level ideas, the way people style open bathroom shelves translates straight to a renter setup.
Good to Know
Most leases let you change anything you can fully reverse, but adhesive on fresh paint is the common exception. Paint needs about 30 days to fully cure, so on a newly painted wall, wait before applying decals or stick-on panels.
Removable Storage That Earns Its Footprint
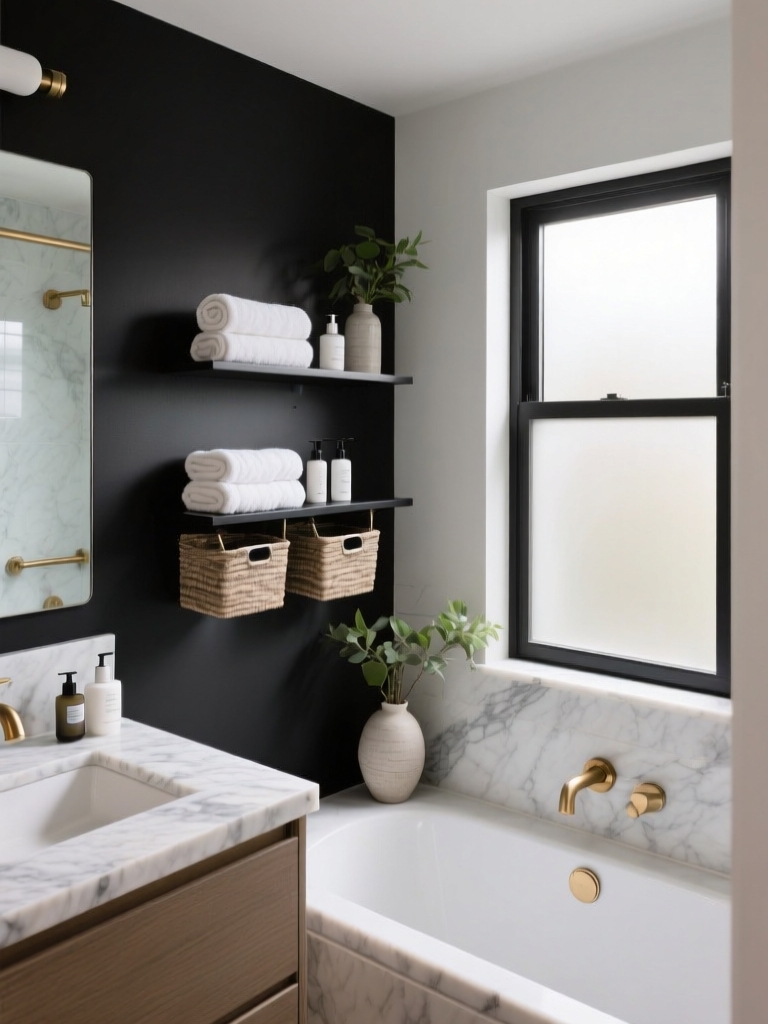
Small rental baths almost never have enough storage, and you cannot drill in more. So I go vertical and tension-based, claiming wall and corner space without one anchor in the wall. Here is the order I install things, from most to least useful:
- Mount a tension-pole corner caddy in the shower so bottles leave the tub ledge, roughly $20 to $35.
- Add an over-the-door organizer for backstock, since the back of the door is dead space you already pay rent on.
- Use stackable clear bins under the sink so you can see what you own instead of buying duplicates.
- Hang a slim tension rod inside a cabinet to clip spray bottles by the trigger and free the shelf below.
Portable Organizers That Travel When You Move
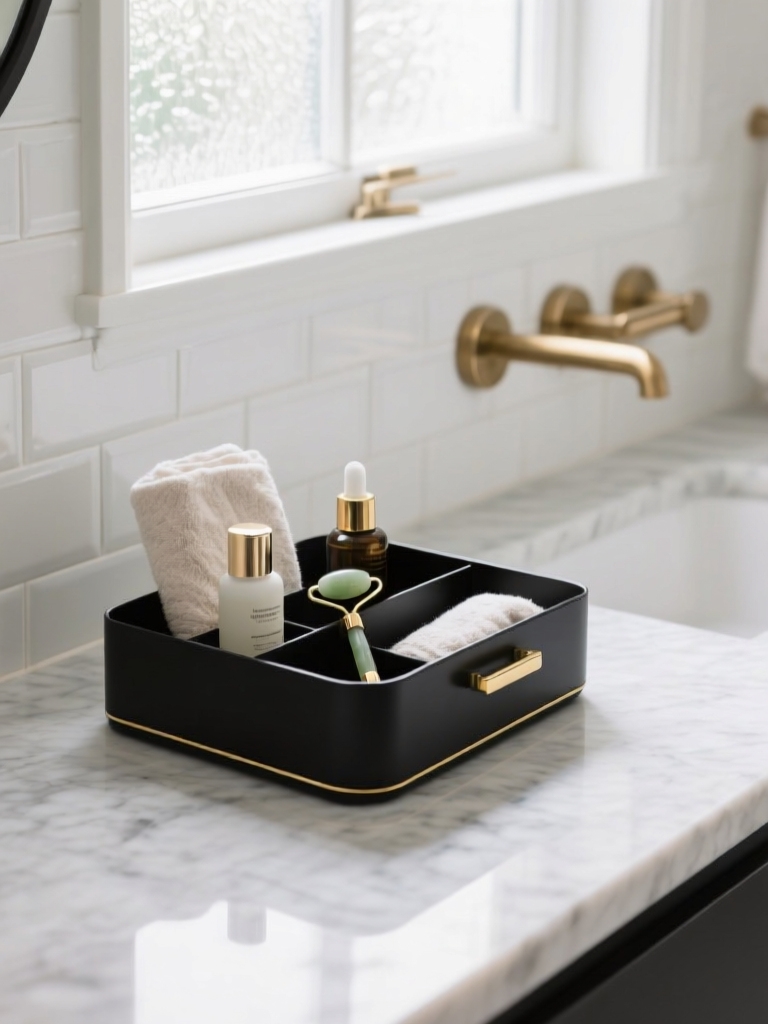
I have carried the same brass-toned caddy through three apartments, and it has earned every inch of suitcase space. The pieces worth buying for a rental are the ones that work just as well in your next bathroom, so I treat organizers as furniture I happen to set down for a year or two.
Keep a One-Bag Reset Kit
Look for handled trays, freestanding shelf units that need no wall, and zippered pouches that corral the things you do not want on display. A countertop tray under $25 instantly makes a cluttered vanity look styled, because grouping looks like intention. Keep your daily five in the tray and everything else behind a cabinet door.
The other reason I love portable pieces is that they make your annual move painless. Nothing has to be unmounted, patched, or replaced, and your storage system arrives at the new place already sorted. For tighter layouts, these small-space storage tricks stack neatly with the portable approach.
| Spot | Reversible pick | Rough cost |
|---|---|---|
| Shower corner | Tension-pole caddy | $20 to $35 |
| Back of door | Over-the-door organizer | $15 to $30 |
| Under sink | Stackable clear bins | $12 to $25 |
Temporary Lighting That Shifts the Whole Mood
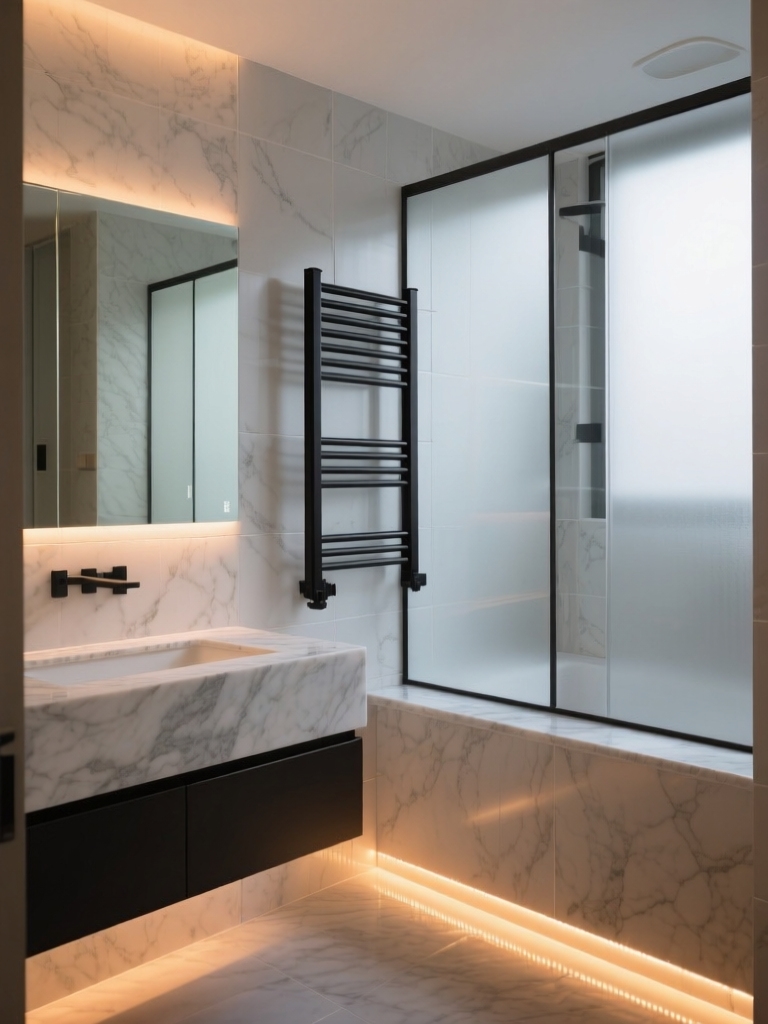
Nothing dates a rental bath faster than one harsh overhead bulb, and nothing fixes it faster than light you can layer. That flat glare is the giveaway. I cannot rewire a fixture, but I can change the bulb and add plug-in sources. Swapping to warm 2700K bulbs is the cheapest mood change in the room, often under $10, and it makes builder-grade tile look softer overnight. I still keep a clip-on strip stuck to my own mirror frame, three apartments later.
From there I add battery or clip-on LEDs around the mirror for even, flattering light, plus a small plug-in lamp on the counter if there is an outlet. Clip-on strips run $12 to $25 and peel off without a mark. The goal is two or three light levels you can dial up or down, so the room can go from bright-for-makeup to low-and-calm at night. One flat blast cannot do that.
Keep the original bulb in a labeled bag with your spare hardware. On move-out you screw it back in, unclip the LEDs, and the fixture looks exactly as the landlord left it. If you want to go deeper on this, sorting bathroom lighting by tone is the upgrade most renters overlook for too long.
Color Accents You Can Box Up on Moving Day
When you cannot paint, color has to ride in on the things you can take with you. I build a tight palette of two or three shades and repeat it across towels, the bath mat, a soap pump, and maybe a stack of folded washcloths.
Repetition is what makes a scattered set of objects look deliberate. Choosing colors that talk to each other costs nothing extra, and it is the cheapest way to make a borrowed room feel like one connected space pulled together on purpose.
I lean renters toward muted, slightly grayed tones, because they flatter the cheap white fixtures most apartments come with. A sage, a dusty terracotta, a soft inky blue: each one calms down builder beige without fighting it. Pick one to lead and let the other two play support, the same way you would plan color by mood in any room.
The quiet bonus is portability. Everything that carries your color is a textile or an accessory, so on moving day it all folds into one bin and travels to the next bath. Nothing gets repainted back to white, and no brush marks stay behind.
Mirror and Reflection Tricks That Borrow Light
A windowless rental bath lives or dies on how it handles light, and a mirror is the one tool that multiplies what little you have. Light is the whole problem here. I prop a large leaning mirror against the wall opposite the brightest source, whether that is the doorway or a vanity light, so it bounces brightness back into the room and reaches the corners that usually stay dim.
I lean the piece against the wall and skip the hardware entirely. There is nothing to mount and nothing to patch. A frameless or slim-framed piece looks modern and slips into the wall, while a chunky frame becomes a small style statement on its own. Either way you are stretching the sense of space without touching a stud.
- Lean one oversized mirror rather than hanging several small ones, so there are no anchor holes to fill.
- Place reflective trays and a glass shelf to catch and spread light deeper into the room.
- Keep the counter under the mirror nearly clear, since reflected clutter doubles the mess.
The Move-Out Teardown Plan You Write First
Here is the step almost every renter skips, and the one I now do before I hang a single thing: I write the teardown plan on day one. The logic is simple. If I know exactly how every piece comes off, I will only install pieces that come off cleanly, and the move-out walk-through stops being a gamble.
My plan is a short note on my phone listing each change, how to reverse it, and where the original part lives. The builder bulb is in a labeled bag; the original cabinet knobs are taped inside the vanity; the decals come off with a hair dryer and slow peeling. What I tell every first-time renter is that the labeled-bag habit is worth more than any single decor piece, because it is the difference between a full deposit and a deduction.
Budget an hour for the actual teardown the week before you leave. Reverse in the opposite order you installed, wipe surfaces, screw the originals back on, and photograph the finished room. That photo is your proof the bathroom went back exactly as you found it, and it is the cheapest insurance in renting.
Renter Bathroom Questions, Answered
?Will peel-and-stick decals pull paint off when I move out?
On cured, decent-quality paint they usually come off clean, especially if you warm them with a hair dryer and peel slowly. The risk is on freshly painted or cheap flat paint, which is why a small patch test in a hidden spot is non-negotiable before you commit to a whole wall.
?How much should I budget for a renter bathroom refresh?
A meaningful refresh runs about $120 to $300 total, depending on how much you swap. Roughly that breaks down to textiles and curtain at $40 to $80, hardware at $20 to $50, lighting at $20 to $50, and storage at $40 to $100.
?Can I change the lighting without an electrician?
Yes, and you should not touch the wiring anyway in a rental. Swap to a warm bulb, add clip-on or battery LEDs around the mirror, and use a plug-in lamp if you have an outlet. All of it reverses by unscrewing and unclipping, with no electrical work involved.
?What bathroom changes do landlords usually allow?
Most allow anything fully reversible: curtains, freestanding storage, plug-in lighting, adhesive decor, and hardware you can re-install. Permanent changes like painting, drilling, or replacing fixtures usually need written permission, so check your specific lease before you go further than swaps.
?How do I keep a rental bathroom from feeling temporary?
Repeat a small palette across textiles, group countertop items on a tray so they look styled, and add layered lighting instead of one overhead bulb. Cohesion is what feels permanent. Matching colors and intentional grouping make a borrowed room feel settled even when nothing is mounted.
Style It Like You Own It, Pack It Like You Rent
A rental bathroom does not ask for a renovation; it asks for a few smart, reversible choices made in the right order. Start with the curtain and the bulb, layer in tension storage and portable organizers, repeat a tight palette across your textiles, and let a leaning mirror do the work of a window you do not have.
Do all of that with the teardown plan already written, and you get a space that feels like yours for as long as you live there and disappears without a trace the day you leave. So which swap are you reaching for first, the lighting or the color story?