I’ve built tiny bathrooms that feel huge, and I’ll show you practical, space-smart ideas that actually work. Start with a smart plan: map every inch, test door swings, and map zones for toilet, sink, and shower. Pocket doors or slim swings save precious space, while floating vanities and corner sinks keep flow open. Use glass, light tones, and built-in storage to visually expand. If you keep these moves in mind, you’ll reveal a winning tiny-bath plan that continues to surprise.
What Makes a Bathroom Truly Tiny (and Why Planning Matters)
Small bathrooms feel tiny because every inch counts, and that’s precisely why planning ahead matters.
I’m guiding you to recognize how scale, flow, and fixtures tighten space without sacrificing function.
I’ll show you where to trim waste, prioritize essential elements, and design around daily habits.
You’ll gain a practical framework, making bold, efficient choices that transform a cramped room into a confident, usable space.
Incorporating innovative ideas can help maximize your tiny bathroom space without feeling overwhelmed.
Measure First: Map Your Space Accurately
I start by mapping every inch of the space, because precise space mapping sets the entire plan.
I’ll tape measure with care, capturing door swings, pipe locations, and fixture footprints to avoid surprises.
With accurate measurements in hand, we can lock in a layout that fits—efficient, practical, and ready for real-world tweaks.
Incorporating stylish small bathroom design tips from the pros can help maximize both function and aesthetic appeal.
Precise Space Mapping
- Measure walls and fixtures with a laser or tape
- Note door and cabinet clearances precisely
- Sketch a scaled layout for decisions
- Mark plumbing limits early
- Confirm utilities orientation before buying
Accurate Tape Measurements
I measure from fixed points, log heights with purpose, and note tile thickness, plumbing offsets, and fixture clearances. Precision saves time, reduces rework, and keeps your plan sharp, realistic, and ready for action.
Layout Planning First
Now that you’ve mapped every inch, start laying out the space on paper or a digital plan. I’ll guide you to turn measurements into a functional layout, prioritizing safety, flow, and storage.
Keep proportions realistic, test door swings, and visualize fixtures. Use quick sketches, scale rulers, and note clearances. Aim clean, precise results that maximize tiny-bath practicality.
- Confirm door and hinge clearances
- Map plumbing locations for reuse
- Plan vertical storage and niches
- Sketch fixtures with correct clearances
- Review flow for one-room usability
Layout Logic: Best First Moves for Tiny Baths
When you’re tackling a tiny bath, start with a clear, practical layout plan that prioritizes traffic flow and essential fixtures.
I map zones for toilet, sink, and shower, then test paths for door swing and reach.
Choose compact fixtures, wall-mounted storage, and a single, uninterrupted line of sight.
Clear priorities minimize clutter, maximize usable space, and boost daily ease.
Incorporating DIY storage solutions can further optimize every inch of your small bathroom.
Pocket Doors vs. Slim Swings: Which Saves More Space?
Pocket doors and slim swings each offer a space-saving punch, but they serve different priorities in a tiny bath. I compare, decide, and share practical takeaways you can apply today.
- Space usage varies by wall clearance and swing direction
- Pocket doors hide hardware, minimizing visual clutter
- Slim swings reduce overhead track length
- Installation complexity affects budget
- Choose based on traffic and door frequency
Both options contribute to creating a modern yet functional compact bathroom space.
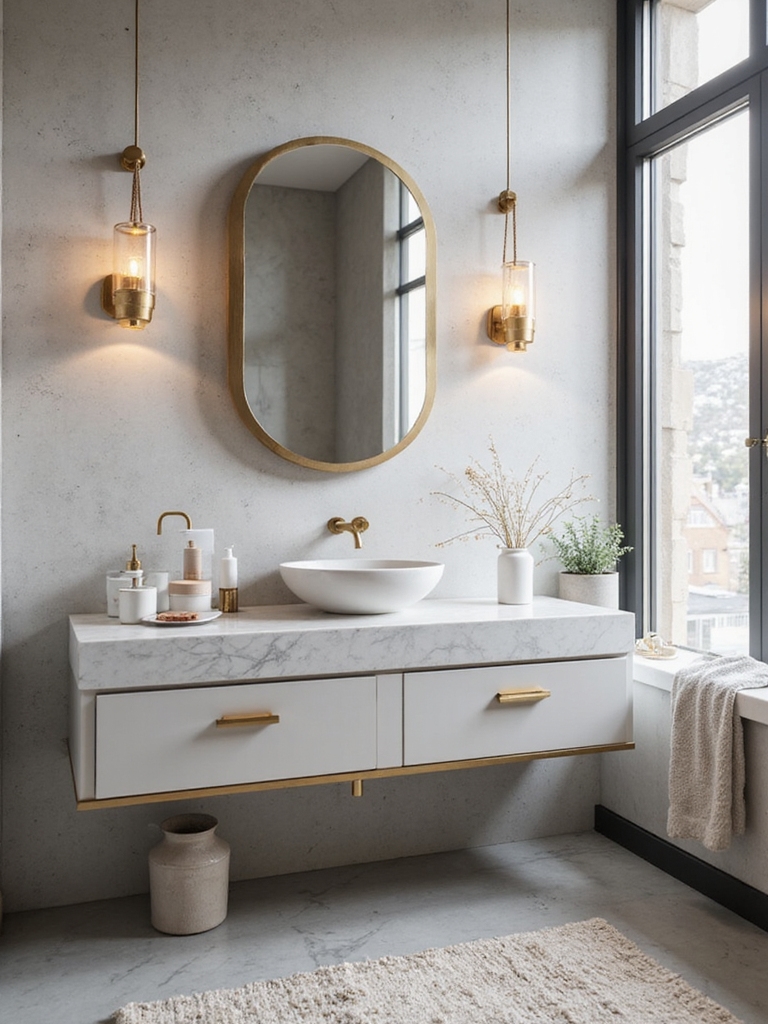
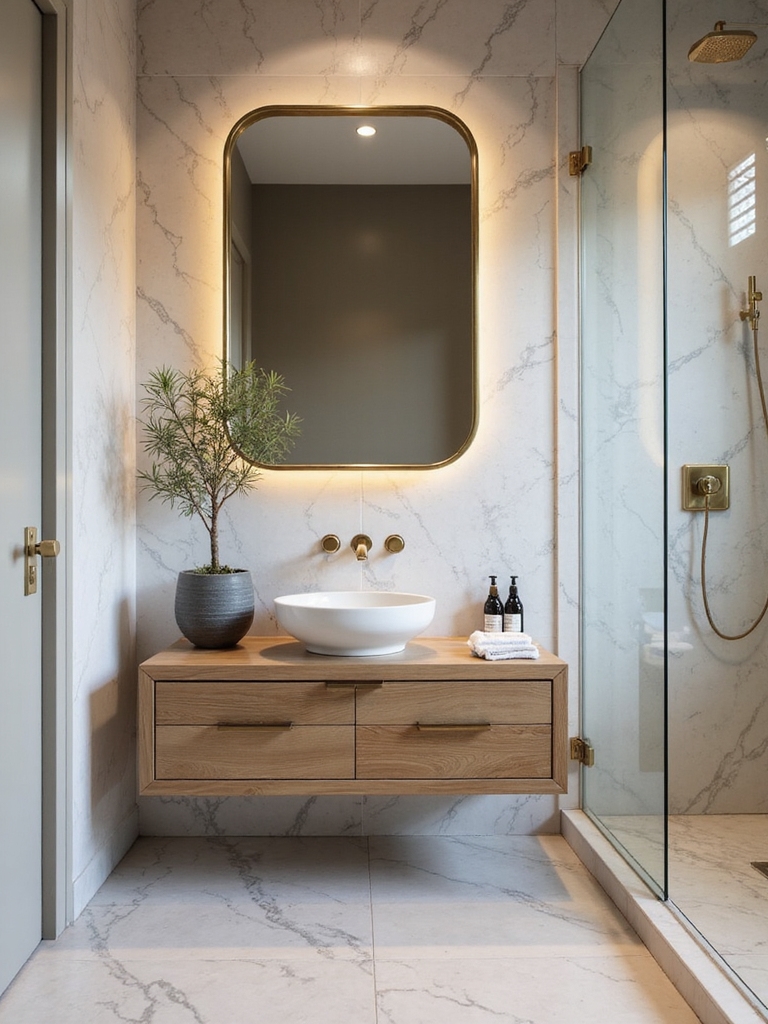
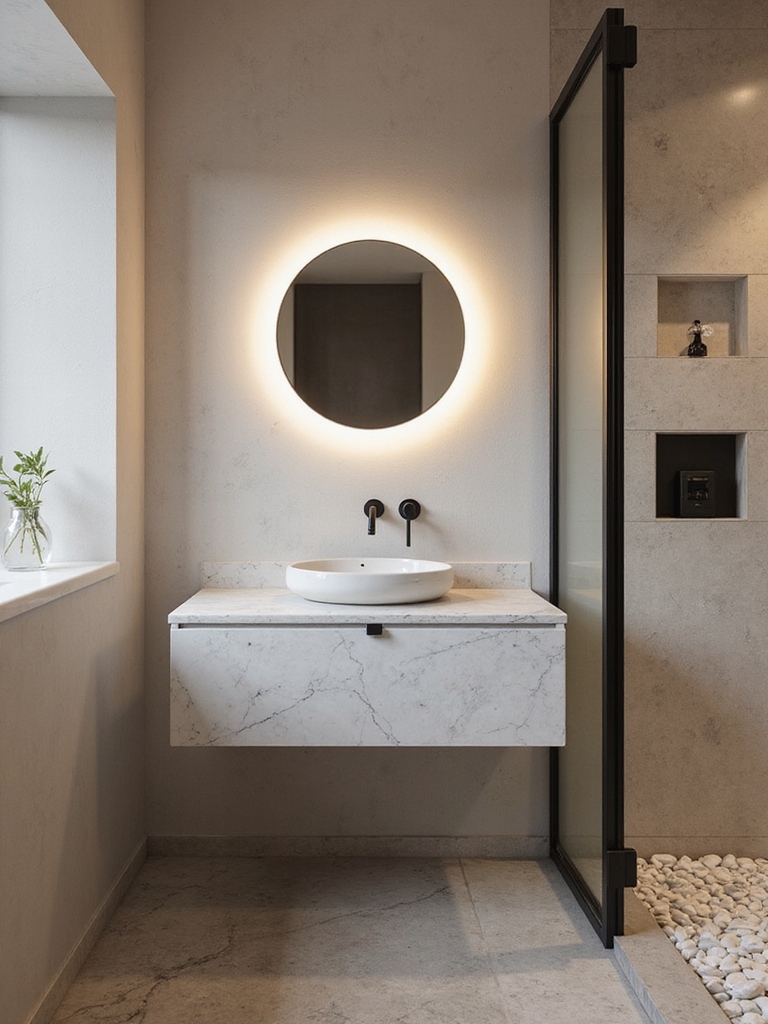
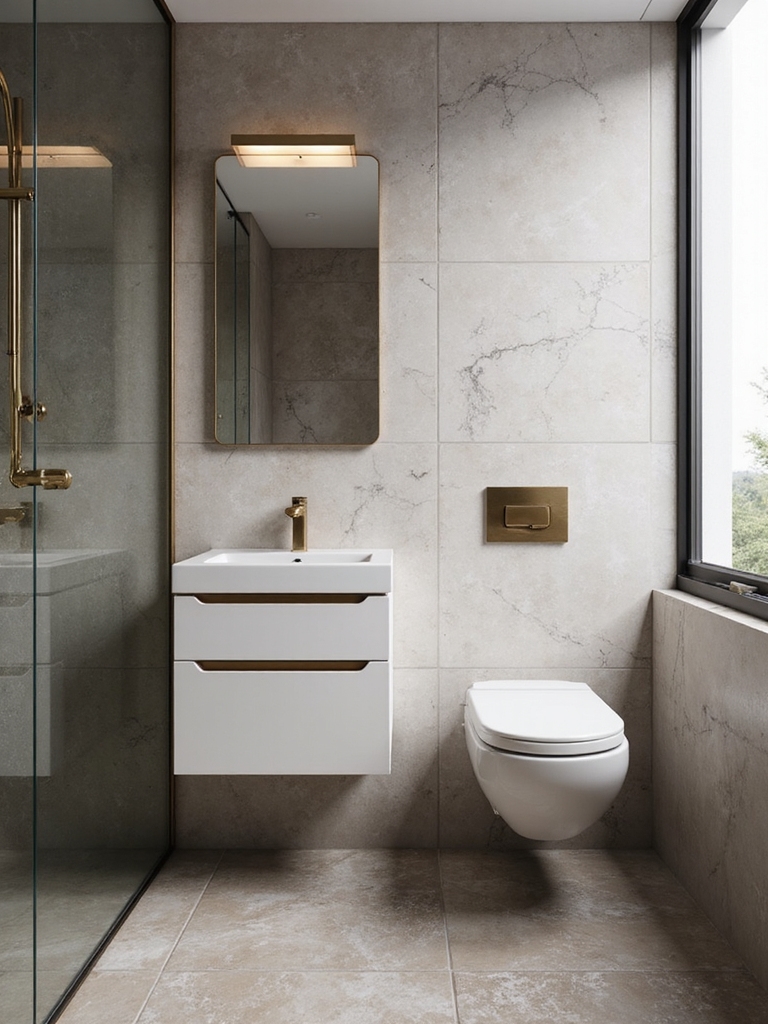
Floating Vanities: When Less Is More and When It Isn’t
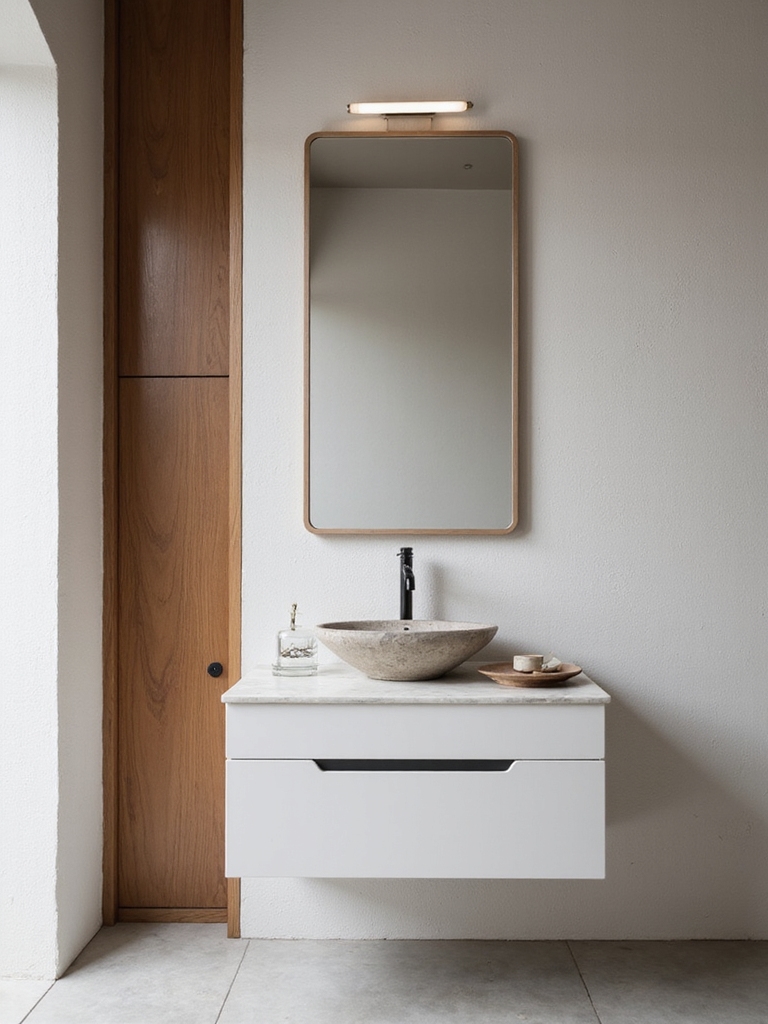
Floating vanities can free up floor space and read as sleek, modern anchors in a tiny bath—yet they aren’t always the right move.
I’ve seen them open rooms, hide plumbing, and streamline lines, but I’ll trade durability, storage, or accessibility for style only when it serves real needs.
If you value steadiness and practicality, choose thoughtfully.
Incorporating smart storage solutions can maximize the functionality of floating vanities in small bathrooms without sacrificing style.
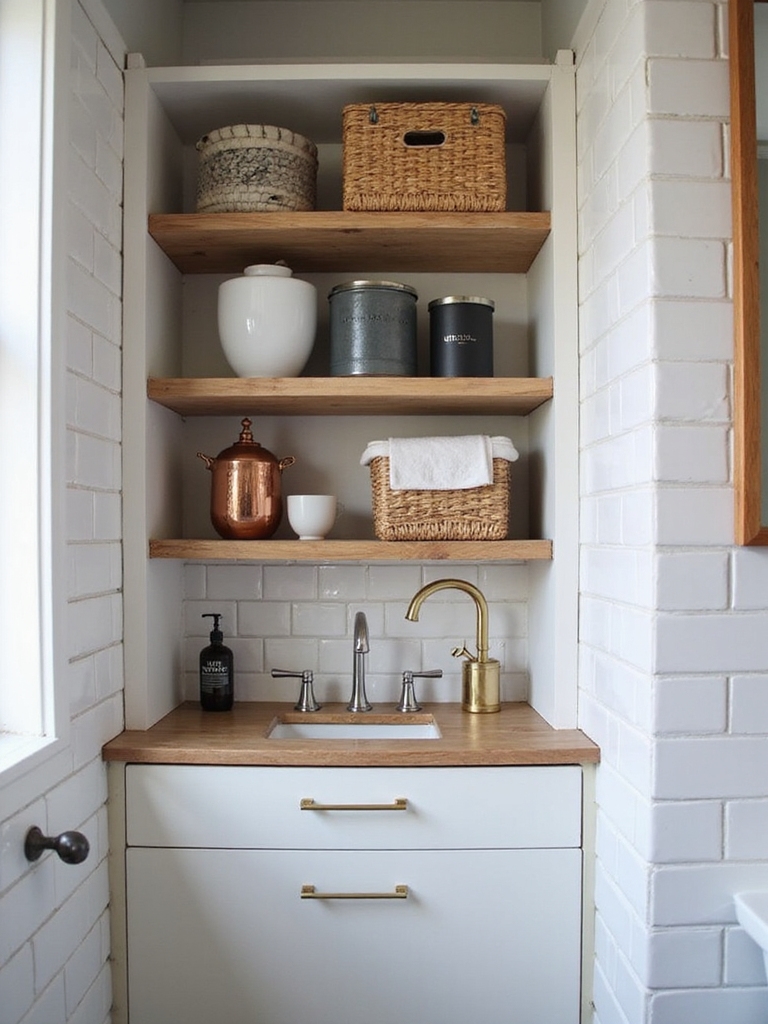
Corner Sinks That Fit and Flow
Corner sinks can maximize footprint without sacrificing flow, so I lean into compact, angular designs that tuck neatly into tight nooks while still delivering full function.
- Space-saving silhouettes with wall-mount options
- Corner pedestal vs. wall-hung for depth control
- Integrated storage nearby for towels
- Quick-access plumbing with clean lines
- Finishes that hide splashes and resist moisture
Adding clever storage solutions around corner sinks further enhances small bathroom efficiency by utilizing every inch effectively with tiny bathroom storage ideas.
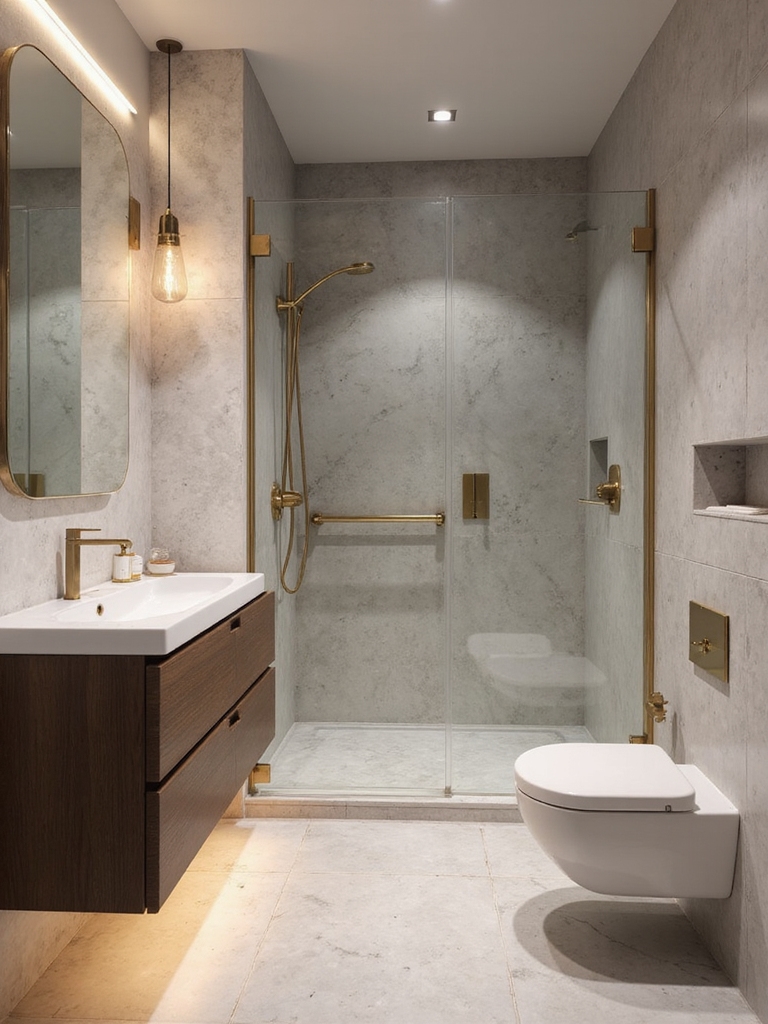
Compact Shower Stalls That Feel Roomier
I’m showing you how glass shower enclosures can open up a tight space with a clear glass illusion that visually expands the room.
We’ll test corner shower layouts to maximize footprint without sacrificing ease of movement.
Let’s explore how smart glass, minimal frames, and strategic placement make every inch feel roomier.
Incorporating stylish shower inspirations can elevate the look while maintaining functionality in small bathrooms.
Glass Shower Enclosures
- Embrace frameless glass for an airy look.
- Choose clear or low-iron glass to reduce tint.
- Use slim, unobtrusive hardware.
- Install a single-pane door for openness.
- Opt for recessed shelves instead of bulky caddies.
Clear Glass Illusion
Clear glass creates the illusion of space, especially in compact showers, because light travels through unobstructed panels and visually expands the room.
I favor slim frames or none, minimal chrome, and clean seams that disappear. You’ll notice brighter mornings and calmer showers.
Clean lines reduce clutter perception, while consistent finishes boost perceived size.
Practical, bold design, no fuss, clear results.
Corner Shower Space
Corner showers pack big impact in small spaces, and here’s how to make them feel roomier without overhauling your bathroom.
I focus on smart choices that breathe space and style into every inch.
- choose a clear, frameless door
- install a slim profile tray
- use large tiles or continuous panels
- lean into recessed niches
- maximize lighting and mirrors for depth
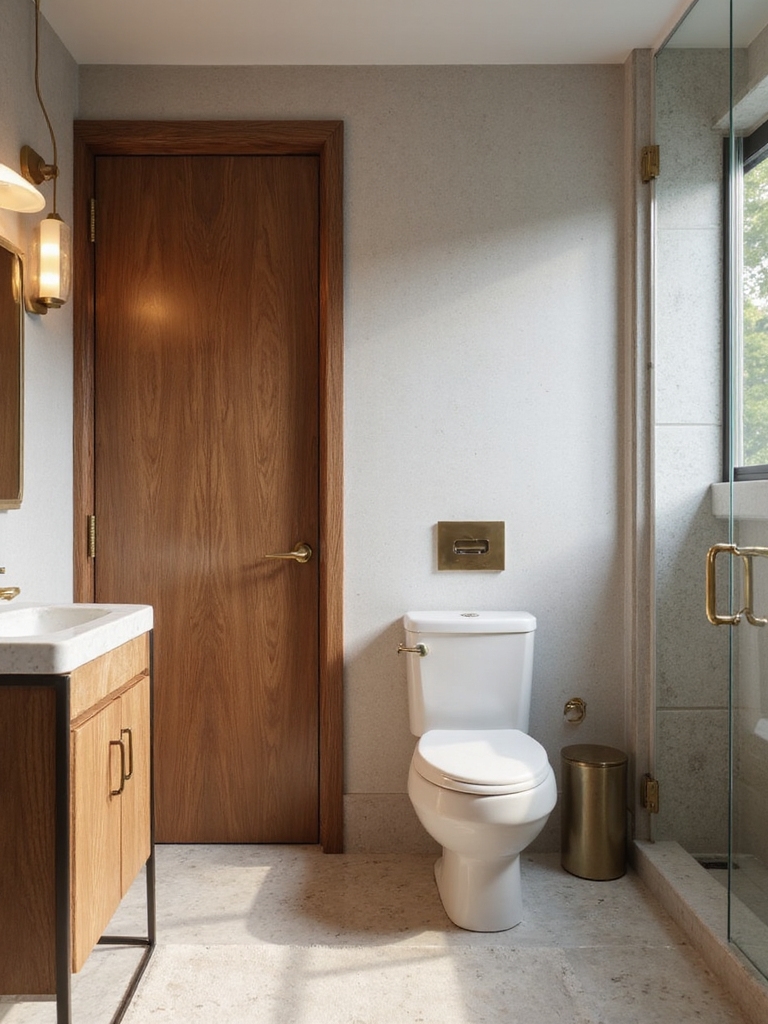
Water-Closet Clearance Tricks for Comfortable Use
Optimizing water-closet clearance isn’t just about space—it’s about comfortable, everyday use.
I map tight aisles, swap doors for walls, and favor slimline fixtures that carve room without compromise.
Keep hinges tight, polish corners, and position a grab hook for balance.
I test clearance with real movements—squat, reach, pivot—adjusting until every action feels confident, calm, and friction-free.
Incorporating smart storage solutions can further maximize functionality without crowding the space.
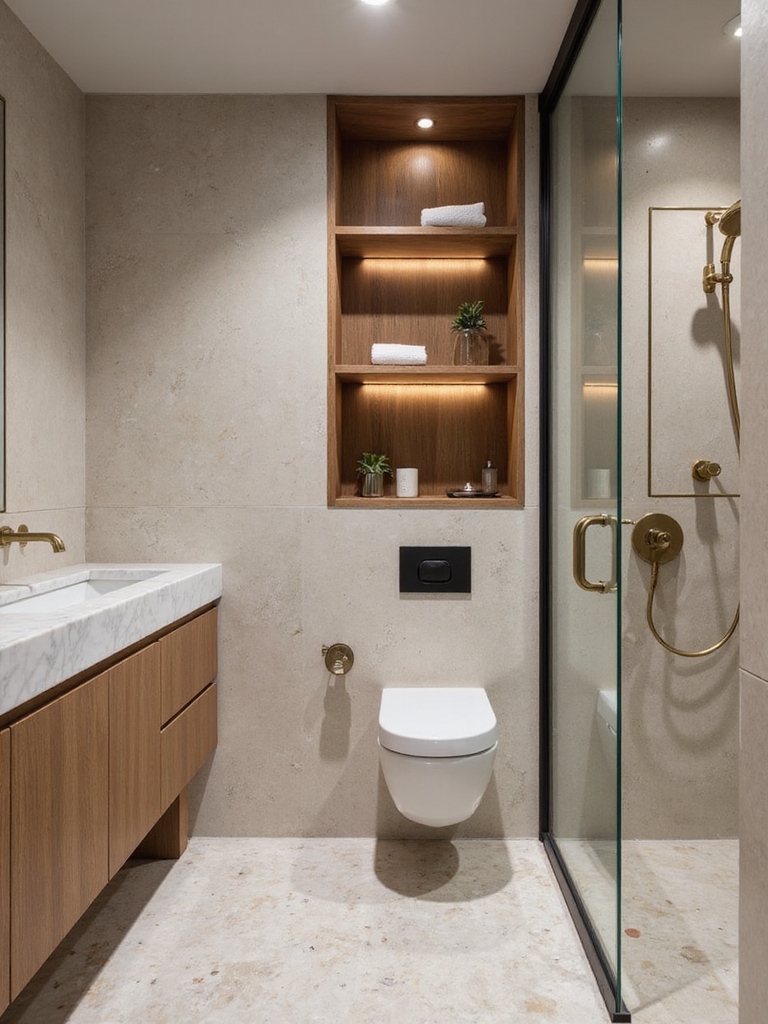
Built-In Storage Nooks That Hide Clutter
Tiny bathrooms demand smart storage, and built-in nooks let you hide clutter without stealing space.
I’ll show minimalist tricks that keep essentials at hand while the surfaces stay clean and calm.
Let’s explore hidden-shelf ideas that blend practicality with a polished finish.
Incorporating guest bathroom storage ideas can efficiently manage clutter and maintain a tidy look.
Hidden Nook Strategies
Hidden nooks aren’t ornamental afterthoughts; they’re our way to reclaim counter space and keep clutter out of sight.
I show you how to store without sacrificing style, so you breathe easier every morning.
- Install shallow pull-out drawers beside the sink
- Use vertical slim cabinets above the vanity
- Add corner shelves for daily essentials
- Choose built-in hampers for laundry cycles
- Integrate mirror-front doors for hidden storage
Minimalist Storage Tricks
When you’re aiming for a clean, uncluttered bathroom, built-in storage nooks are a game changer: they tuck daily essentials out of sight without stealing square footage.
I prioritize minimalist shelves, recessed drawers, and hidden bins that blend with tile and vanity.
No fluff, just efficient access, sturdy hardware, and durable finishes that keep counters clear and routines smooth.
Recessed Medicine Cabinets for Max Wall Space
Recessed medicine cabinets maximize wall space by using depth only where it counts.
I guide you to a sleek, efficient bathroom—no wasted inches, just smart storage with clean lines.
Let’s optimize:
- Seamless fronts blend with tile
- Deep shelves hold everyday items
- Adjustable trays simplify decluttering
- Soft lighting enhances visibility
- Easy installation, minimal framing
Bold, practical, polished results. Incorporating these cabinets is one of the best tiny bathroom ideas on a budget to make your space look expensive without overspending.
Multi-Purpose Fixtures That Save Every Inch
I’m all about space-smart moves, so I’m highlighting multi-use essentials that pull double duty without crowding the room.
Think fixtures that store, pull, or flip—all in one clean, practical package.
Let’s explore space-saving fixtures and smart storage that keep every inch purposeful.
Space-Saving Fixtures
Maximize every inch with space-saving fixtures that pull double duty.
I choose pieces that hide storage, morph, or mount out of sight, so sinks, toilets, and shelves work harder. You’ll feel the difference in flow and function.
- Wall-mounted vanity with recessed storage
- Fold-down shower seat and shelf combo
- Tankless or compact toilet unit
- Mirror with built-in cabinet
- Adjustable-height rail systems for towels and robes
Multi-Use Essentials
Multi-use fixtures are the smart backbone of tiny bathrooms, letting one piece do double or triple duty without crowding the room.
I build efficiency around chosen essentials, prioritizing pull-down taps, integrated shelves, and fold-away components. Each choice reduces clutter while preserving style.
You gain clearer sightlines, easier cleaning, and smoother daily routines, proving compact design can feel expansive and intentional.
Smart Storage Solutions
Smart storage is where tiny baths stop feeling cramped: I lean on multi-purpose fixtures that tuck away essentials and keep sightlines clean.
- Fold-down shelves that swing into view, then vanish
- Recessed niches with built-in lighting for towels and essentials
- Mirror cabinets that store toiletries without overdusting counters
- Under-sink pull-outs for cleaning supplies
- Stackable, slim-profile baskets for daily-use items
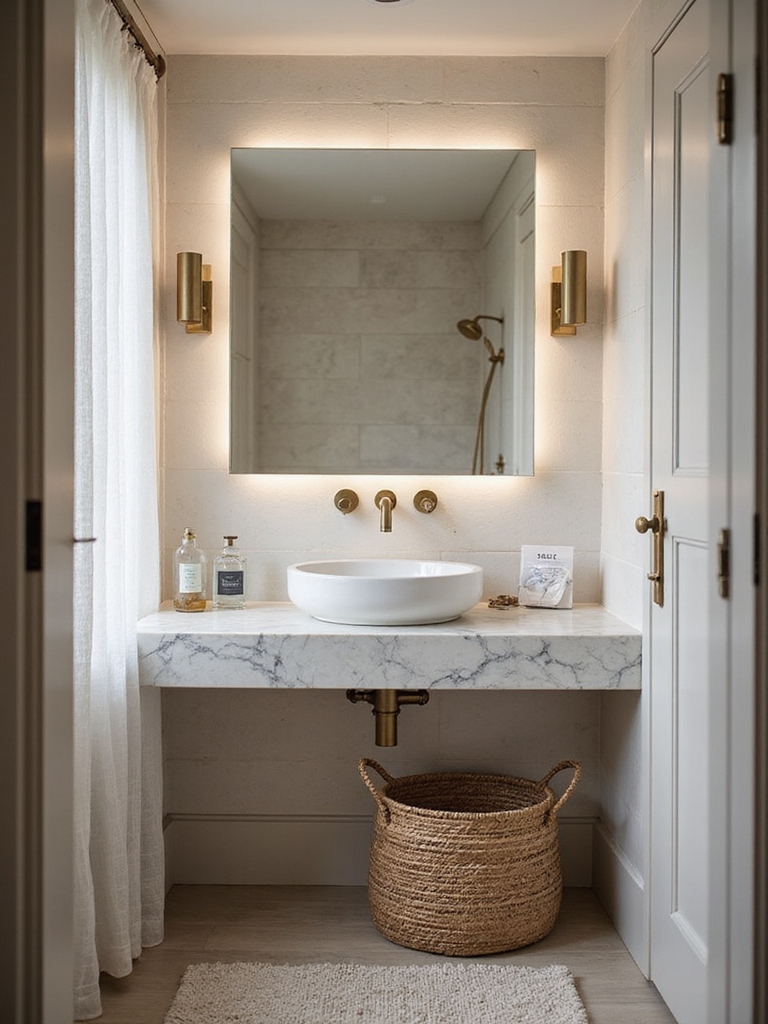
Lighting, Color, and Mirrors That Visually Expand
To make a tiny bathroom feel bigger, light, color, and mirrors must work together rather than separately.
I choose bright, neutral walls, reflective surfaces, and strategic lighting to create depth.
Pair lightweight fixtures with cool whites, add a large mirror, and diffuse glow from above.
This combo visually expands space, improves function, and keeps the room clean, calm, and polished.
Linear Layouts: Efficient Floor-Plan Ideas
Linear layouts trim the wasted space and keep everything within easy reach, which is essential in a tiny bath.
I design with a single corridor flow, so doors don’t block top-to-bottom access. Your essentials stay close, and you move smoothly from sink to shower.
- Efficient corridor planning
- Direct access to fixtures
- Concealed storage along lines
- Minimal doors, maximal space
- Clear sightlines, better scale
Ventilation Hacks for Tiny Bathrooms That Work
Ventilation isn’t an afterthought in a tiny bathroom—it’s a design lever you can pull to keep the space fresh without sacrificing floor area.
I optimize airflow with a compact exhaust fan, timed vents, and moisture-sensing switches, plus a window that opens wide when possible.
I pair ceiling-to-wall diffusers with ceiling vents for balanced, whisper-quiet performance. Clean, efficient, practical.
Accessible Tweaks for Micro Baths
Accessible tweaks in a micro bath aren’t afterthoughts—they’re the core of usable design.
I share practical tweaks you can trust, tailored to small spaces, with purpose and polish. You’ll feel the difference in daily use, not just looks.
- Install a wall-mounted sink with open underspace
- Choose a single-handle faucet for quick adjustments
- Add a fold-down shower seat for versatility
- Use recessed shelving for essentials
- Opt slim-profile, anti-slip mats for safety
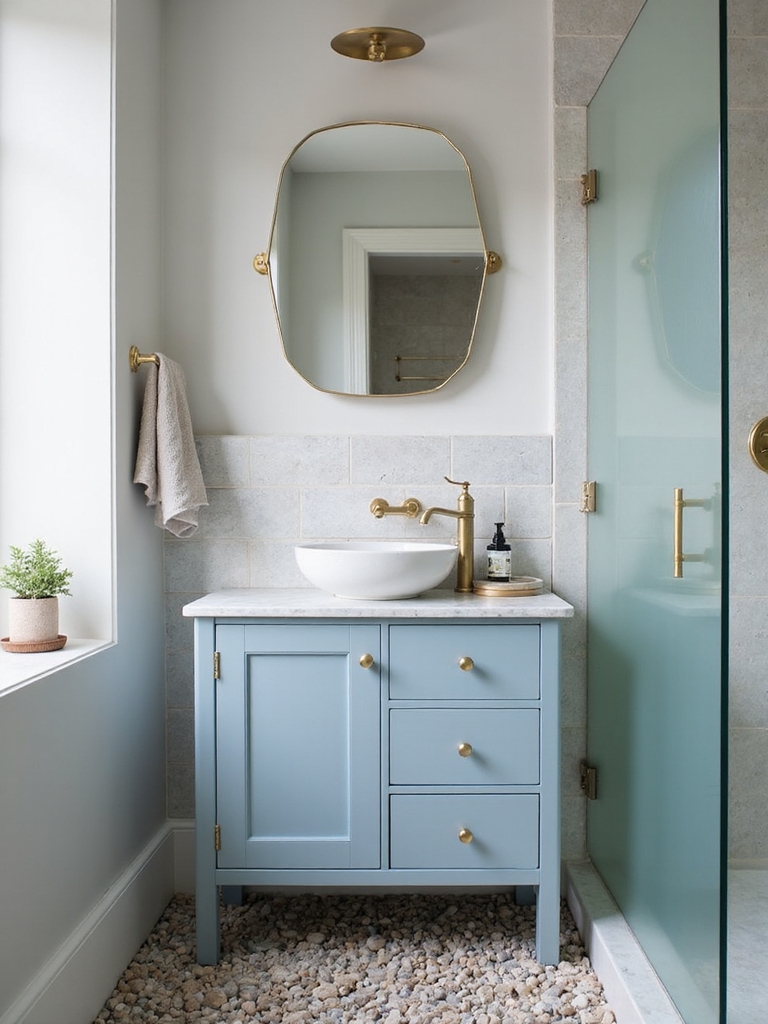
Budget-Friendly Upgrades With Big Impact
Budget-friendly upgrades can transform a tiny bathroom without breaking the bank, and you don’t need a contractor to do them.
I focus on high-impact, low-cost moves: swap dated fixtures for sleek alternatives, install a quality peel-and-stick backsplash, refresh cabinets with matte paint, update hardware, and add strategic lighting.
Small, thoughtful tweaks deliver bold results you’ll notice every day.
Tile Strategies That Visually Enlarge Small Baths
Light bounces off large-scale tiles, making the whole room feel bigger.
I’ll show you how a single, continuous tile pattern can read as one expansive plane.
Let’s start with practical, eye-catching choices that maximize light and minimize seams.
Light Reflects Whole
Tiny bathrooms feel instantly bigger when light bounces around. I choose tiles and layouts that reflect it, making the space read as brighter and more open. You’ll notice the effect when mirrors, pale grout, and glossy surfaces maximize every ray.
- Mirror-backed niches amplify depth
- Light-colored grout brightens seams
- Glossy tiles reflect ceiling lines
- Large-format tiles reduce interruptions
- Strategic shimmers create perceived height
Large-Scale Tile Illusion
Large-scale tiles can make a tiny bathroom read as bigger by reducing visual breaks and creating one continuous surface.
I show you how to pick formats, align grout sparingly, and run tiles from floor to walls for seamless depth.
Choose neutral tones, large sheets, and a precise install. This illusion trims clutter, boosts perceived space, and elevates practicality.
Moisture Control for Compact Rooms
Moisture is the single biggest risk in a compact bathroom, so I’ll cut straight to practical steps you can act on today.
- Ventilate aggressively with a dedicated exhaust fan
- Run the fan 15–20 minutes after showers
- Use moisture-resistant paint and sealant
- Wipe surfaces dry after use
- Invest in a dehumidifier for high-humidity days
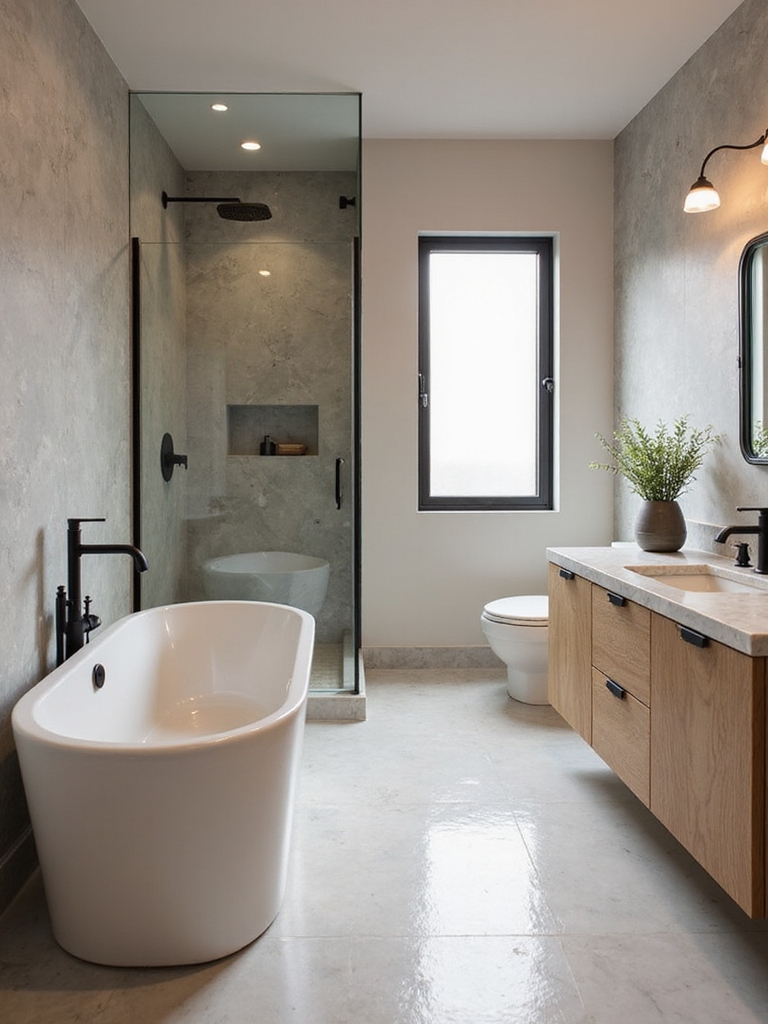
Real-World Before-and-After Examples to Inspire
Real-world before-and-after examples show what’s possible when you prioritize smart layout, clever storage, and finish choices in a tiny bathroom.
I’ve watched cramped spaces transform with compact fixtures, recessed shelves, and bright, durable surfaces.
You’ll see how a shower-tloor plan, wall-hung vanity, and mirrors multiply perceived space.
These wins prove practical design beats volume, every single time.
How to Pick a Winning Tiny-Bath Plan for Your Home
When you’re planning a tiny bathroom, the goal is to maximize every inch without sacrificing comfort.
I’ll help you choose a winning plan by prioritizing layout, fixtures, and storage to fit your space, budget, and lifestyle.
- Map a single-pass layout for efficiency
- Favor compact, multi-functional fixtures
- Prioritize ample storage with vertical options
- Use glass or light tones to expand visuals
- Plan future-proofing for evolving needs
Conclusion
You’ve got the blueprint, now you just have to trust the process. Tiny bathrooms demand smart, honest choices—and they deliver big payoffs when you plan well. One eye-catching stat: compact baths with smart storage can boost perceived space by up to 30% without adding square footage. So measure precisely, pick thoughtful layouts, and don’t shy from bold fixtures. If you stay disciplined and practical, your cramped room becomes a surprisingly luxe, highly functional daily spa.