Here’s a practical, budget-friendly roadmap I’d follow for a DIY bathroom remodel I’m tackling this weekend. I start with a clear plan, then swap hardware, paint cabinets or walls, and add a peel-and-stick backsplash to spark style fast. I’ll keep costs low with smart storage, affordable flooring, and upcycled fixtures, while resealing grout and caulk for a pristine finish. With every small victory, I’ll see big impact. Keep going and you’ll uncover even more doable tips and tricks.
Plan a Budget-Friendly DIY Bathroom Remodel

If you want a bathroom that feels fresh without blowing your budget, start with a clear plan and small, doable steps.
I map your needs, space, and priorities, then list affordable swaps: paint, new hardware, reseal grout, thrifted accents.
I budget for essentials, track costs, and time-block tasks.
Every inexpensive update adds character without waste or overwhelm.
Incorporating budget-friendly ideas can transform your bathroom while keeping expenses manageable.
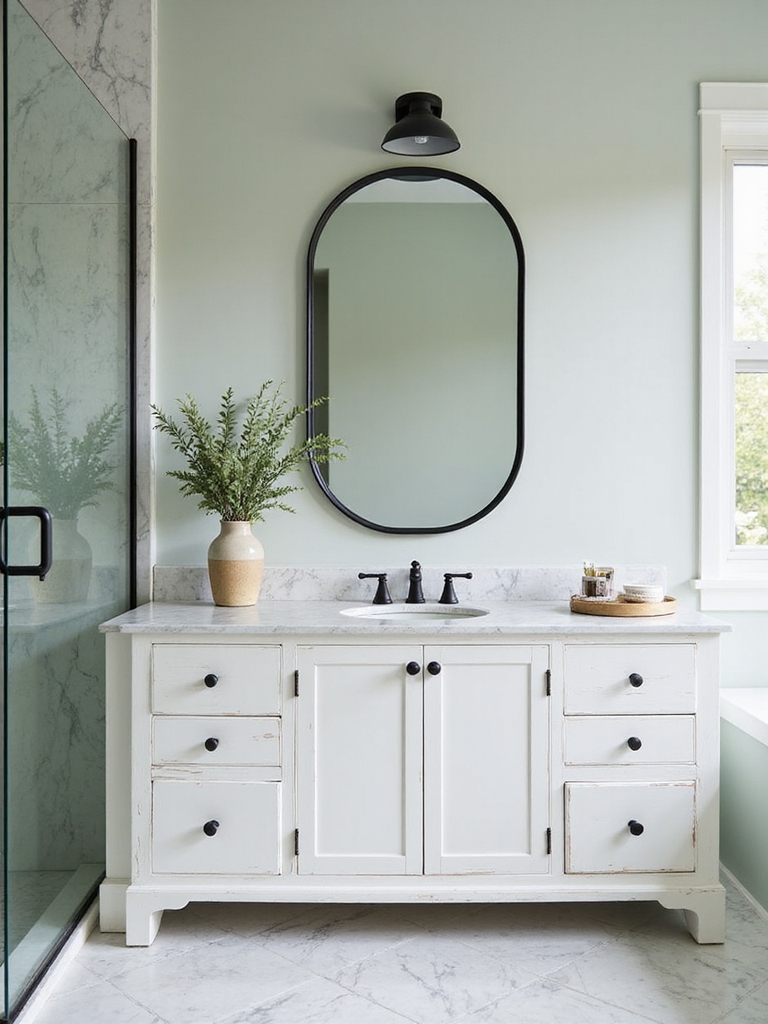
Update Hardware for an Instant Refresh
Updating hardware is one of the quickest, most affordable ways to refresh your bathroom. I swap out knobs, pulls, and faucets with simple, confident moves, keeping symmetry and scale in mind.
Choose finishes that align with your fixtures, keep screws tidy, and reuse mounting plates when possible. Quick install, big impact—less time, more polish, fewer headaches.
You’ll notice the difference immediately. Top stylists often recommend these simple updates as part of inspiring bathroom decor ideas to elevate your space effortlessly.
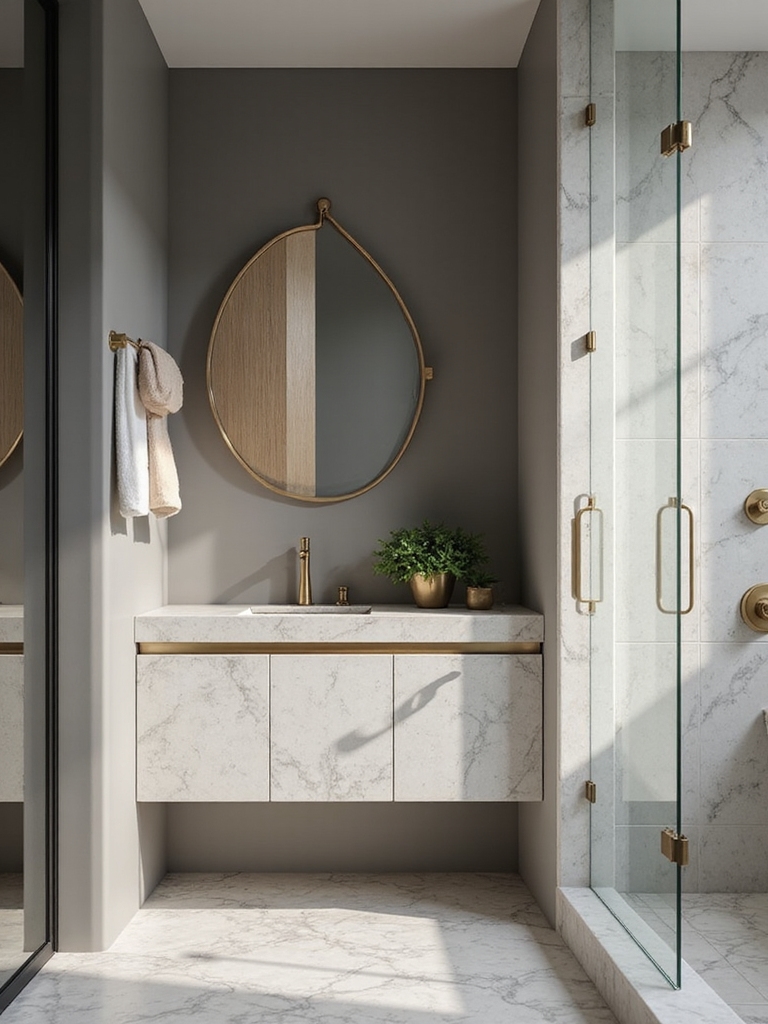
Paint Cabinets and Walls Like a Pro
I’ll start by prepping the space properly so nothing kicks up dust or stains the new finish.
Then I’ll pick a durable paint finish and color that coordinates across cabinets and walls, so the look stays clean over time.
Finally, I’ll keep color coordination simple and purposeful, using one or two main tones with thoughtful contrast to guide the eye.
To maximize impact without overspending, I’ll focus on budget-friendly modern bathroom ideas that make the most of small spaces.
Prep Your Space Properly
When you’re prepping a bathroom to repaint, start by clearing the space and planning around moisture. I tape off, cover fixtures, and test ventilation, so damp surprises don’t derail progress.
Wipe down surfaces, patch stains, and sand lightly to grip. Organize brushes, rollers, and cans, labeling zones. A tidy, well-ventilated zone makes cabinets and walls look pro without stress.
Choose Durable Paint Finish
Choosing a durable paint finish is the backbone of a long-lasting bathroom refresh, so pick with moisture and wear in mind.
I’ll keep it simple: gloss or semi-gloss resists humidity, while satin hides flaws without glare.
Prep matters—clean, sand, prime those surfaces. Apply even coats, let dry fully, and you’ll reduce chips.
Maintenance is quick: wipe, spot-treat, recoat when needed.
Master Color Coordination
I test samples together, then compare under bathroom light to avoid surprise shifts.
I lean on a soft neutral base, then add a punchy accent in towels or artwork.
This practical approach keeps spaces serene, fresh, and genuinely ours, not studio-perfect.
Choose a Peel-and-Stick Backsplash That Fits Your Style
Peel-and-stick backsplashes are a smart, affordable way to refresh your bathroom, so start by choosing a style that mirrors your vibe and existing fixtures.
I pick patterns that echo metals or tile shapes you already love, then weigh matte versus gloss for feel.
I test small swatches, ensuring grout lines stay subtle, practical, and easy to clean daily.
For an extra touch of elegance, consider incorporating luxurious bathroom tile inspiration to elevate your space with style and sophistication.
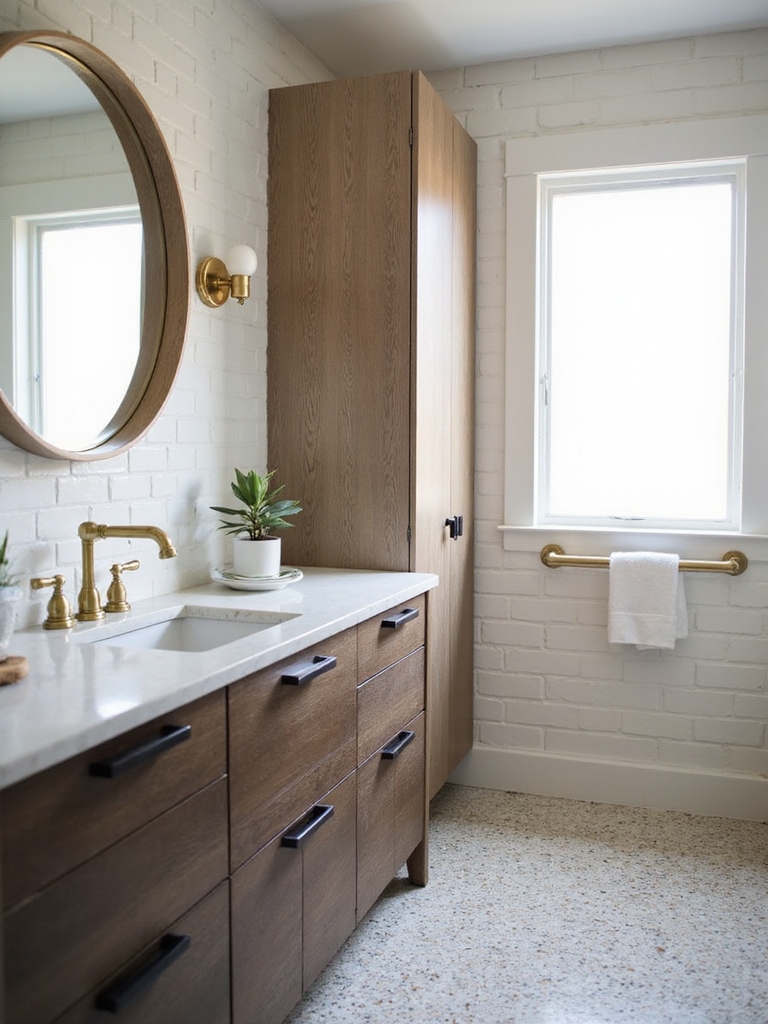
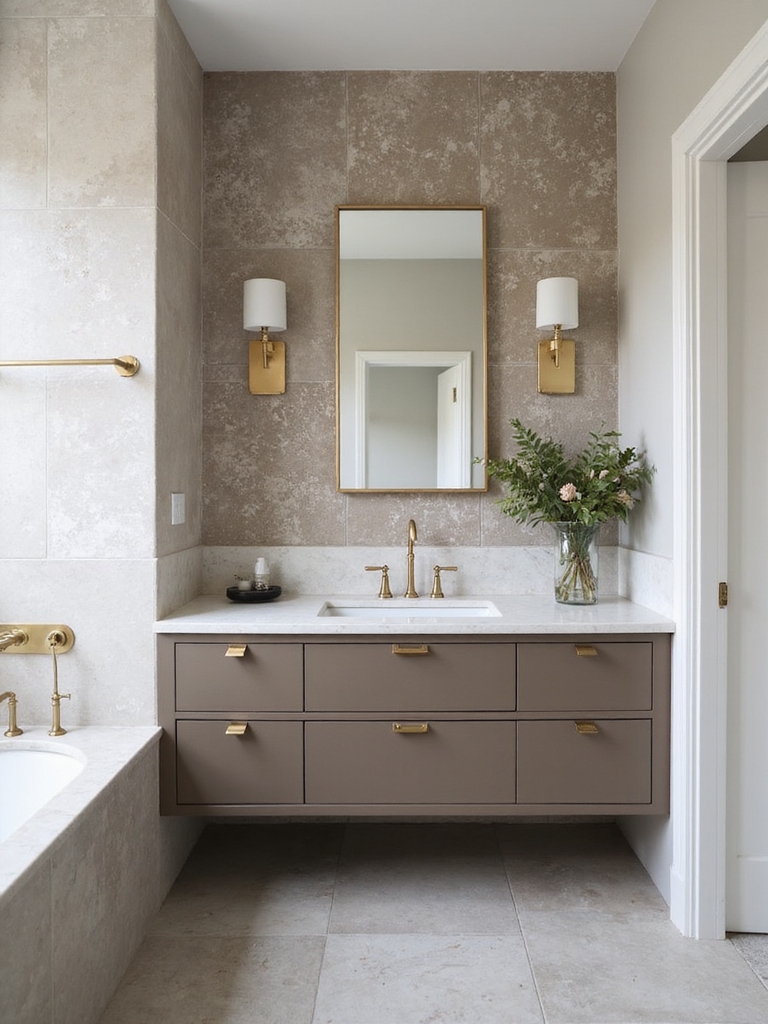
DIY Vanity Makeovers on a Shoestring
I love turning a dated vanity into something fresh without blowing the budget, and today I’m sharing simple, hands-on tricks.
We’ll start with chalky cabinet makeovers for that soft, vintage vibe and move into budget-friendly vanity tricks that actually work in real life.
Stick with me as we map quick, practical steps you can take to refresh drawers, knobs, and surfaces without a full remodel.
Even small vanity ideas can make a big impact when you choose the right updates for your space, so consider small vanity ideas bathroom pros swear by.
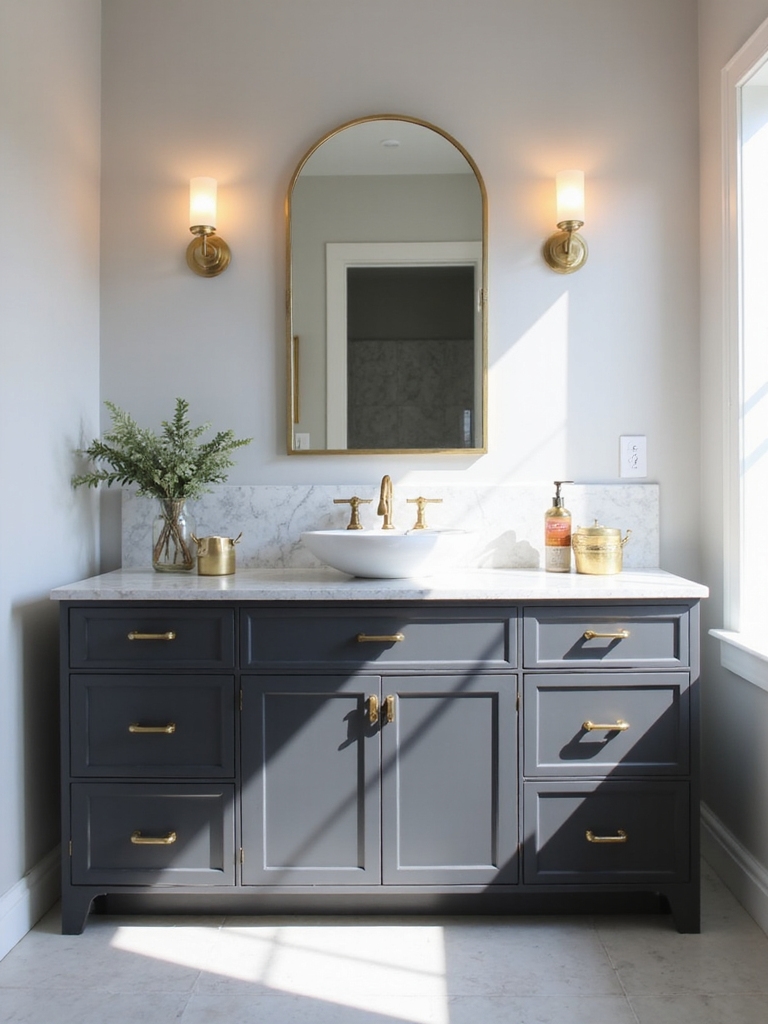
Chalky Cabinet Makeovers
If your vanity’s finish looks tired but the budget’s tight, chalky cabinet makeovers let you get a fresh, durable look without replacing the whole unit.
I start by cleaning and lightly sanding, then apply a matte chalk paint for grip and a cottage-soft sheen.
I seal with wax or polyurethane, adding hardware for personality without breaking the bank.
Simple, sturdy, satisfying.
Budget-Friendly Vanity Tricks
Lighten the load with budget-friendly vanity tricks that still look polished.
I’ll guide you through affordable upgrades that dramatically elevate a bath without a full redo. You’ll see fast, practical results—from paint to hardware—without breaking the bank.
Trust the process, skip fluff, and keep this list handy for DIY momentum.
- Repaint the cabinet with a fresh, moisture-ready finish
- Swap knobs and pulls for instant character
- Add removable contact paper in a bold pattern
- Install inexpensive open shelves for functional styling
- Use chalk or drawer liners to tame clutter
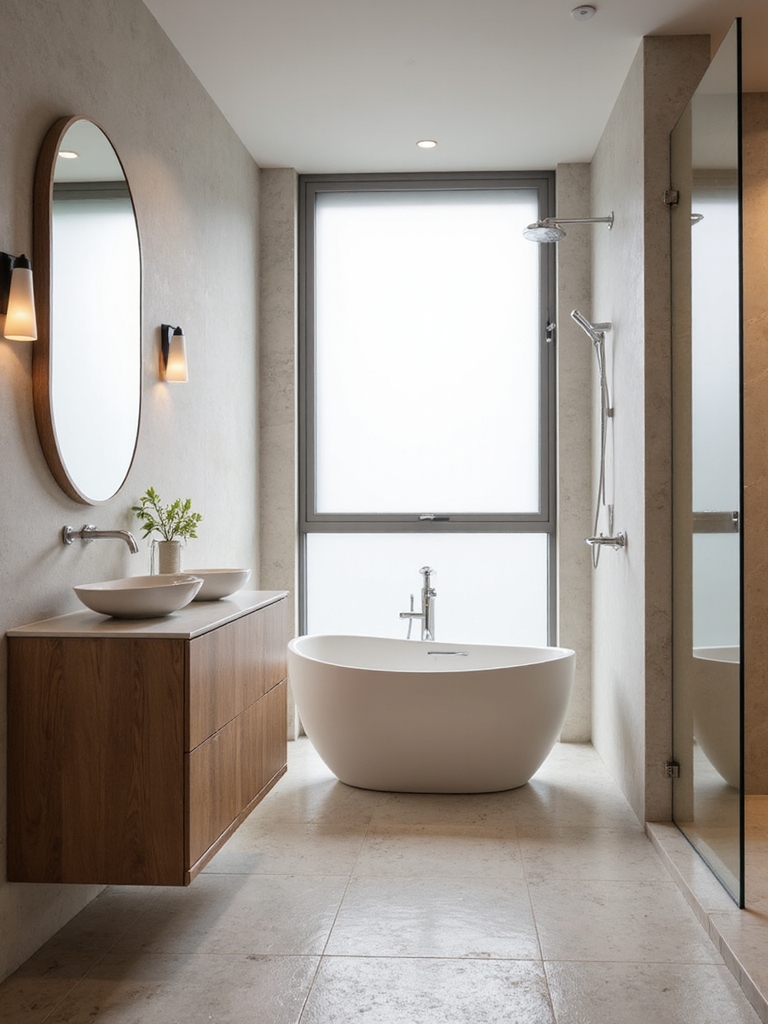
Brighten a Small Bath With Better Lighting
Good lighting can transform a cramped bathroom, so I start by layering sources that work together rather than swapping bulbs in isolation.
I mix ambient, task, and accent lights, focusing on color temperature around 2700–3000K for warmth.
Choose dimmable options, install mirrors to bounce light, and use clear shades.
I keep cords hidden and contrast surfaces to maximize brightness without glare.
In addition, incorporating smart bathroom storage solutions helps maintain a clutter-free counter, allowing the lighting to truly enhance the space.
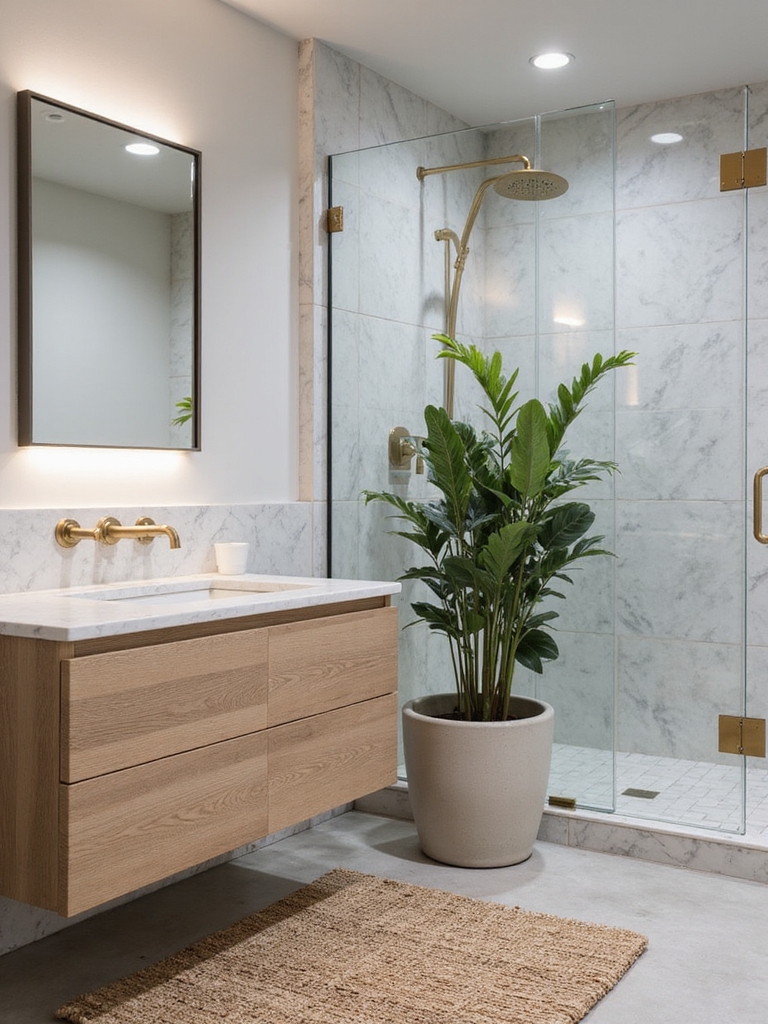
Create Budget Storage With Shelves, Racks, and Organizers
Shelving, racks, and organizers don’t have to cost a fortune to make a bathroom feel bigger and more usable.
I show you practical, budget-friendly options that maximize every inch and stay neat.
- Floating shelves from plywood scraps
- Over-the-door towel racks
- Clear acrylic bins for cosmetics
- Adhesive wall pockets
- Recycled jars as vanity organizers
Incorporating smart storage solutions can transform your bathroom into a blissful and highly functional space without breaking the bank.
Refresh Grout and Caulk for a Clean Look
I’m excited to share how you can refresh grout lines for a clean, seamless look, because tight, neat joints make the whole bathroom feel newer.
I’ll cover keeping grout lines clean, choosing sealants that last, and simple mold-prevention steps you can use right away.
Let’s zero in on practical tips that actually stick, from choosing the right caulk to a quick maintenance routine.
In addition, incorporating smart storage solutions can help keep your bathroom organized and make the space feel bigger.
Clean Grout Lines
Freshen up your bathroom by rejuvenating grout and resealing caulk, because clean lines make the whole space feel brighter and newer.
I’ll walk you through quick, practical steps that eliminate grime without drama.
- Gather basics: grout cleaner, scrub brush, new caulk, caulk gun, microfiber cloths
- Scrub grout lines with a stiff brush; rinse
- Remove old caulk; dry thoroughly
- Apply fresh caulk in steady beads
- Smooth and wipe for crisp edges
Sealant Longevity Tips
After cleaning and resealing, the real test is how long that fresh look lasts.
I’ll share practical tips to extend sealant life without overthinking it: pick mildew-resistant caulk for baths, smooth it with steady pressure, and wipe away excess before it cures.
Maintain humidity control, monitor edges for cracks, and re-seal every few years to keep lines crisp and clean.
Mold Prevention Measures
Refresh grouting and recaulk with a plan to beat mold at the source.
I’ll show you practical steps that stay clear and doable, not preachy, so you can trust the process and results.
- Inspect for leaks and fix water sources first
- Clean, dry, then reseal seams with mold-resistant caulk
- Use grout sealer on all joints
- Ventilate bathroom during and after showers
- Schedule periodic rechecks and touch-ups
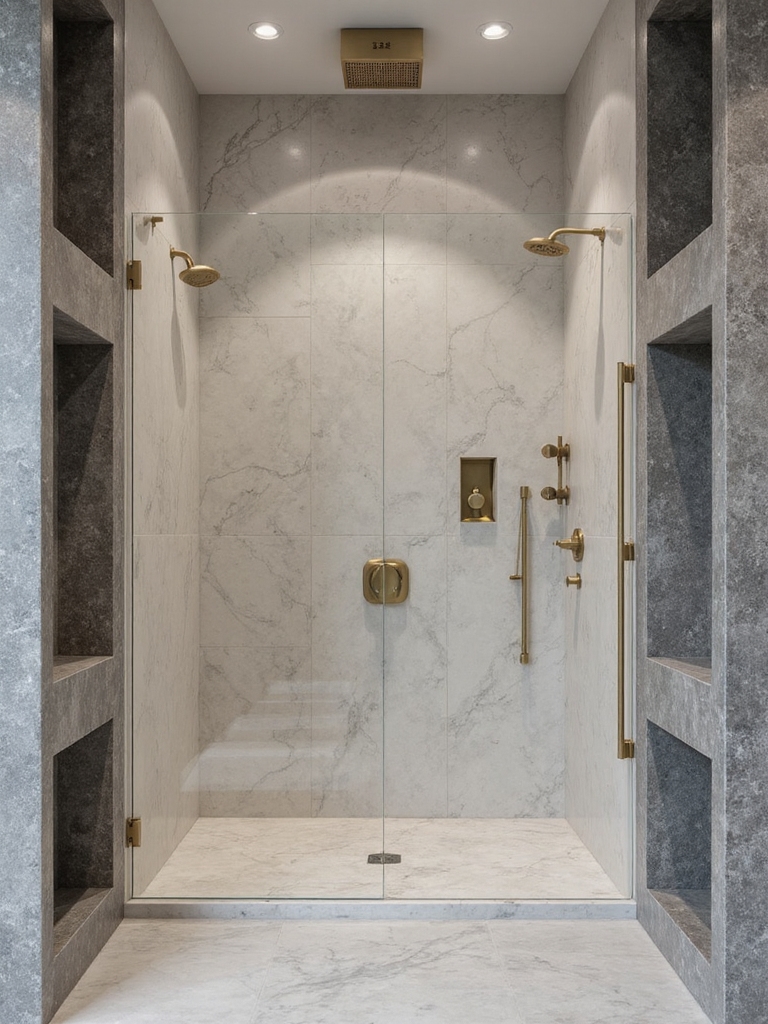
Upcycle and Repaint Fixtures: Faucets, Handles, and Lights
Upcycling and repainting fixtures can dramatically transform a bathroom without breaking the bank, and I’ll walk you through practical tweaks for faucets, handles, and lights.
I start with clean, dry surfaces, then sand lightly to grab paint. Use high-adhesion enamel for durability, tape edges neatly, and apply thin coats.
For hardware, consider brushed nickel or matte black for a cohesive, updated feel.
Adding creative bathroom storage solutions can complement these fixture updates and maximize your space efficiently.
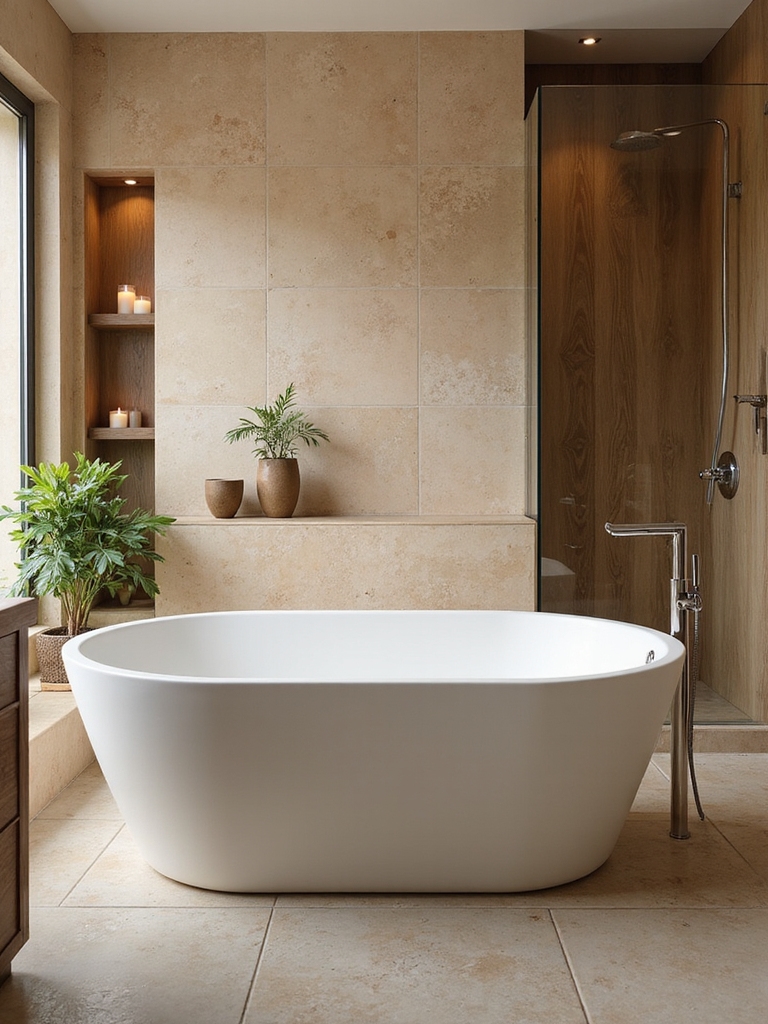
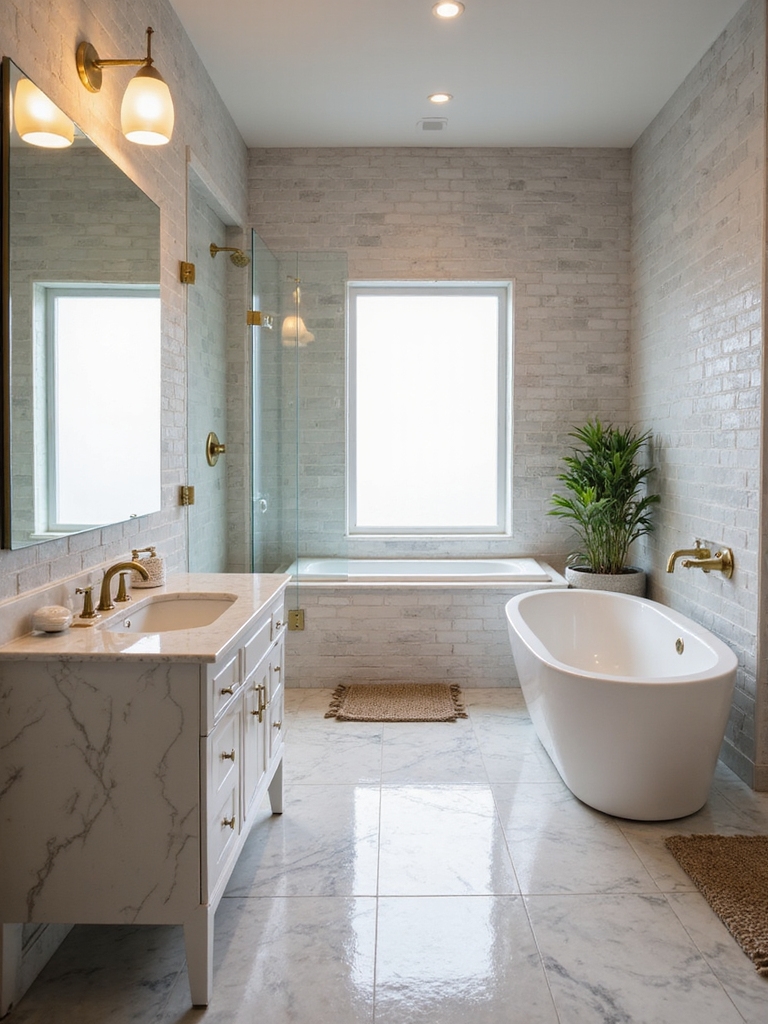
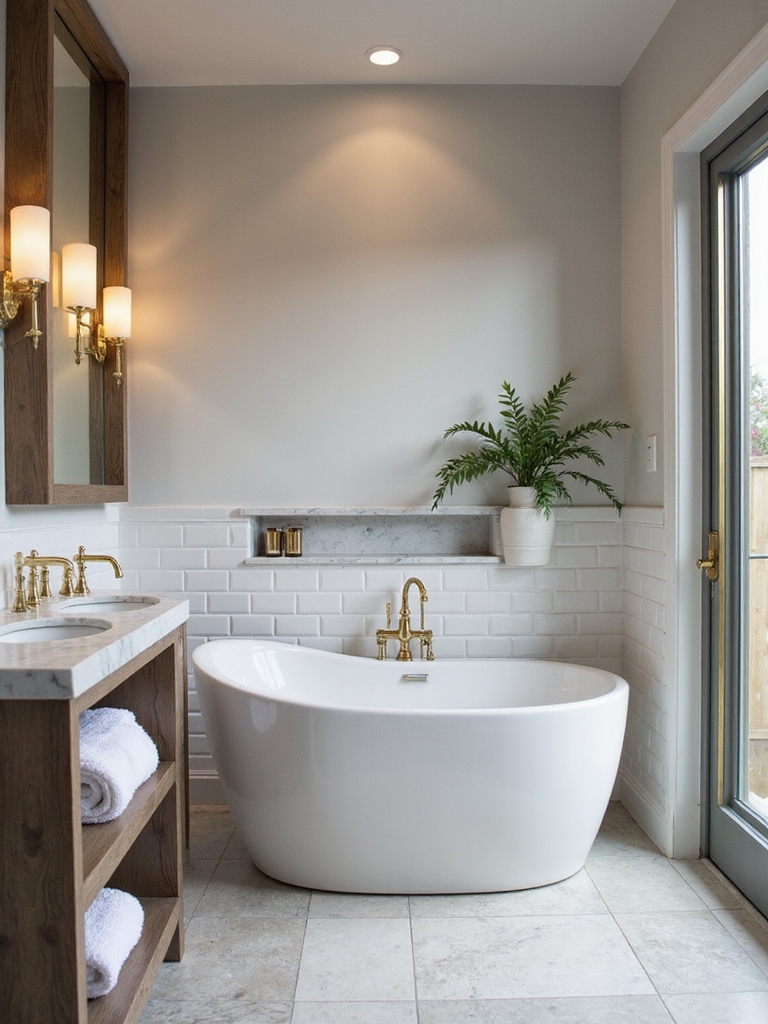
Create a Spa-Like Atmosphere With Accessories
I’m excited to explore how spa-inspired textures and tones, plush linens, and careful lighting can transform your bathroom.
I’ll share practical tweaks you can feel as soon as you step inside, from warm textiles to soft, layered lighting.
Let’s start by pairing cozy fabrics with soothing neutrals to set a calm, retreat-like vibe.
Adding a tub that feels like a spa is a key element to elevate your bathroom remodel and create a relaxing sanctuary with spa-like features.
Spa-Inspired Textures Tones
A spa-like bathroom starts with textures and tones that feel calm and cohesive, so I layer soft materials, natural colors, and subtle sheen to create a serene glow.
I focus on tactile details that stay practical and doable, avoiding fluff.
- Plush towels in muted tones
- Bamboo and stone textures
- Matte ceramic accessories
- Woven baskets for storage
- Weathered wood accents
Plush Linens And Lighting
Soft, plush linens and thoughtful lighting are the quickest ways to conjure a spa-like mood in a bathroom, so I start by layering textures you can actually feel as you step in.
I mix towels, robes, and a plush mat with dimmable LEDs and warm bulbs.
Practical accents—wall hooks, baskets, and a scented candle—finish the calm, cohesive look.
Floor Yourself: Budget-Friendly DIY Flooring Options
If you’re tackling a bathroom remodel on a budget, start with the floor and keep options simple: affordable, durable choices that you can install yourself.
I share practical picks that cut costs without sacrificing style, plus tips you can actually use.
- Peel-and-stick vinyl that looks like tile
- Luxury vinyl plank for water resistance
- Peel-and-stick tiles for quick updates
- Budget ceramic squares
- Stained concrete with a sealant
Quick-Tip Tactics and Checklists to Save Time
We’ve stuck to a simple floor plan before, and now we’ll speed things up with tight, practical tactics you can actually follow.
I’m sharing checklists I use, from lighting decisions to tool setup, so you aren’t chasing minutes.
I prioritize chores, batch tasks, and wipe-as-you-go habits.
Follow these prompts to stay focused, measure twice, and finish with confidence and clear, efficient results.
DIY Mistakes to Avoid (and How to Fix Them Fast)
Even small missteps can derail a bathroom remodel, so I’m zeroing in on the most common DIY mistakes and fast fixes you can implement today.
- Skipping a sealant test; reapply and cure before water exposure.
- Over-tightening hardware; loosen for proper gasket compression.
- Inaccurate measurements; recheck twice, cut once.
- Poor ventilation; install a temporary fan during updates.
- DIY tiling mistakes; patch trenches, reseat, and grout cleanly.
Finalize With a Before-And-After Checklist
Here’s a simple, practical checklist to nail your bathroom’s final look and function:
I review every detail, confirm returns and guarantees, and snapshot the space.
I compare before and after photos, note lingering tweaks, and verify seals, caulk, and grout.
I test fixtures, switch lighting, and make certain storage is accessible.
Then I celebrate progress and plan maintenance.
Conclusion
Hey there, you’ve got this. Each small swap—hardware, paint, flooring, a peel-and-stick backsplash—adds up to a bathroom that feels brand-new without blowing your budget. I’ve shown you practical steps, common hiccups, and fast fixes so you stay on track. Trust the process, stay flexible, and celebrate every win, no matter how tiny. It’ll come together like a sunrise after a long night—worth waking up to. You’re closer than you think.