I’ve mapped out 20 modern, budget-friendly bathroom ideas that deliver big style with smart planning and DIY wins. Start with a clear budget blueprint, measure every inch, and swap in light-reflecting white satin paint. Save on fixtures but splurge on durable taps and lighting, and hide storage behind recessed cabinets or floating shelves. I’ll show you where to splurge vs. save, plus quick-clean routines and a 4-week plan that keeps you on track—plus a final tip you’ll want to keep exploring.
Create Your Budget Blueprint: Costs, Priorities, and Scope
To start, I’ll map out a simple budget blueprint so you know exactly what you’re aiming for and why.
I list clear costs, set priorities, and define scope. I’ll separate must-haves from nice-to-haves, assign rough prices, and assign a realistic timeline.
This keeps your plan actionable, prevents overspending, and guarantees every choice serves your tiny bathroom’s best possible function.
Incorporating stylish solutions specifically designed for compact spaces ensures that your bathroom remains both modern and functional.
Measure Your Space Carefully Before You Shop
I start by measuring spacing carefully so I know what fits and what doesn’t.
I’ll plan door clearances and traffic flow first, then sketch with scaled diagrams to confirm everything before I shop.
This keeps you precise and confident as you move from concept to checkout.
Incorporating small modern bathroom ideas can help maximize style while staying within your budget.
Measure Spacing Accurately
Measure your space carefully before you shop, because a few precise numbers save dozens of impulsive buys.
I map door widths, outlet heights, and fixture depths, then add clearance for doors swinging and towel bars. I double-check alcoves and corner бизнес? (ignore).
I sketch a rough layout, note extra inches for grout lines, and compare product specs carefully, choosing scalable, modular options that fit tight spaces.
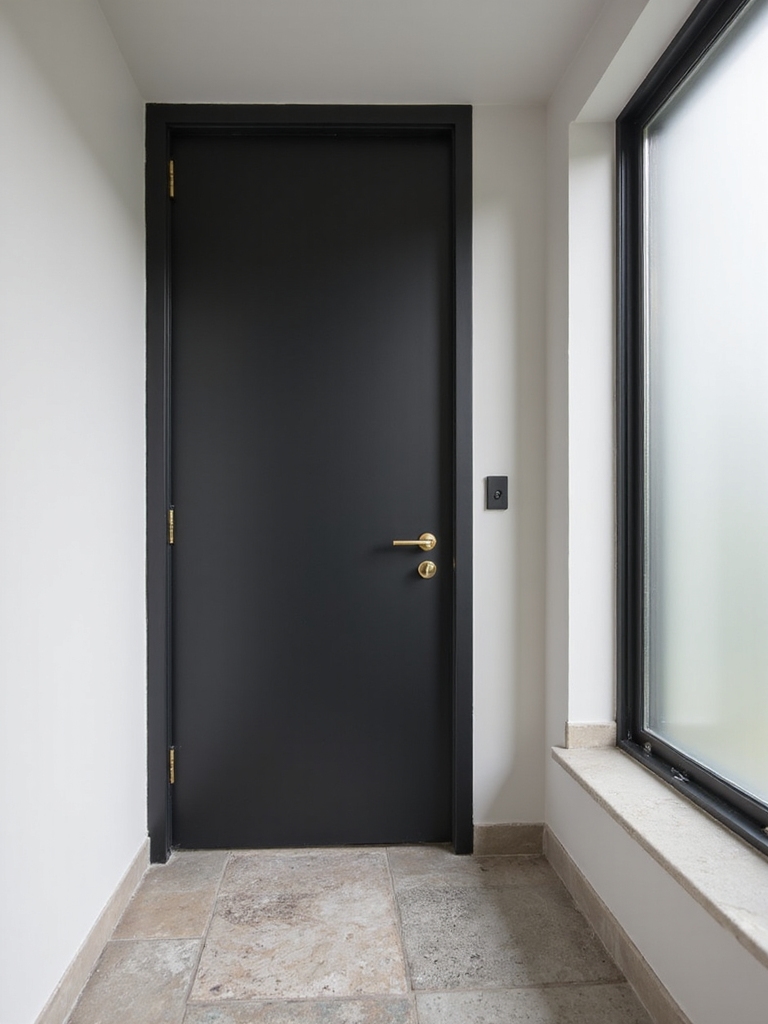
Plan Door Clearances
Door clearances aren’t optional fluff—they shape every move in a small bathroom. I measure door swing, hinge placement, and clearance around cabinets, towels, and eased entrances.
I map every dimension, double-check door stops, and account for handles protruding. Then I shop with confidence, choosing doors and hardware that fit, open smoothly, and preserve space.
Clearances save frustration—and money.
Sketch With Scaled Diagrams
Sketching with scaled diagrams keeps you from guessing and ending up with mismatched fixtures.
I measure every wall, door swing, and pipe location before shopping, then transfer sizes to a simple plan you can trust. This saves trips, returns, and budget slip-ups.
- Capture exact distances
- Include clearance for doors and pipes
- Note fixture footprints and heights
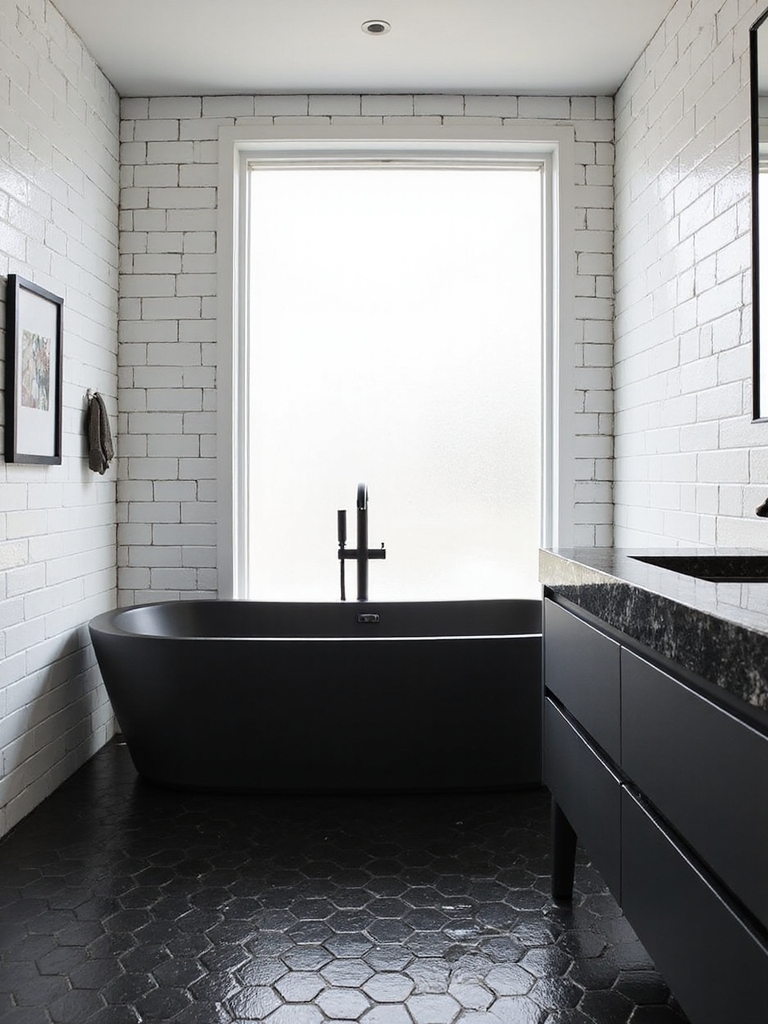
Choose Light-Reflecting Paint: White-Neutral, Satin Finish
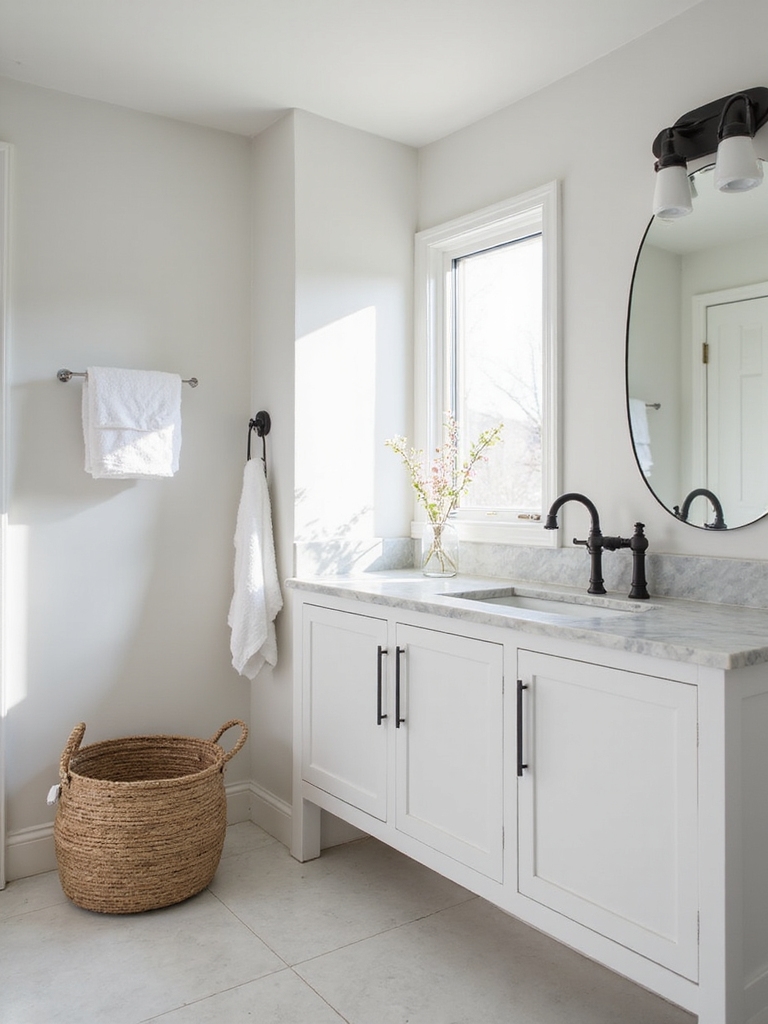
Choosing light-reflecting white finishes really helps a small bath feel bigger, brighter, and cleaner.
A satin finish balances sheen with smudge resistance, so it’s practical for high-traffic spots.
I’ll show you how white-neutral tones bounce light and make every square inch count.
Incorporating elegant grey and white elements can enhance the modern and minimal feel of your bathroom, creating a stylish yet functional space with grey and white bathroom inspiration.
Light-Reflecting White Finishes
I choose white-neutral, satin paint to maximize light without glare, keeping walls easy to wipe.
- Reflects natural light for airier space
- Hides minor imperfections with a soft sheen
- Works with any color accents for flexibility
Satin Finish Benefits
Satin finish offers a smart balance for small bathrooms: it satinizes the sheen without introducing glare, so the space feels brighter without looking flat.
I love how it hides minor imperfections while staying easy to clean. It pairs with white-neutral tones, reflects light softly, and doesn’t scream polish.
Practical, budget-friendly, and adaptable, satin finish boosts perception of space with practicality.
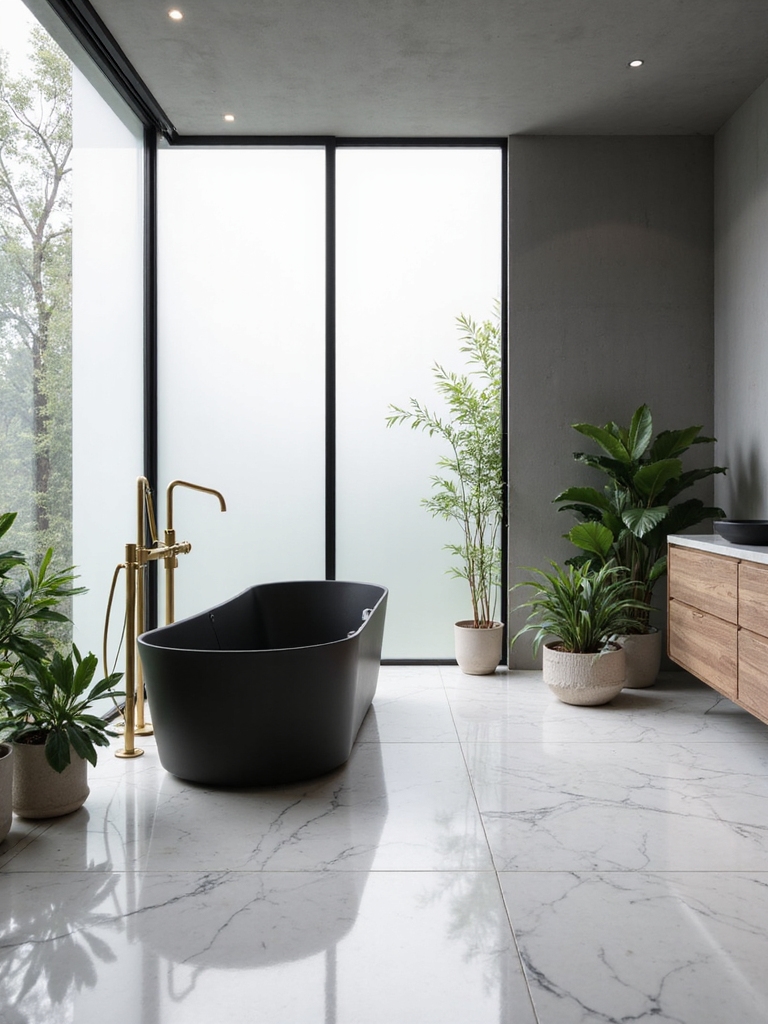
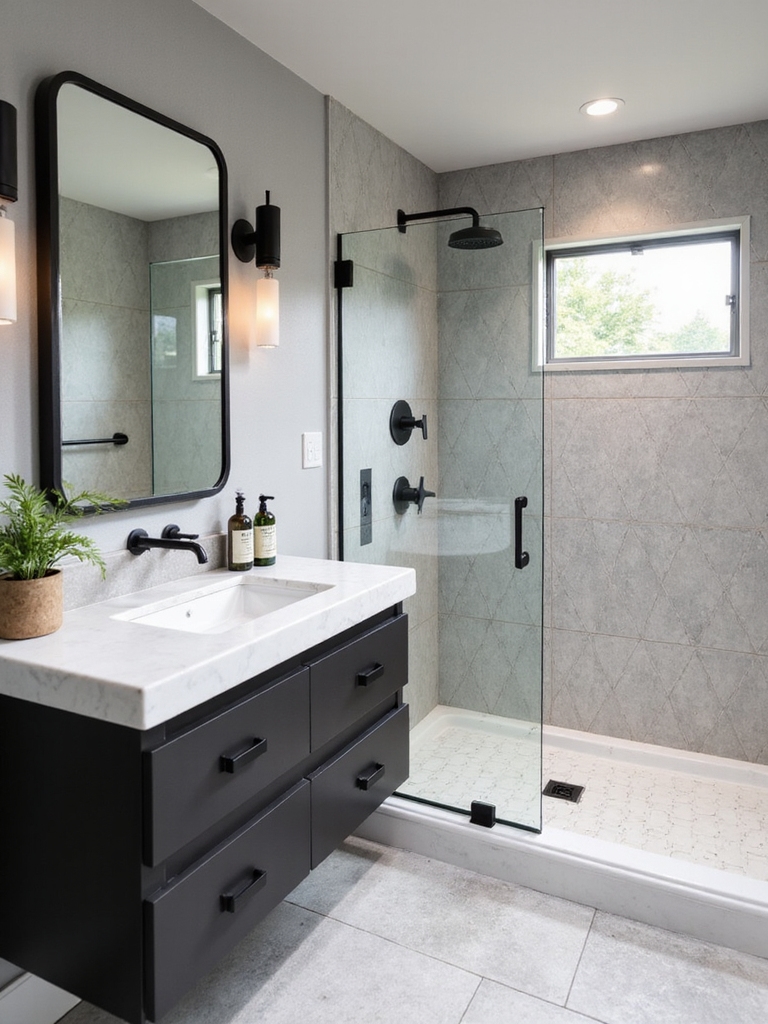
Upgrade Fixtures on a Shoestring: Faucets, Showerheads, Towel Bars
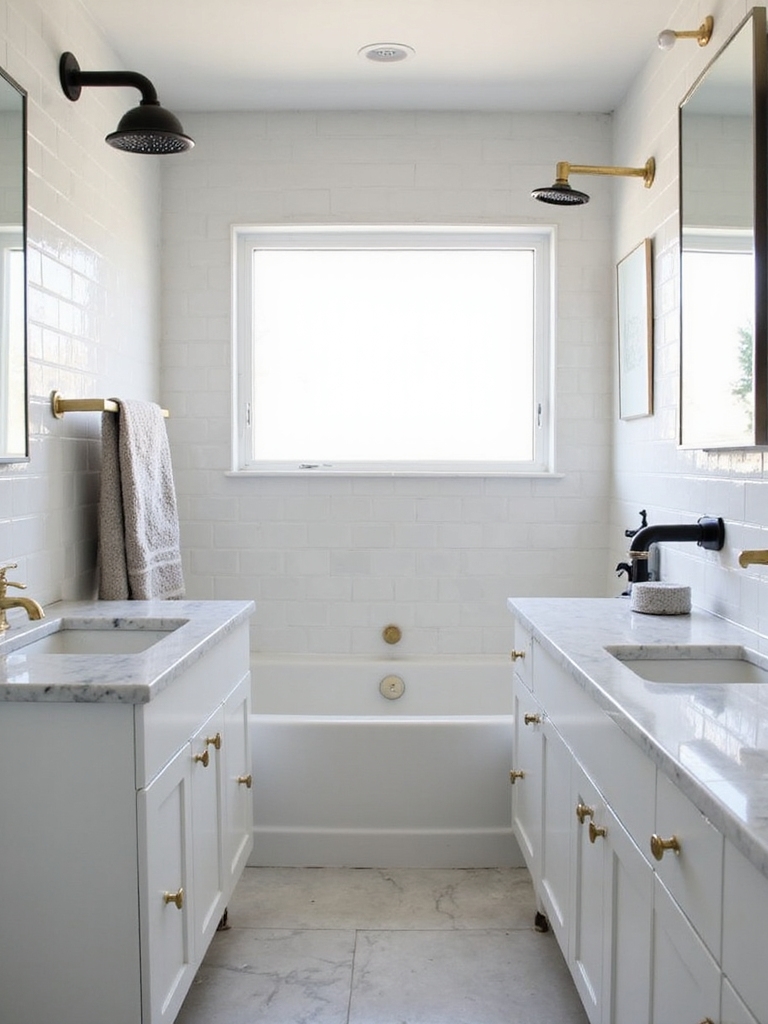
Upgrading fixtures on a budget is one of the quickest ways to refresh a small bathroom, and it doesn’t have to break the bank.
I choose durable, simple pieces, install confidently, and feel immediate impact.
- Save with compact faucet options
- Replace heads for a fresh shower feel
- Add towel bars that match, for cohesion
Bold, practical, accessible renovation starts here. Elevate your space by incorporating modern vanity ideas, which perfectly complement updated fixtures for a cohesive look.
Install Hidden Storage: Recessed Cabinets and Floating Shelves

I’ll show you how hidden storage can transform a tight bath, making space feel bigger without clutter.
Recessed cabinets hide everyday essentials while keeping counters clean, and floating shelves add flexible, accessible storage with style.
Let’s explore practical tricks, from placement to finish, so you get tidy, budget-friendly impact fast.
Adding clever decor tips like light colors and mirrors alongside storage solutions can further enhance the cozy feel of your small bathroom with maximum space utilization.
Hidden Storage Benefits
Hidden storage isn’t an afterthought in a small bathroom—it’s a design game changer.
I lean into recessed cabinets and floating shelves because they free floor space and reduce clutter, instantly elevating usability. They also hide away everyday odds and ends, keeping counters clean and vibes calm.
- Maximizes space without bulk
- Keeps essentials organized
- Elevates room feel with clean lines
Recessed Cabinet Tricks
Recessed cabinets and floating shelves are my go-to move for stealth storage in tight bathrooms.
I install recessed cabinets to keep counters clear and walls feeling open, then tuck floating shelves above sinks for grab-and-go essentials.
Measure precise depths, chase studs, and seal with a simple, fast finish.
This combo compounds space without clutter, boosting practicality and mood.
Floating Shelf Styling
Floating shelves aren’t just decor—they’re grab-and-go storage that keeps a small bathroom usable.
I style them to blend beauty with function, choosing slim profiles and hidden brackets for a clean look. You’ll gain space without clutter.
- max visibility, minimal depth
- adjustable tiers for variables
- hidden supports, clear surfaces
Mirrors That Make Your Bath Feel Bigger
A well-placed mirror is a simple, powerful tool that instantly makes a small bathroom feel larger.
I lean toward oversized or wall-to-wall mirrors to visually extend the space, and I frame them with minimal, clean edges to avoid clutter.
Tip: position opposite a light source to bounce brightness.
Choose frameless options for a seamless, budget-friendly upgrade.
Incorporating modern bathroom decor ideas can enhance the sleek and stunning look of your space without breaking the bank.
Affordable Flooring Options That Make a Difference
Kicking off with budget-friendly flooring options, I’ll show you practical choices that don’t blow your budget.
These durable, affordable picks prove you don’t have to sacrifice quality for cost, and they can still look great in a small bath.
The style impact on costs matters, so we’ll weigh durability, price, and how each option changes the room’s feel.
Incorporating stylish bathroom tile designs can elevate your space without adding significant expense.
Budget-Friendly Flooring Options
If you’re renovating on a budget, start with flooring that delivers big impact without breaking the bank.
I’ve found practical options that look premium without the price tag, so you can refinish fast and feel confident.
Here are solid picks:
- Peel-and-stick vinyl with realistic textures
- Laminate that mimics stone or tile
- Porcelain-look ceramic tiles in smaller formats
Durable Yet Affordable Choices
Durable, affordable flooring isn’t an afterthought—it’s a plan you can live with day in and day out.
I choose materials that resist moisture, scuffs, and humidity, so maintenance stays simple. Vinyl planks, ceramic tiles, and sealed concrete give waterproof performance without breaking the bank.
Prioritize tight seams, legit underlayment, and easy replacements. Budget-smart choices keep your bath looking sharp long term.
Style Impact On Costs
Style has a big impact on price, and even small tweaks can save money without sacrificing look.
I’m sharing affordable flooring options that actually elevate a small bathroom without breaking the bank. You’ll get durable, stylish results with practical choices.
- Peel-and-stick vinyl that mimics tile
- Luxury vinyl plank for water resistance and warmth
- Polished concrete or epoxy for a modern, easy-to-clean finish
Declutter for Calm: Daily Routines and Hacks
Decluttering isn’t a one-and-done task; it’s a daily practice that keeps a small bathroom calm and usable.
I keep a simple routine: 5-minute nightly wipe-down, one-in-one-out rule for products, and a dedicated bin for trash and empties.
I group items by function, label storage, and review weekly.
Small wins compound, making every morning smoother and more intentional.
Embracing simplicity in your decor choices helps maintain a clutter-free and chic minimalist bathroom.
DIY Tile Accents Without a Full Remodel
You’ve trimmed the clutter and learned what stays, so let’s put some personality back into the space without ripping it out.
I tackle DIY tile accents that transform walls fast, with minimal mess and costs. You’ll see impact through careful placement, color pops, and grout choices.
- Pick a focal wall
- Mix textures, gloss, matte
- Budget-friendly peel-and-stick options
For inspiration on combining styles and colors, consider exploring stylish bathroom tile inspirations to spark your creativity.
Brighten Up: Radiant Lighting on a Budget
Brighten up your bathroom without breaking the bank by maximizing light where you already are.
I choose practical upgrades like daylight bulbs, dimmers, and mirror placement to boost brightness without costly remodels.
Swap frosted bulbs for clear ones, add under-cabinet LEDs, and use reflective surfaces.
Simple, affordable tweaks make spaces feel bigger, cleaner, and more welcoming—without overhauling your layout.
Incorporating modern bathroom decor ideas can enhance both style and functionality while staying within budget.
Small Accessories With Big Impact
Small touches can punch above their weight, so I’m keeping things affordable and intentional.
Accessories punch above their cost when chosen with purpose and shine. I’ll show you how to elevate a bathroom without breaking the bank.
- Curated jars and trays for clutter-free surfaces
- Coordinated towels, mats, and soap dispensers
- Bold accents: color accents, hooks, and a standout mirror frame
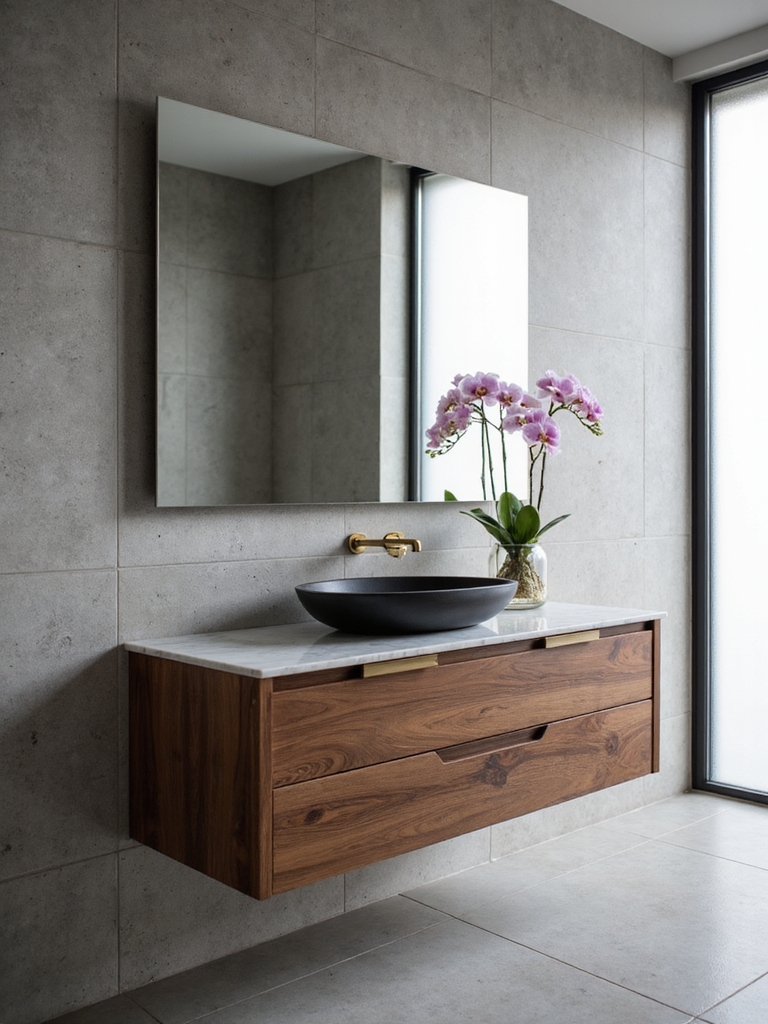
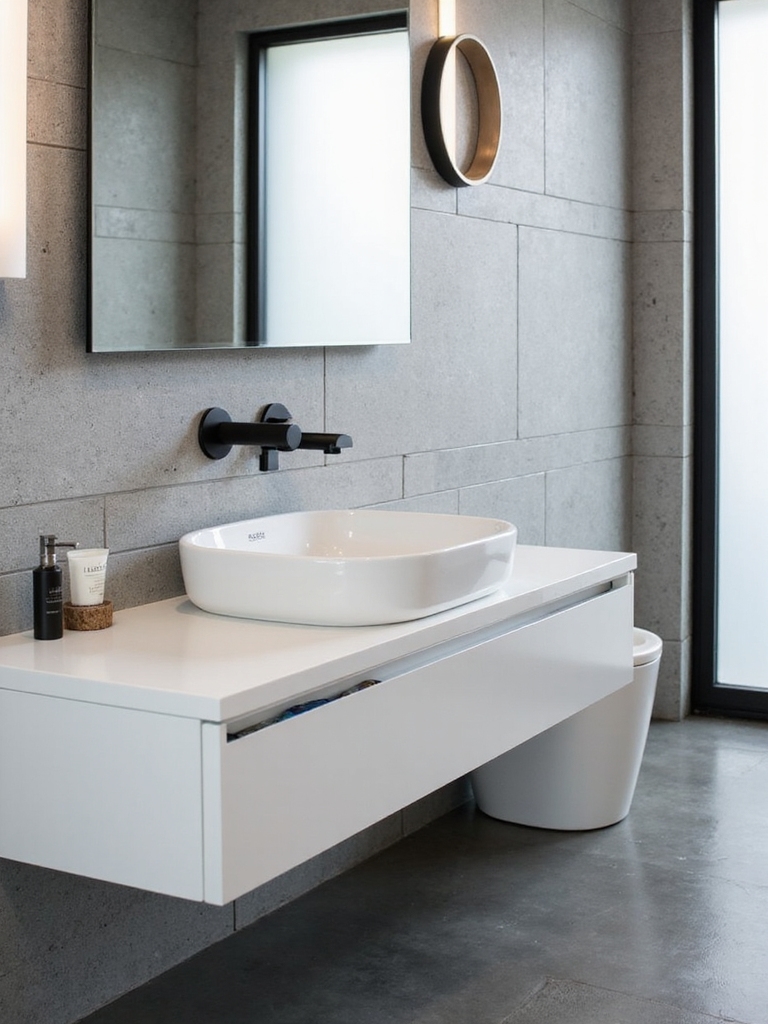
Swap Hardware, Not Cabinets: Pulls, Knobs, and Fixtures
When you swap hardware instead of gutting the cabinets, you get a fresh bathroom fast and without the mess.
I grab sleek pulls, warm knobs, and sturdy fixtures that match your vibe. It’s budget-smart, instantly elevates style, and doesn’t demand a full renovation.
Measure once, pick finish consistency, install confidently, and enjoy a cohesive, refreshed space that feels bigger and brighter.
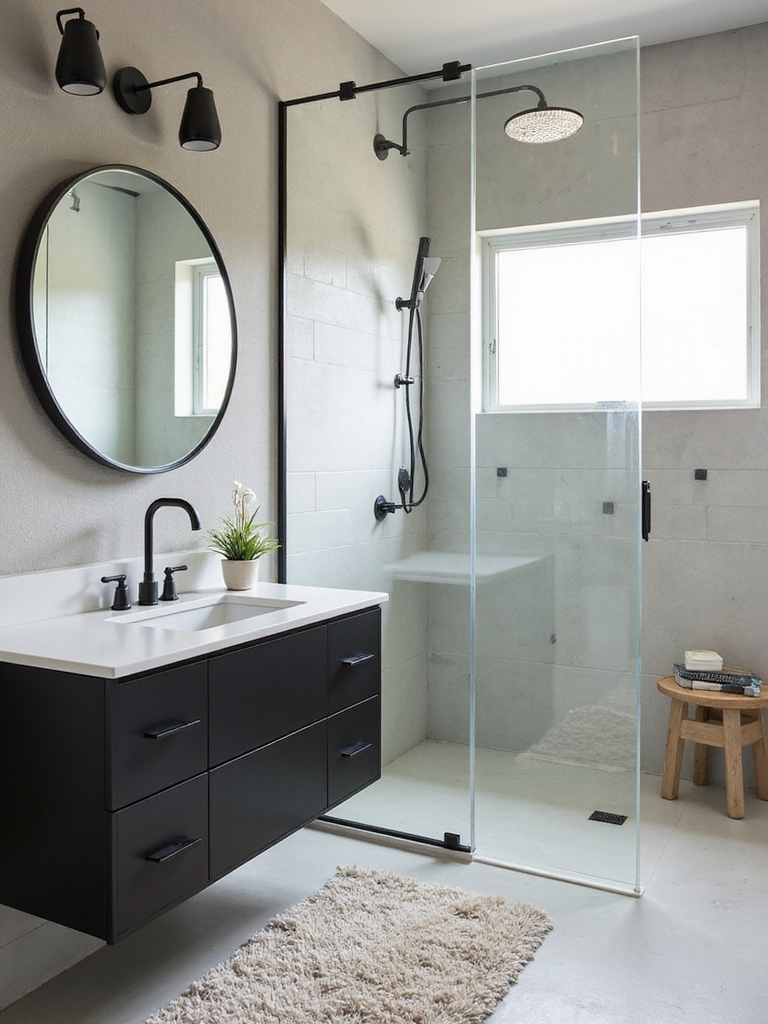
Space-Saving Shower Upgrades That Save Money
Upgrading your shower can punch above its weight when you’re on a budget, especially after swapping hardware in the rest of the bath.
I share practical, money-saving moves that feel smart, not pushy. Think simple, durable upgrades that widen space and save water.
- Install a sliding door or curtain to visually expand the stall
- Use a low-profile, multi-function showerhead
- Add clear glass accents for openness and light growth
Temporary Wall Solutions for Renters (If Allowed)
I’m exploring temporary wall options that work in tight bathrooms without wrecking your rent.
I’ll cover simple, rent-friendly materials, quick install tips, and how to keep privacy and light balanced.
Let’s talk about choosing materials, easy setup, and light control so you can test ideas without committing long-term.
Temporary Wall Materials
Temporary walls are a smart, rent-friendly way to carve out privacy or separate zones without committing to a full renovation.
I share practical material options that are lightweight, non-permanent, and affordable. Choose wisely for moisture, installation ease, and stability—so you stay flexible without sacrificing function.
- drywall panels on freestanding frames
- PVC or foam board dividers
- fabric screens with waterproof backing
Rent-Friendly Installation Tips
Rent-friendly temporary walls are doable, even in a rental, when you zero in on gear that’s lightweight, non-permanent, and easy to remove.
I suggest using freestanding panels, tension rods, and removable hooks. Skip nails or glue.
Measure doorways and corners first, anchor with rubber pads, and test for wobble. Keep caulking minimal; embrace clean, reversible solutions that respect your lease.
Privacy and Light Control
If you’re renting and light control matters, you can carve out privacy without committing to walls. I use temporary, movable dividers to soften glare and create zones, plus door curtains for flexible coverage and privacy.
These options keep costs low while boosting comfort.
- Lightweight screens that store away
- Tension rods and fabric panels
- Frosted contact paper on glass
Color Blocking for Visual Size Tricks
Color blocking isn’t just a trend; it’s a practical hack to make a small bathroom feel bigger. I use bold color separations on walls and targets to push eye focus outward, not inward.
Pair light ceilings with darker accents at midpoints, and draw vertical lines to add height. Keep changes sharp, avoid busy patterns, and test palettes in natural light.
Plants and Natural Textures on a Budget
Plants and natural textures don’t have to break the bank; you can bring life and warmth into a small bathroom with smart, budget-friendly choices.
I suggest practical, bold steps that breathe without clutter.
- Pick compact plants and place them where steam won’t scorch leaves
- Use woven baskets and bamboo accessories for texture
- Swap heavy decor for simple, durable fillers that refresh the space
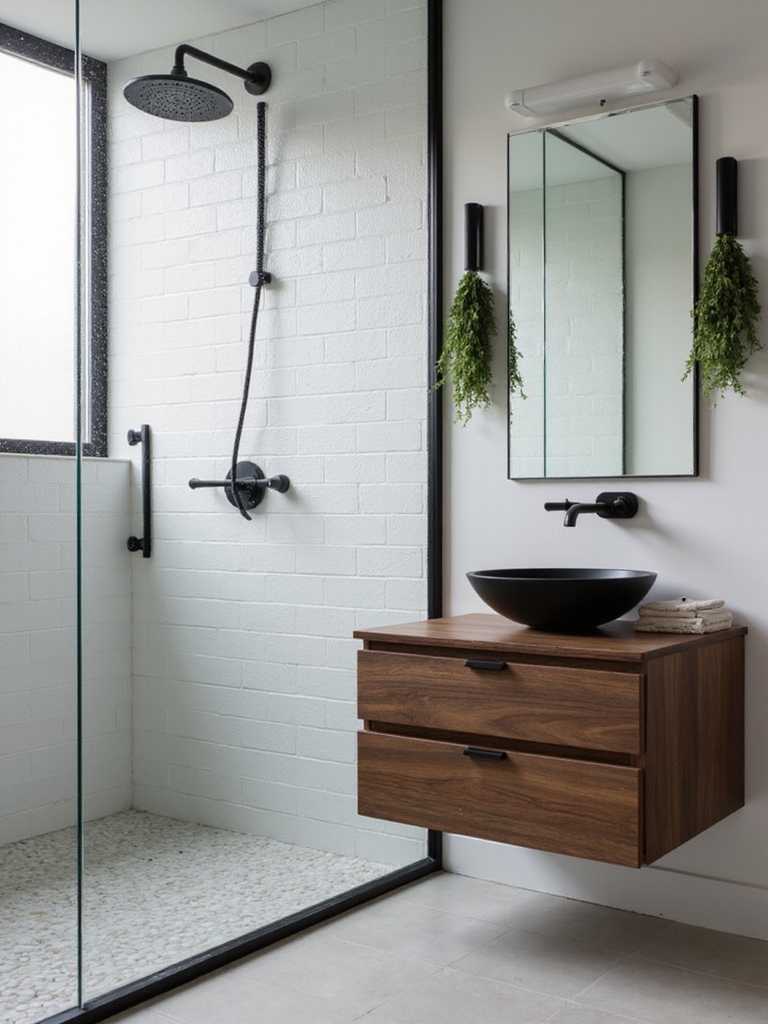
DIY Vanity Makeovers That Feel Fresh
Skim a tired vanity and you’ll reveal instant room-refresh energy—no, you don’t need a full remodel.
I swap hardware, repaint the cabinet, and add a fresh backsplash or countertop contact paper.
I’m practical: measure, prep, seal, and clean to avoid chipping.
A mirror frame or lighting tweak adds style without breaking the budget.
Fresh, doable, and yours.
Where to Splurge vs. Save: A Budget Allocation Guide
If you just revived a tired vanity, you’ve proved that small changes can carry big impact without blowing the budget.
I split spend smartly: save on basics, splurge where it shows, and leverage timing.
- Save on paint, brackets, and accessories
- Splurge on durable faucet, solid countertop, and lighting
- Time purchases for sales and bundles, not one-off grabs
Quick-Clean Routines for a Magazine-Ready Bath
Tiny daily habits keep a magazine-quality bath possible without a full remodel.
I share quick routines that fit real life: wipe surfaces after use, spray and squeegee glass, run a quick bath-fresh rinse, and declutter weekly.
I’ll keep tools simple, store them nearby, and time it to under five minutes.
Bold, practical, and doable—no fluff, just results you can maintain.
Your 4-Week Roadmap: A Step-by-Step Makeover Plan
From here, we’ll map out a practical four-week plan that turns a small bathroom into a more functional, polished space without breaking the bank.
I’ll guide you week by week, sticking to essentials, budget-friendly swaps, and concrete actions you can ship today. This roadmap keeps momentum high and costs low.
- Prioritize storage upgrades over flashy fixtures
- Optimize layout with multi-use tools
- Mark progress to stay motivated
Conclusion
We’re almost there, and I know you’re itching to see the transformed bath. But hold on—the last DIY detail can make or break the whole vibe. Imagine this: a tiny tweak, a whisper of brightness, and suddenly every morning feels like a spa. I’ve mapped the plan, nailed the budget, and kept your sanity intact. Ready to pull the trigger? The next move could be the spark that turns a budget bath into your favorite room.